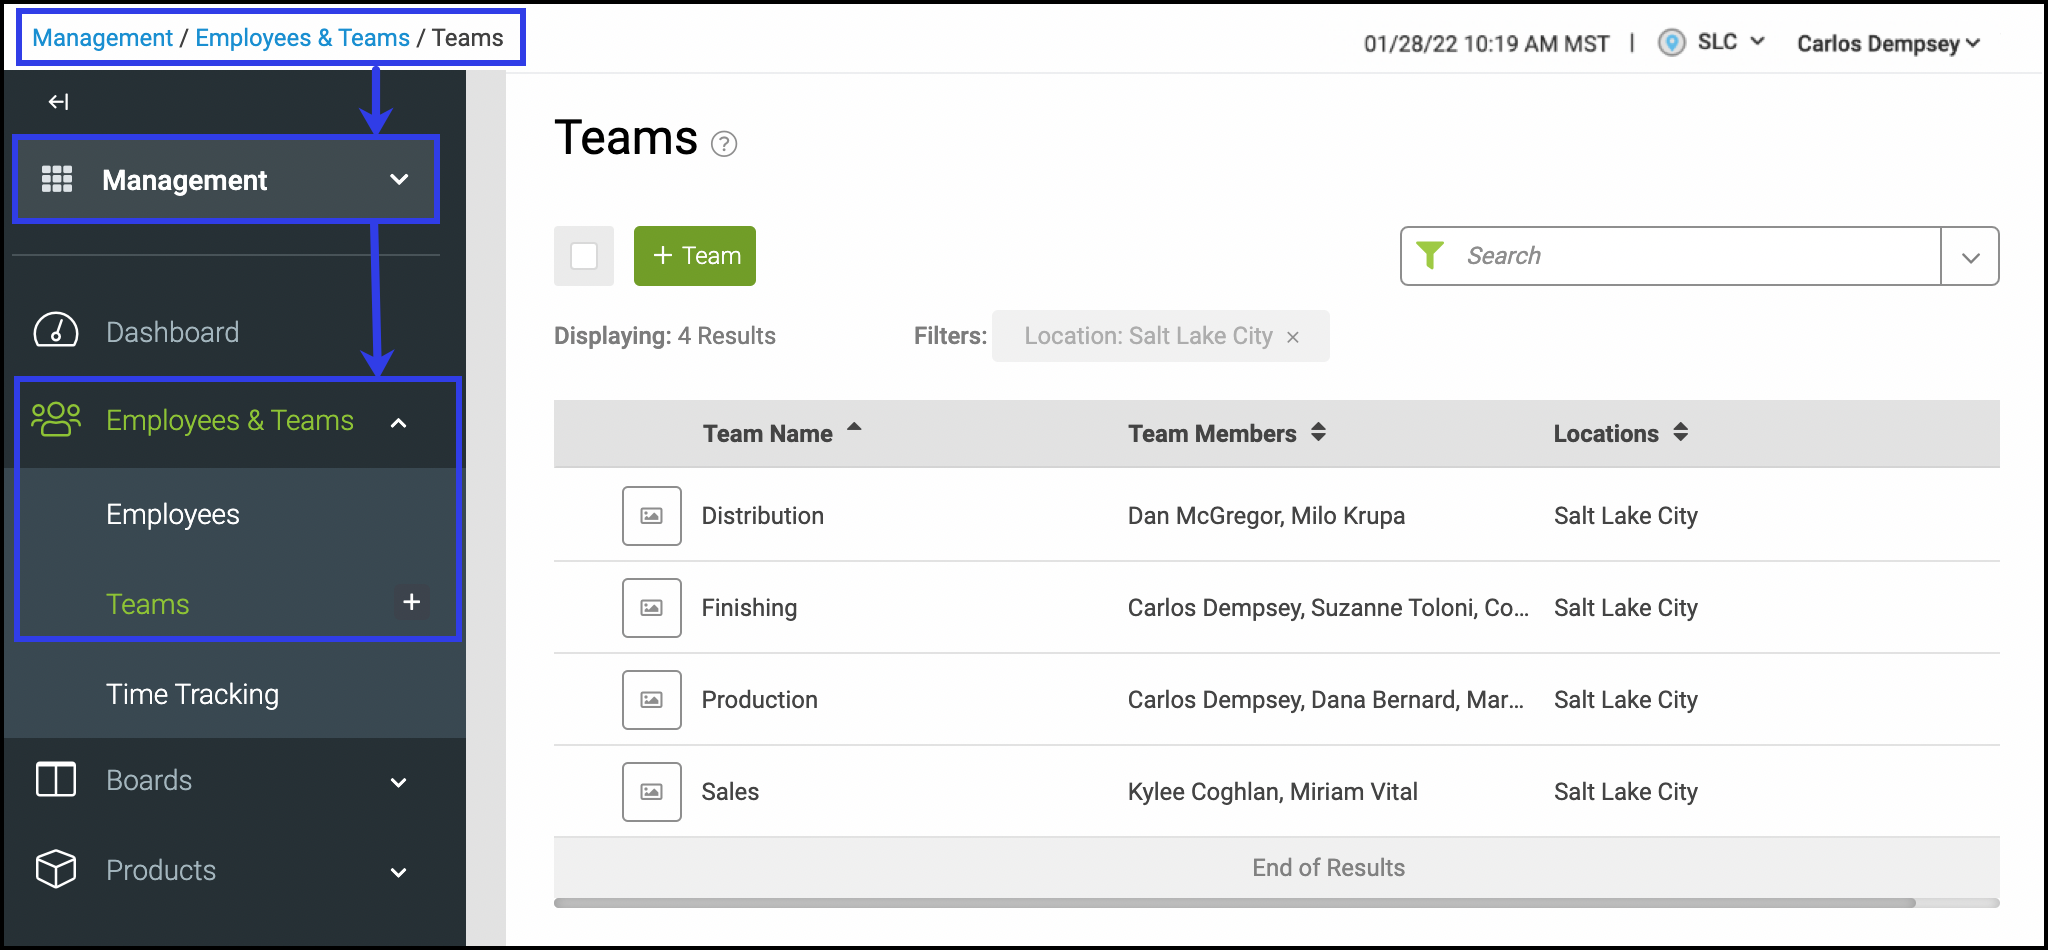
Instead of selecting individual roles and employees each time you fill out an estimate or an order, save time by creating a Team in advance by going to Management/Employees & Teams/Teams.

 | A. Teams work best when they include multiple employees with various role types.
Choose a Team Name that reflects the focus of the team. Example: Finishing Team or Basic Project Team. B. You can add more than one Location to a team. Note: These are the locations that will be allowed to see and use the team. It will not be shown to people, companies, or on orders that don't have access to that location. If you’d like to add multiple locations, contact supportdesk@corebridge.net to discuss upgrade options.
C. Select each of the Team Roles and Employees that you need for this team.
Example:
Finishing Team = 2 finishers, 1 assembler, and 1 QA inspector.
Basic Project Team = 1 salesperson, 1 project manager, 1 designer, 2 production crew, and 1 installer.
Note: Before you can add an employee to a team, their role must first be created in Settings/My Business/Employee Roles and then you must add that role to the employee’s profile in Management/Employees & Teams/Employees.
|
Tip: If you're using Teams, you can set up Role Applications to match the Teams you've created.
Team 1
Salesperson
Project Manager
Accountant
Designer
Machine Operator
Finisher
Assembler
QA Inspector
Installer
| Required Roles
Salesperson – 1
Project Manager – 1
Accountant – 1 Allowed Roles
Designer – 1
Machine Operator – 2 displayed, 1 hidden
Finisher – 2 displayed, 0 hidden
Assembler – 1
QA Inspector – 1
Installer – 2 displayed, 0 hidden |


