Time Clock Settings
As a manager, you may need to review or edit time entries made by your employees. To use time tracking, you must first go to the Settings Module / Workflow / Time Clock Settings and select the features you want to enable for employee time cards.

A. Create custom time tracking activities under Paid Activities (e.g., design or
shipping) and Unpaid Activities (e.g., breaks or lunch).
B. Check this box if you want your employees to clock in and out to record their
time.
C. Enable Paid Activities to include the list from the Paid Activities tab as
options on your employee time cards.
D. Select this option to ensure that employees only use Line Item Statuses (e.g.,
In Design or WIP) as activities.
E. To enable only the Custom Activities you’ve created on the Paid
Activities tab, select this option.
F. If you want to allow employees to use both Line Item Statuses and Custom
Activities, select this option.
G. Check this box to ensure that your employees will record time worked on a
specific activity when clocking in.
Note: Idle time is clocked out in CoreBridge which means that if you haven't
set up paid and unpaid activities, employees won’t be able to log their time if
you check this option.
H. Select this option if you want your employees to choose an activity when
starting a new job.
I. Enable Unpaid Activities to include the list from the Unpaid Activities tab, as
options on your employee time cards.
Managing Paid and Unpaid Activities
Once you’ve enabled the options you want to use, click on the Paid Activities as well as the Unpaid Activities tabs to review and customize activities.
Remember: Paid Activities typically relate to line item tasks such as design or shipping while Unpaid Activities may be breaks or lunch breaks.
J. You can add a new paid or unpaid activity by clicking the green plus sign,
entering a name, and clicking the green checkmark to save it to your list.
Note: You can edit an activity by just clicking on the name, making edits, and saving.

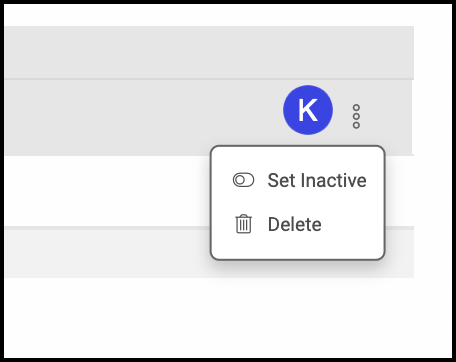
 | K. To remove an activity from the list, click on the More Actions ellipses at the end of the row and select the Delete or Set Inactive button. Note: You can set the activity as active again later. |
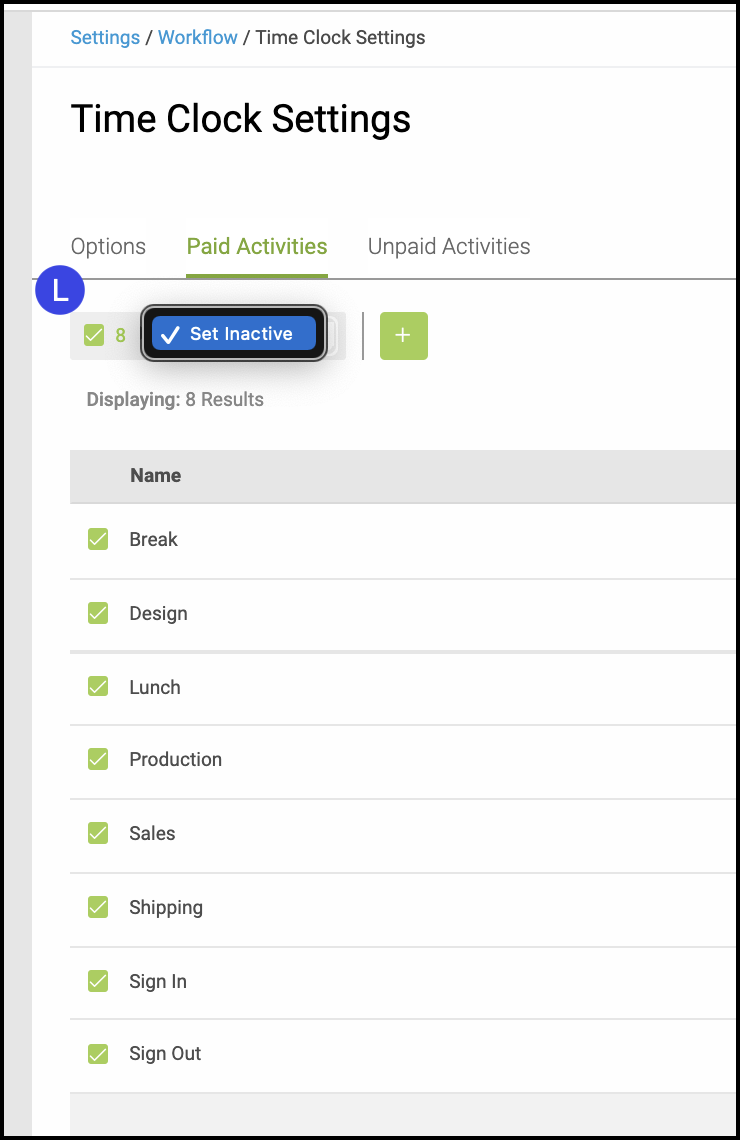
 | L. Here you can select multiple activities to set as inactive at one time. |
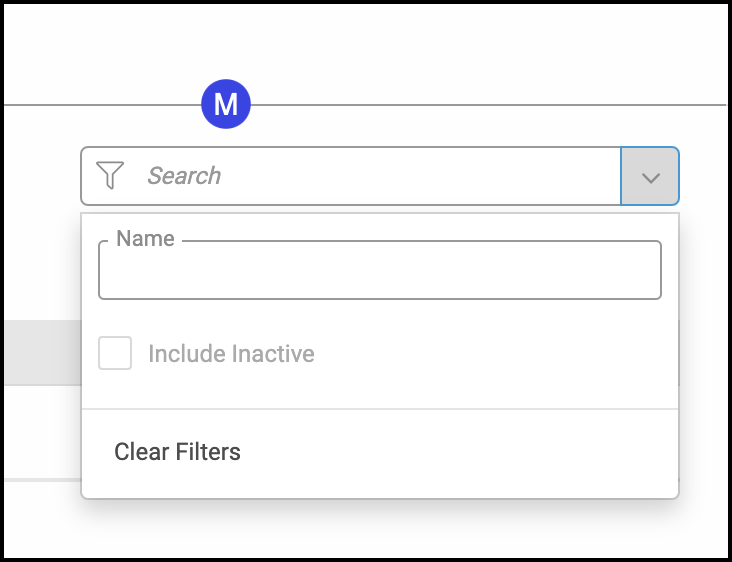
 | M. You can search for activities including those marked Inactive. |
  | N. Note: Clicking Restore to Default under this ellipsis will remove the Paid Activities tab. |
 | O. You can add it back under the Options tab by selecting either of these two options. |
