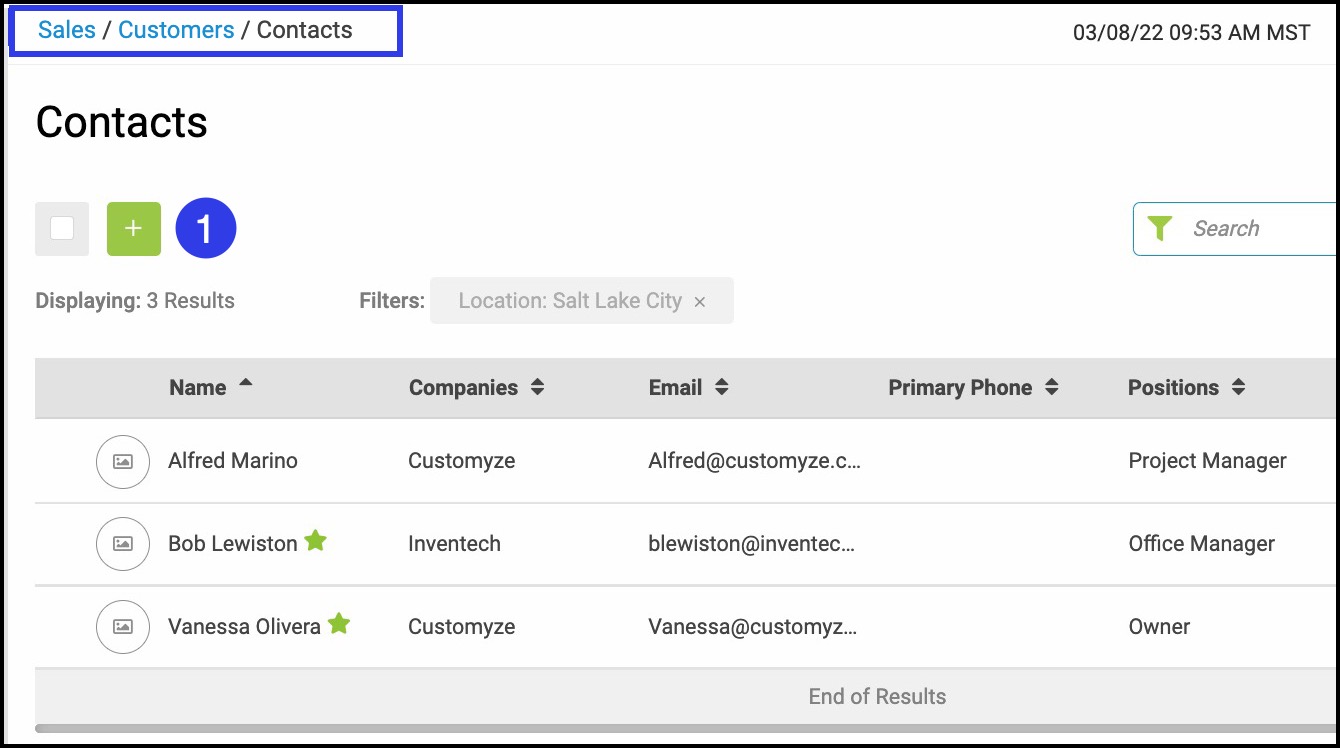
Your list of Contacts can be found under Sales/Customers/Contacts. From here you can review, edit, or add new Contacts.
Note: A contact can be associated with multiple companies such as a district manager of a franchise.
1. To add a Contact, click the plus sign to add a New Contact.

2. Enter the contact's First and Last Names and any companies they're associated with. 3. If you want the option to place personal orders for this contact, select the Personal Account button, then click Personal Account Details to fill in the associated details. If not, skip to step 7. Note: Personal Accounts are used for nonbusiness-related orders while Company Accounts are used to place business-related orders. |  |
4. If you open the Personal Account Details modal, select the contact's Customer Information:
Note: The default Status will be entered automatically, but you can change it here if needed. You can also choose to make Origination and Industry required under Settings/Sales/Company Options.
Note: Check this box and select a Reason if a contact's orders will always be Tax Exempt.
|  |
Note: The contact will need at least one email in order to add a Sign-In to their Customer Portal. 8. Enter the Default Location that will primarily work with this contact. Note: If you only have one location, that will be the default. If you would like to add another location contact sales@corebridge.net to discuss upgrade options. 9. The Default Time Zone relates to your contact's time zone. |  |
10. Add an address if needed. 11. Click Save and Continue when you're finished. |  |
