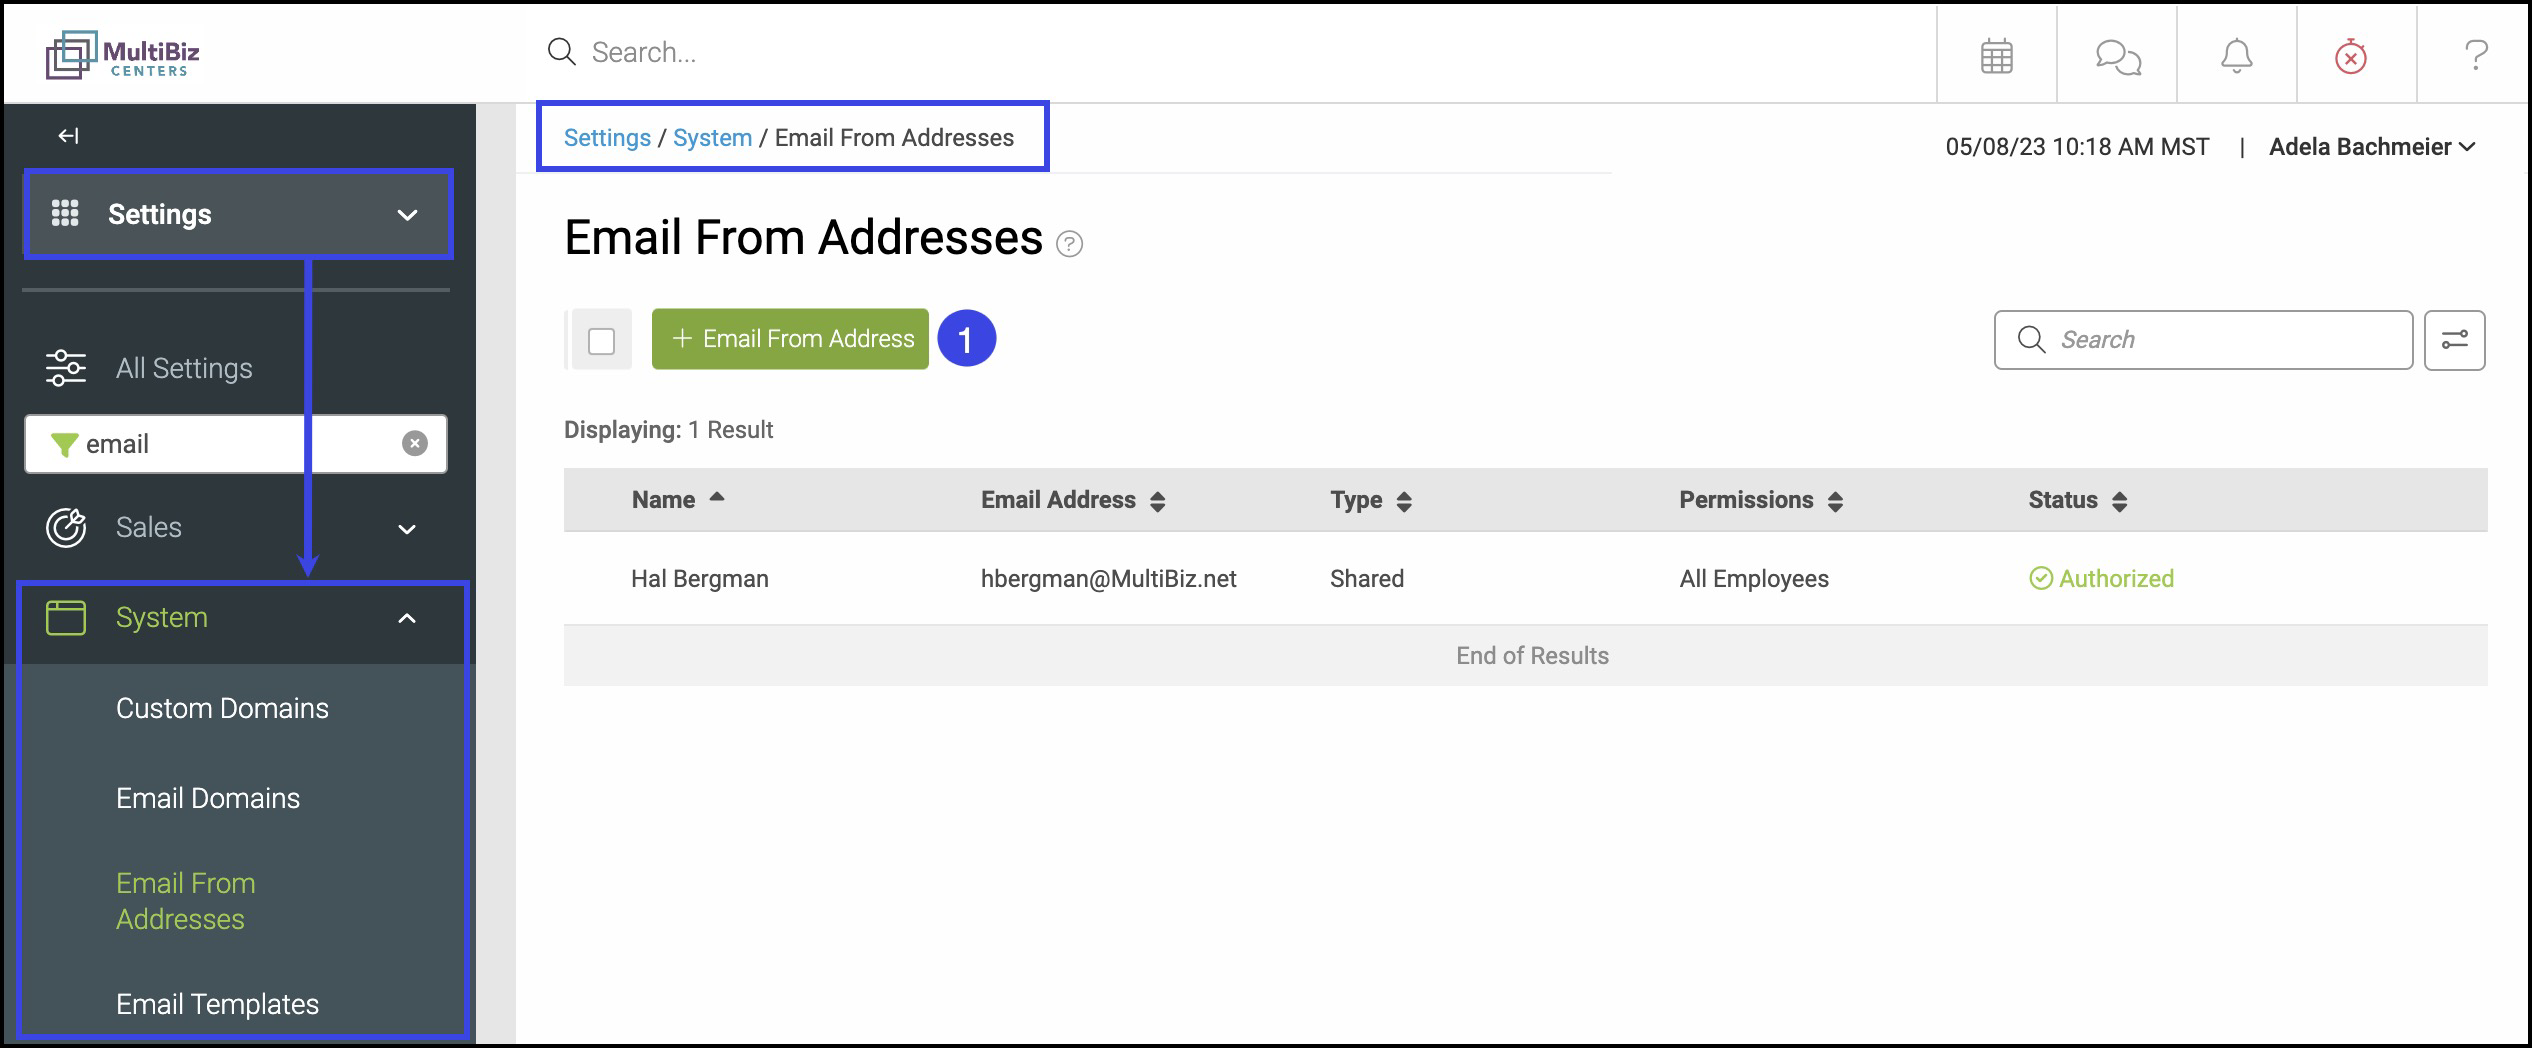
Email From Addresses are used by one or more employees when sending an email individually or sending an email from a shared distribution group or department. Each address can be set up in Settings/System/Email From Addresses.
1. To set up an Email From Address, click the plus sign.

2. Choose whether the Email Type is Personal, granting one employee access, or Shared, granting multiple employees access.
Example: An accountant sending an email to a vendor from his individual Tjohnson@multibiz.net email account.
Anyone from the sales department accessing the shared sales@multibiz.net account.
3. Enter the From Name.
Note: On a Personal account, a From Name can be added by selecting a name from the dropdown menu or it can be manually entered by clicking on the Enter Custom field.
On a Shared account, a name will need to be entered in the From Name field.
4. Enter the Email Name or the first half of the email address before the @ symbol.
Example: mvital@multibiz.net or sales@multibiz.net.
5. Select the Email Domain from a list of existing domains or create a new email domain. Then add the password associated with that email address.
Example: mvital@multibiz.net.

6. Choose who can use the Email From Address based on Email Type.
If you select Personal:
A. You can give access to a specific employee in the system.

If you select Shared, there are three options:
B. You can give access to All Employees.
C. Access can be granted to employees based on specific Roles.
Example: All of your sales team can have access.
D. You can select specific Employees.


7. If you have multiple locations, you can select which location(s) will relate to the Email From Address.
Note: If you would like to add Locations to your system, contact sales@corebridge.net to discuss upgrade options.
8. When finished, click Save and Continue.

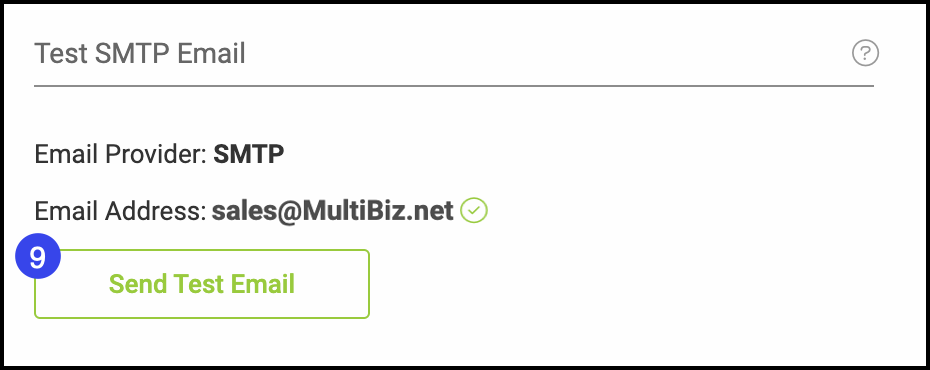
Test Email
9. To ensure the email address works, you can send a Test Email through the email provider.

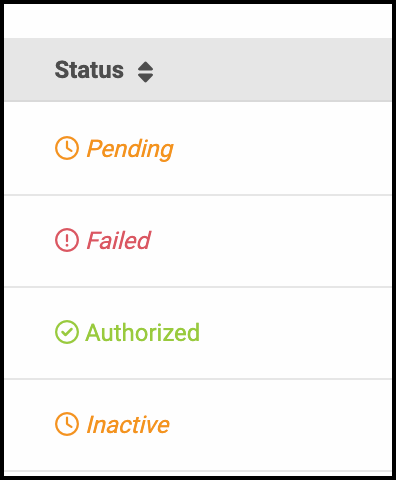
When a From Email Address has been created, the status shows at the end of each email created to indicate completed and incomplete statuses.

Pending – The email address needs to be authorized. |  |
Additional Features
Once you’ve created multiple Email From Addresses, there are some additional features you can use.
A. Click on the filter icon to search for existing addresses
B. You can search by Type (Personal or Shared)
C. You can also search by email Status (Authorized, Expired, Failed, or Pending.)
D. Check the Include Inactive button to search for inactive email addresses.
 |  |  |
