As a manager, one of your key responsibilities is overseeing employee work hours. This includes reviewing, approving, and, when necessary, editing time entries to ensure accuracy and compliance with company policies. To do this effectively, it's important to properly configure the Time Clock settings within your system so that your team can log their time accurately and consistently.
Important Information
- Before employees can begin clocking in and out, you’ll need to enable the Time Clock feature for your team and assign Paid and Unpaid Activities.
- For more information about how employees use the Time Clock, please see Time Tracking for Employees.
Table of Contents
Navigate to Settings / Workflow / Time Clock Settings.

Options Tab
1. Select the Options tab.
a. This ellipsis allows you to access a Reset if you would like to return to the default at any time.
2. Toggle this switch on to allow your employees to access the Time Clock function.
3. Check this if you would like to give employees the option to select Paid Activities when using the Time Clock. These can be either, or both, the Item Statuses or Custom Activities you create in the Paid Activities tab.
4. When this is checked it will be required for your employees to include an Activity when clocking in.
5. Enabling Unpaid Activities will allow users to select unpaid activities using the Time Clock functionality. These activities can include things like breaks or lunch and can be created in the Unpaid Activities tab.
Note: Any changes made will be automatically saved.

Activities
The Activities tabs allows you to review, add, and manage the list of activities employees can select when logging their time, either paid or unpaid.
Adding an Activity
1. Select the appropriate tab, either Paid or Unpaid.
Note: This process is the same for both tabs. This article uses Paid Activities as the example.
2. Click the Green Plus button.
3. Type a Name into the field.
4. Click the Check to save your Paid Activity.
Note: The X is available if you decide not to save the Paid Activity.

Managing Activities
1. Select the appropriate tab, either Paid or Unpaid.
Note: This process is the same for both tabs. This article uses Paid Activities as the example.
2. Check the box next to the Activity.
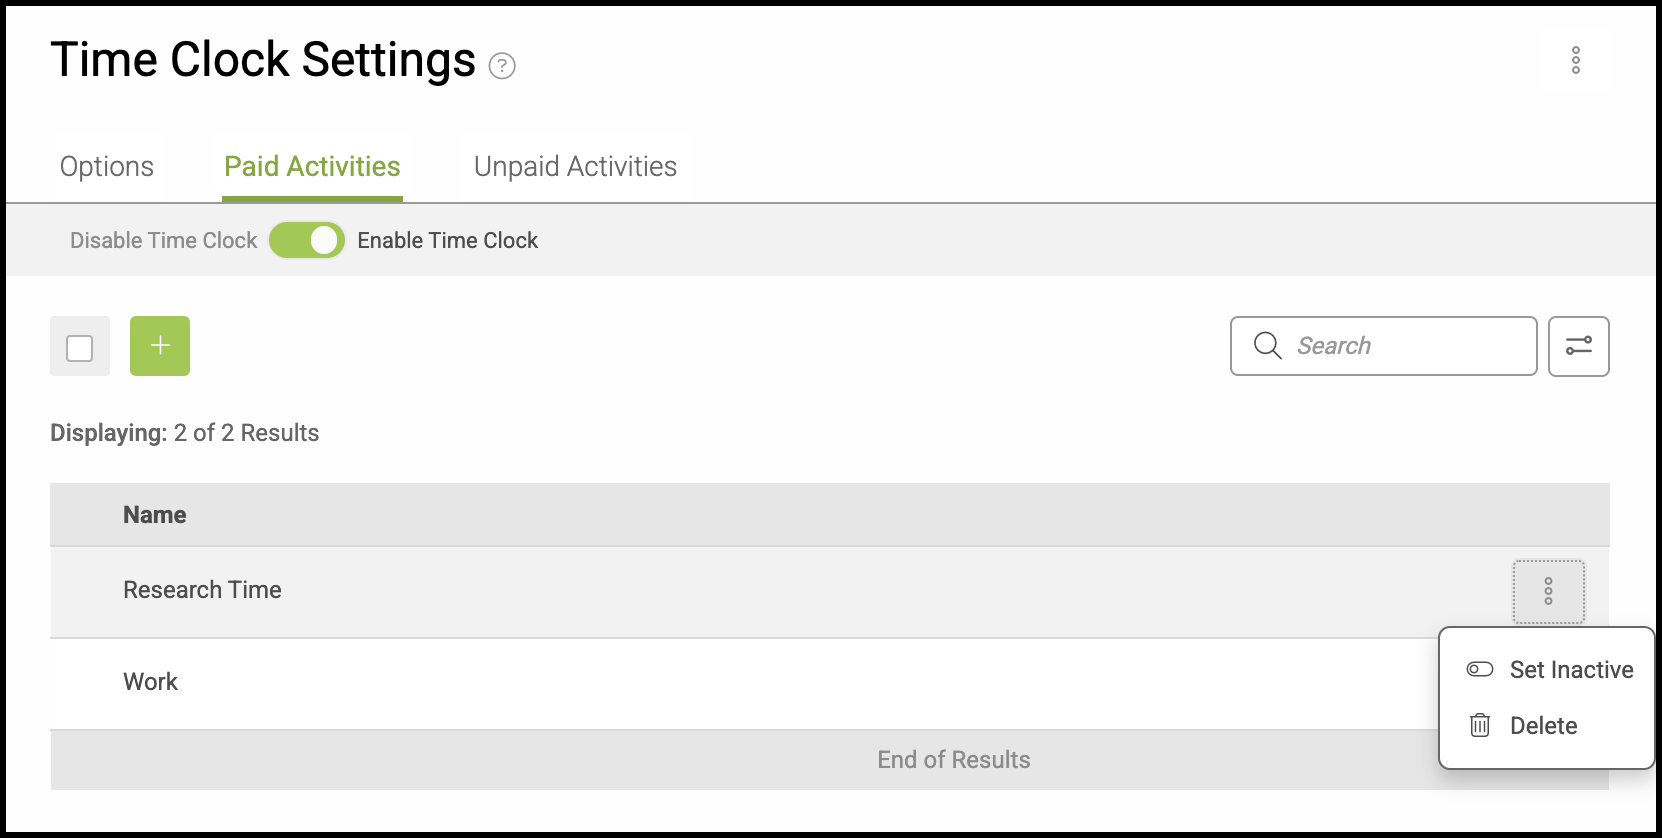
3. Use the dropdown to select Set Inactive / Active or Delete.
Note: Checking more than one Activity at a time will allow you to set multiple activities to Active or Inactive. Bulk deletion is not supported.
Note: This menu is also accessible for single Activity items another way. Please see example below.