Materials are components used to make products. Together with labor and machines, they are used to create assemblies. The system comes preloaded with some basic materials. Cloning an existing material component is the preferred method of adding materials in the system. By cloning, this will insure that all fields needed for assembly calculations will be filled out, however materials can be added directly.
For more information on Creating Materials, please see Creating Materials.
Table of Contents
Cloning a Material
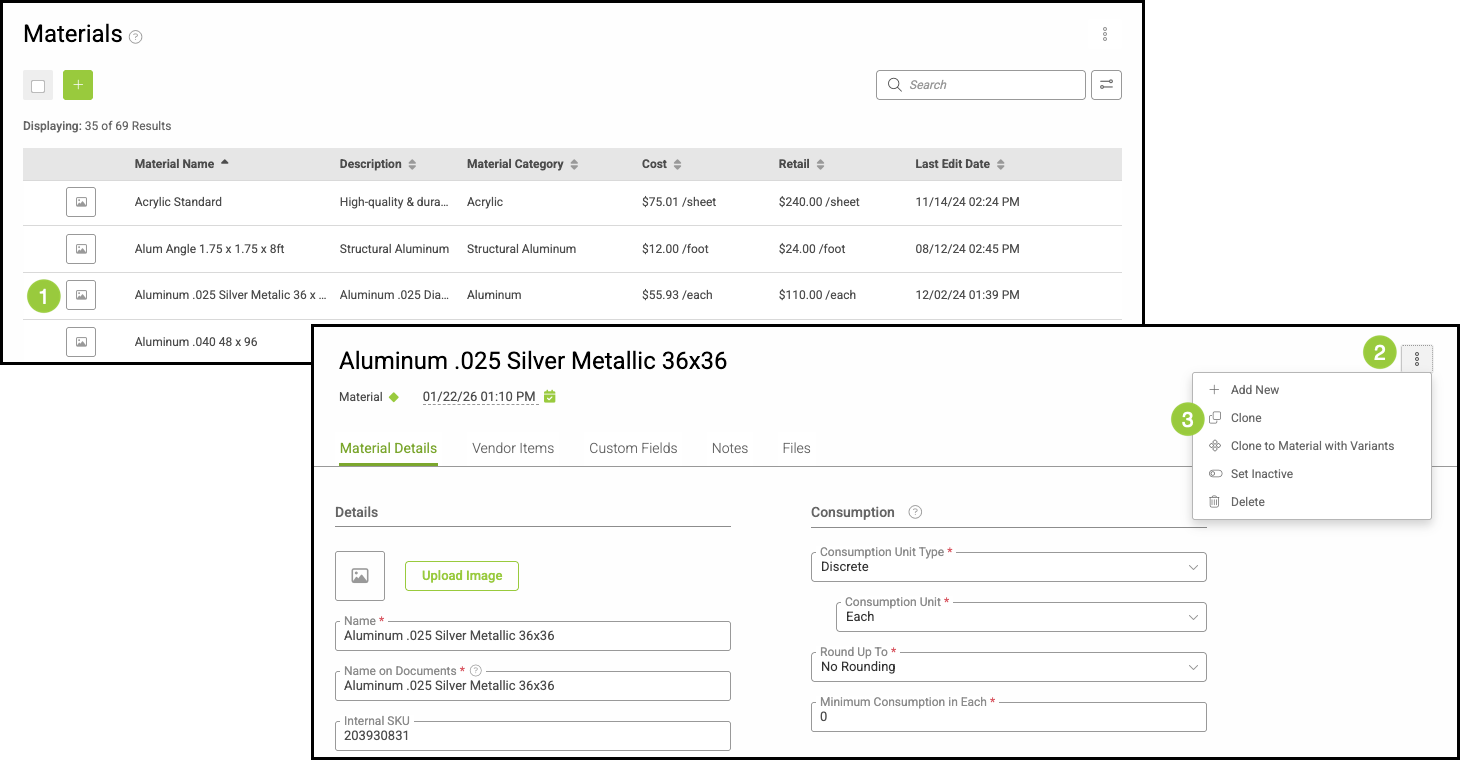
Navigate to Settings / Components / Materials.

1. On the material list, click on a material that is most similar to the material to be added.
2. Click on the Ellipsis in the top right corner of the screen.
3. Select Clone.
Note: You can also clone by clicking the ellipsis on the far right on the material screen.
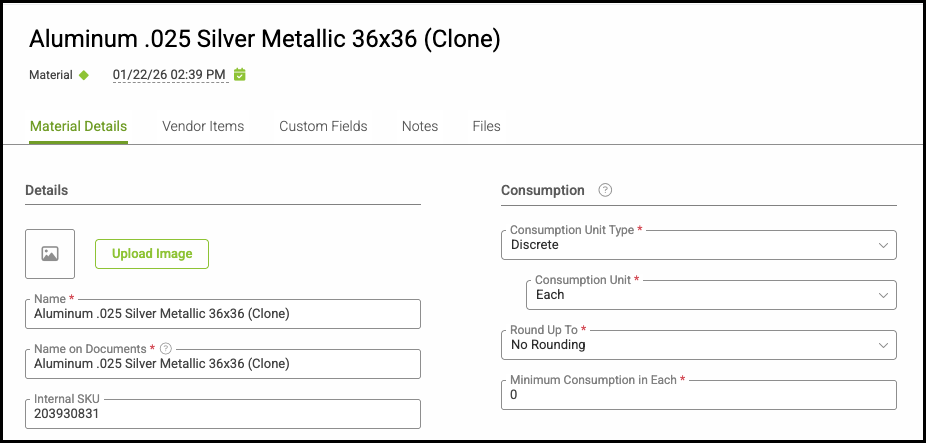
An exact copy of the selected material will be saved as a cloned copy.
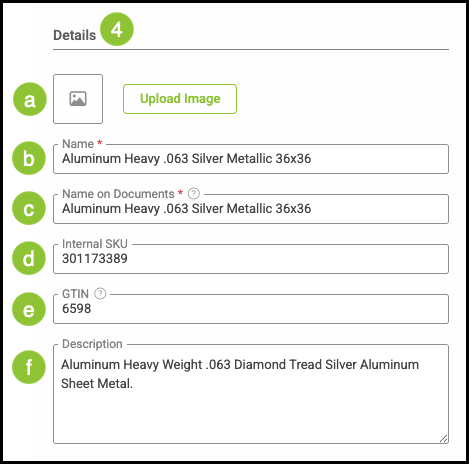
4. Change all the information in Details as need for the new material. The information is auto saved.
Note: All fields with a red asterisk are required fields in order to save the material. Additional information will be needed for the material to be used in assemblies.
a. Upload Images of the material.
b. Name - This is the part name, it is recommended to start with the type of material then physical attributes, such as thickness, color, and sizes, as this will be listed in your material list using this name.
c. Name on Documents - This pertains to how this material will display on customer facing documents such as estimates and invoices.
d. Internal SKU - A unique Stock Keeping Unit used for internal inventory and tracking purposes if available.
e. A Global Trade Item Number (GTIN) is a universal identifier used to recognize the same Product across different brands and suppliers. Vendors may use their own item numbers, but the GTIN remains consistent.
f. Description - This is a broader description of this material for internal purposes.
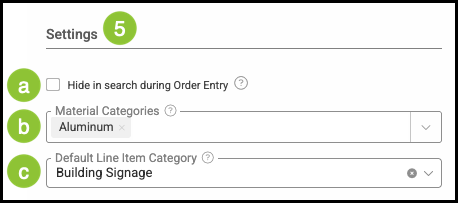
5. Change the Settings information as needed.
a. Selecting this option hides it from the available choices when adding Line Items during Order entry.
b. Material Categories - Categories help to organize the materials in the system. This list can be managed by clicking on Manage Material Categories in the dropdown if more categories are needed. For more information, please see Managing Material Categories.
Note: you can also add materials to categories under Settings / Components / Materials.
c. Default Line Item Category - This is an optional field used to organize components into common areas for better sorting and reporting options internally. Default Line Item Category can be managed in Settings / Sales / Line Item Categories.
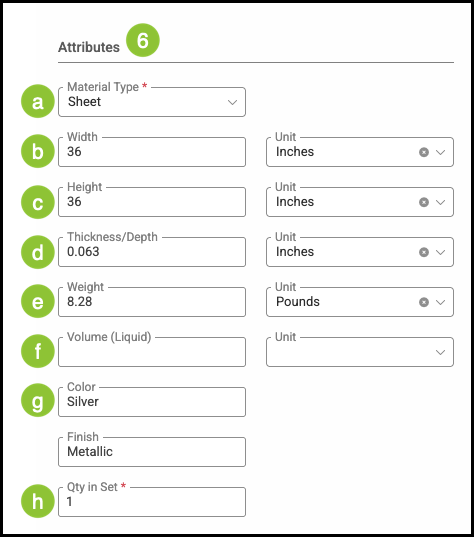
6. Attributes are physical attributes of the material that will be used for layout, stocking units, and calculations. Change the information where applicable for this new material.
Note: This will be used in assemblies.
a. Material Type - Roll, Sheet, or Other.
b. Width and Unit.
c. Height and Unit.
d. Thickness/Depth and Unit.
e. Weight and Unit.
f. Volume (Liquid) and Unit.
g. Color and Finish.
h. Qty in Set - This is how many as a part of each.
Example: A box of 500 business cards has a quantity of 500 in one set.
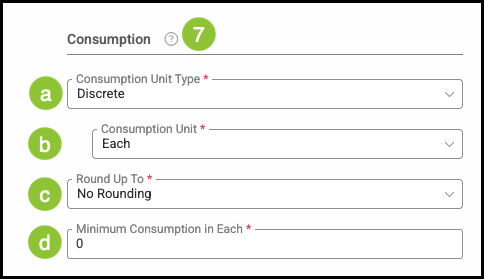
7. Consumption is how the material is consumed, rounded for usage, and scrap calculations. Change where necessary.
Note: This is used in assemblies.
a. Consumption Unit Type - By Area, Length, Discrete, or Countable Units.
b. Consumption Units - This is how this material will be consumed in production.
c. Round Up To - To the Next 10, Next Whole, or No Rounding.
d. Minimum Consumption in Each - Enter 0 unless a minimum amount of this material is used regardless of what the assembly calls for, such as, 0.25 of a sheet, or 1 foot off a roll every time.
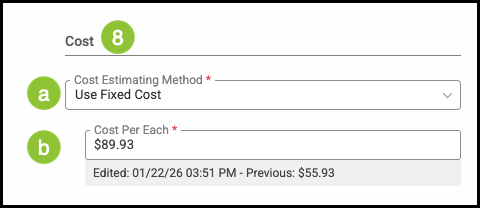
8. Cost of the material and how it will be accounted for. Change where applicable.
a. The Cost Estimating Method determines how costs are calculated for an item.
b. Cost Per Each - This is the cost of the material used for costing out the job and for accounting.
Note: In cost based pricing, this will be marked up for pricing.
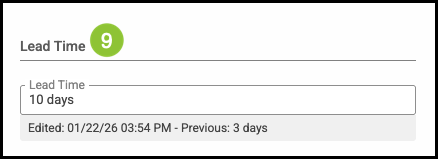
9. Lead Time - If this material is not readily available or special order and requires a lead time, enter the days. This will alter the production due date on the Order.
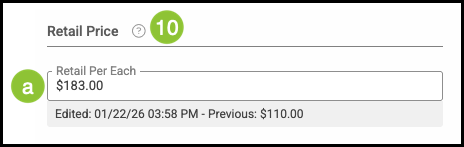
10. Retail Price of the material in market based pricing, that is, charging a price per for this material and how the income will be accounted for.
a. Retail Price Per Each - This is the price of the material used for pricing out this job.
Note: In a costing pricing structure, that is, marking up cost this field does not need to entered.
11. Accounting Details
define how this material is categorized for billing, income, and tax purposes.
a. COGS / Expense Account - This is where the material cost will be accounted for, either in Cost of Goods Sold or the material is expensed.
b. Income Account - The income account when this material is sold.
c. Taxability Code - Goods, Service, or Tax Exempt material.

12. Custom Fields can be created by going to Settings / Custom Fields / Material Details for Quick Custom Fields.
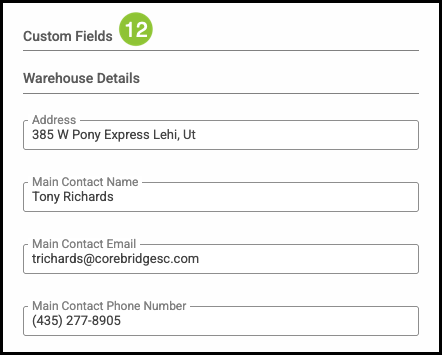
Note: Files and Notes can be added on the main material screen on the tabs next to the Material Details tab.