The Materials Import Template allows you to add multiple Materials to your system at one time, reducing the need for manual entry. This template supports batch importing of up to 300 Materials per upload, making it an efficient option when setting up a new system or updating your Material catalog.
This article explains how to download and complete the Materials Import Template, outlines required fields, and walks through the steps to successfully upload your file so your Materials are added accurately and efficiently.
Navigate to Settings / Components / Materials.
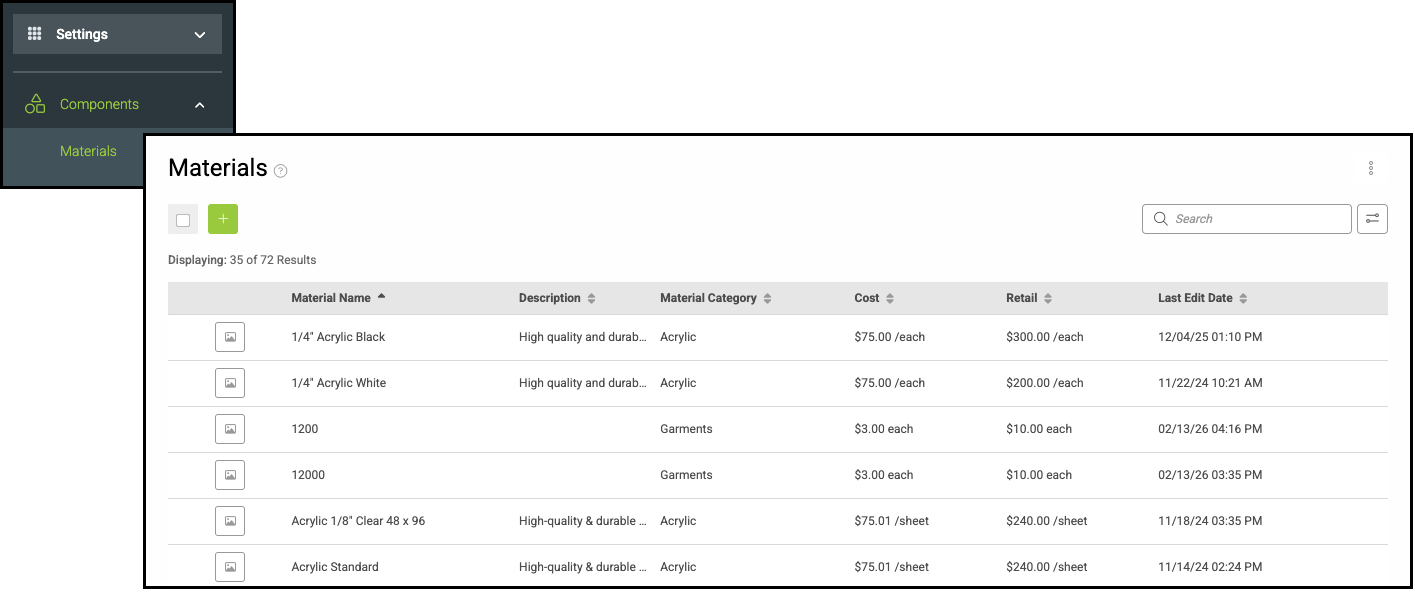
1. Click the Ellipsis.
2. Select Import Materials (XLSX).

3. Click Material Template.
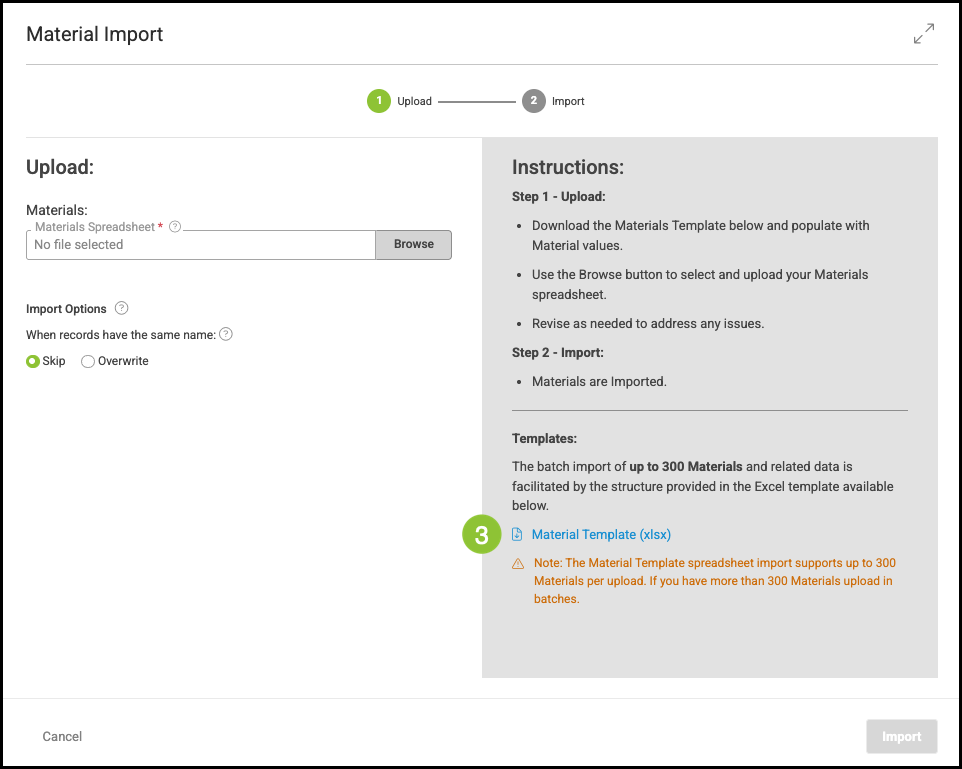
Note: Apple users will need to download Excel to use this template.
a. Overview tab - This shows the values available in each column.
b. Data tab - This is where you will enter your Materials information.
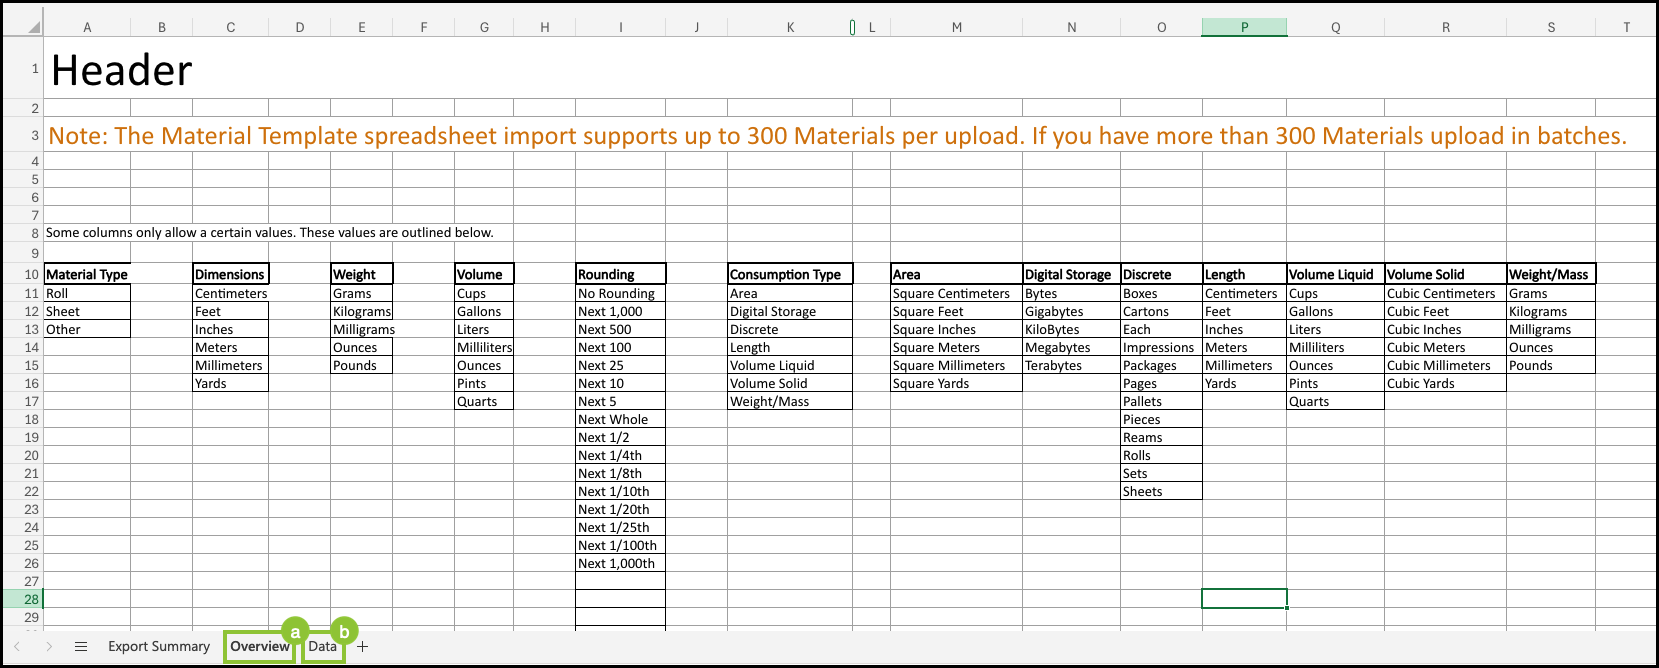
4. Select the Data tab.
5. Enter the necessary information.
a. Dropdowns are available on certain columns for value selection.
Notes:
- Columns marked with an asterisk are required.
- Make sure to scroll over and fill all necessary fields.
- For fields that are not required, leave them blank rather than entering a zero. Adding a zero where it is not needed may result in an error during processing.

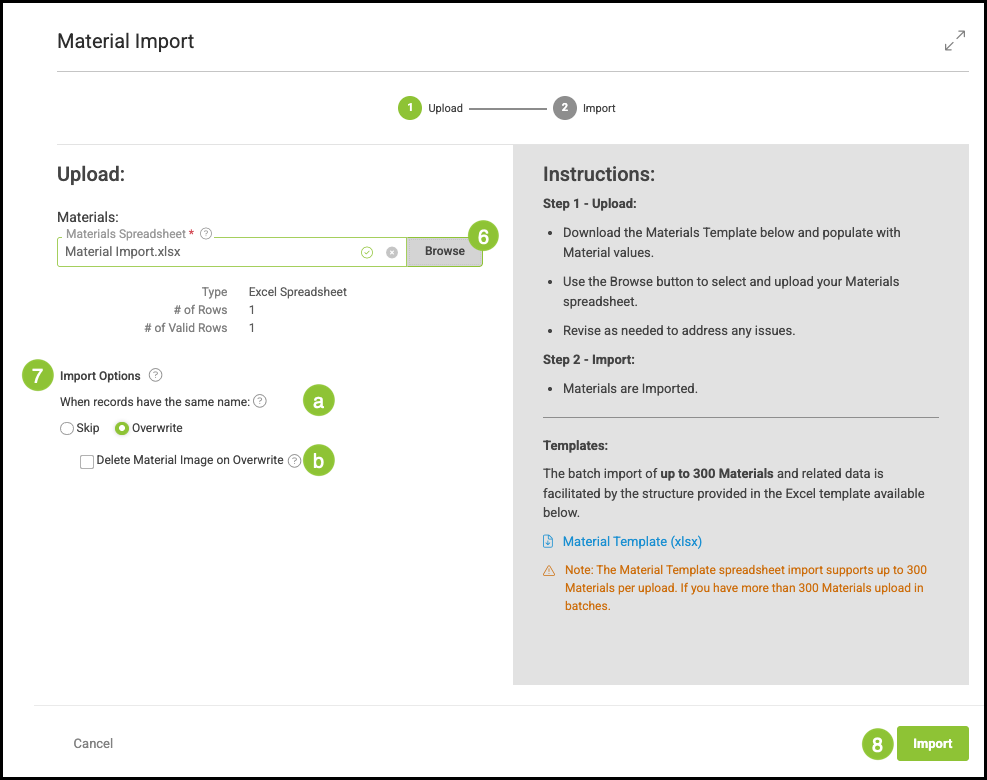
6. Click Browse to select the Material Import.
Note: This step must be completed using the original Template file as downloaded. Any changes to the file’s structure or formatting may cause the import to fail.
7. Select Import Options.
a. CoreBridge can either Skip or Overwrite Materials with the same name.
Notes:
- The system only treats names as matching when the text is identical, including word order and spacing.
- If you are updating Materials that already exist in the system, select Overwrite. Choosing Skip will leave the existing Materials unchanged and no updates will be applied.
Example:
A Material named Banner 13 oz and another named 13 oz Banner are considered different because the wording is not an exact match.
b. Selecting Delete Material Image on Overwrite will remove any images currently uploaded to the associated Material when it is overwritten.
Note: This option is only visible when Overwrite is selected.
8. Click Import.
Related Articles