Adding a vendor in CoreBridge allows you to track suppliers, manage purchase orders, and maintain contact and payment information in one place. Vendor profiles are required before you can create a purchase order.
Table of Contents
Creating a Vendor
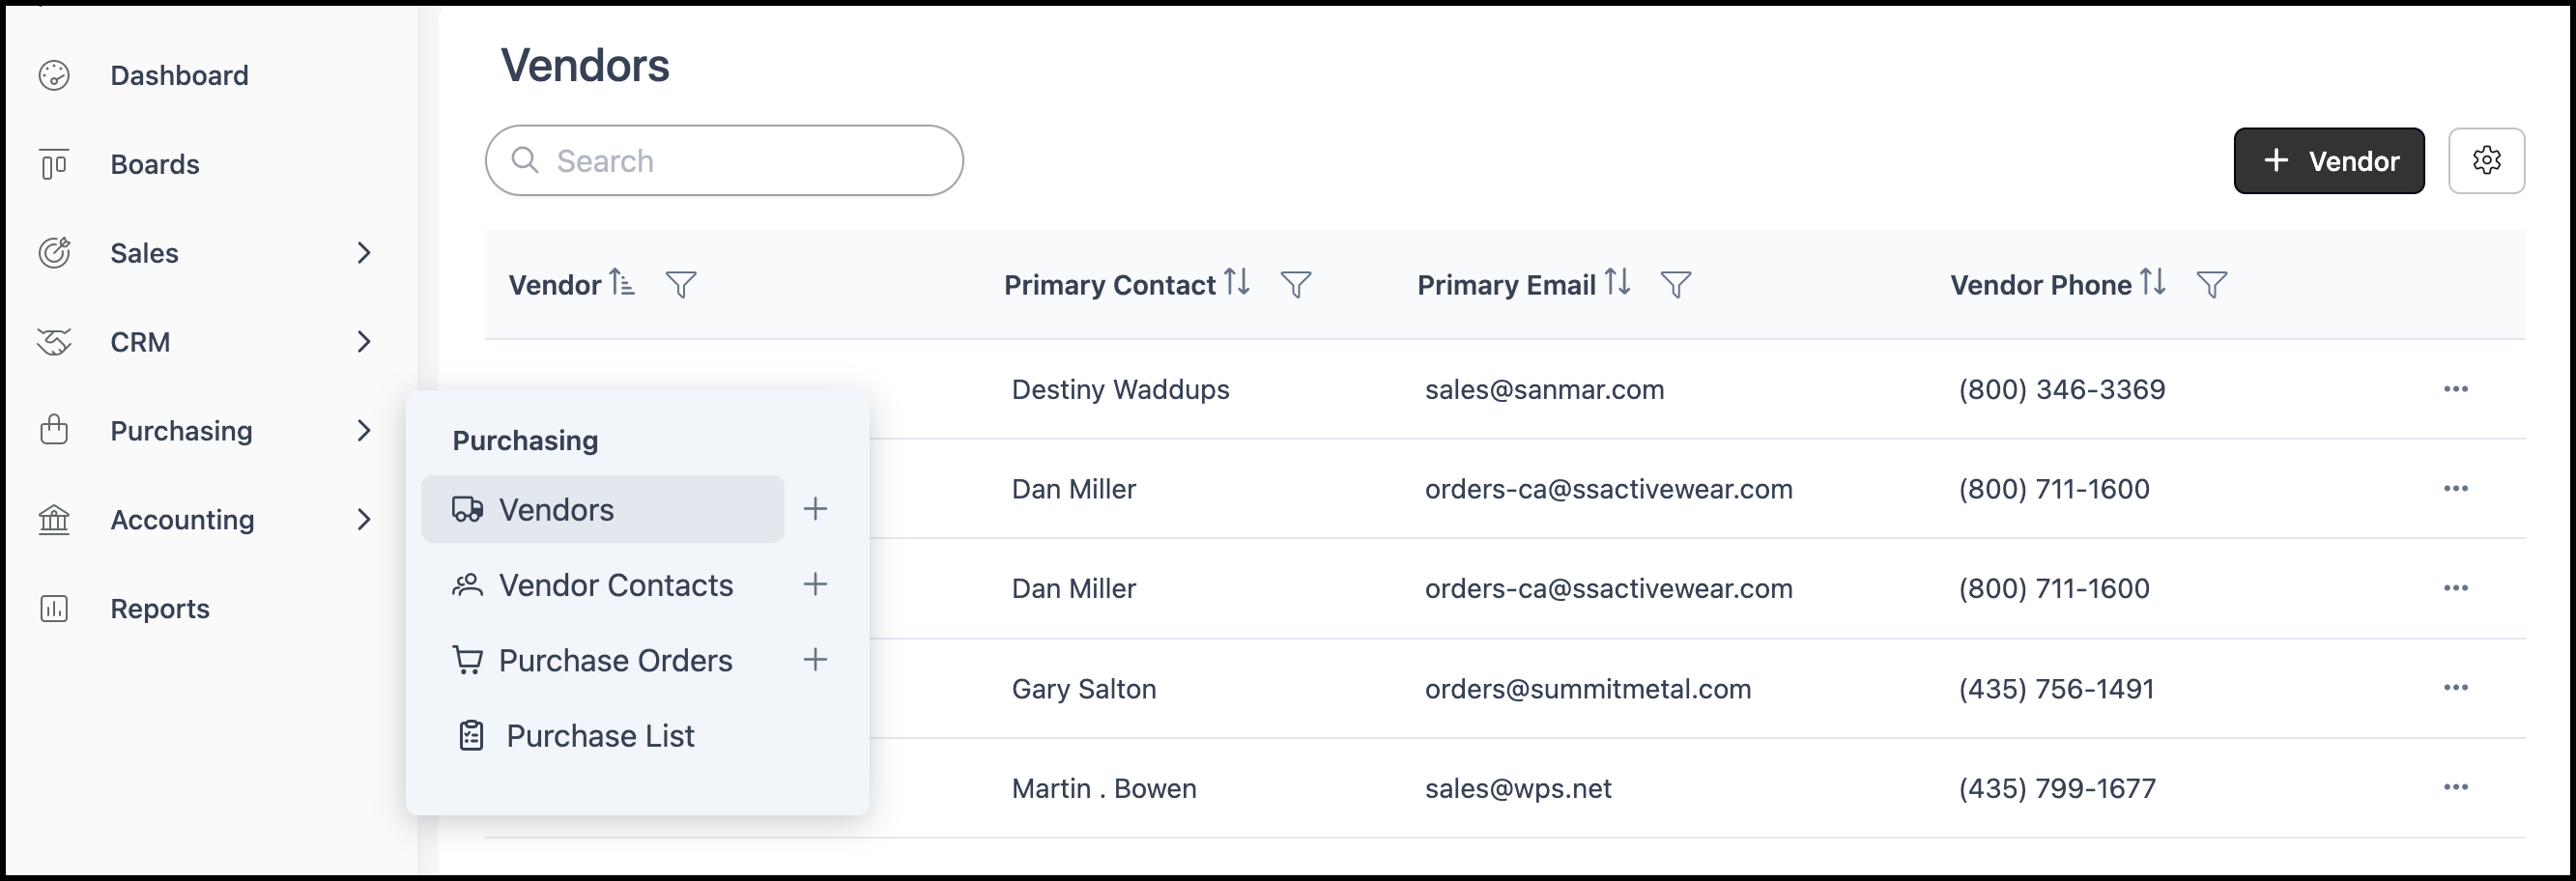
Navigate to Purchasing / Vendors and select the + Vendor button to open the Add New Vendor form.
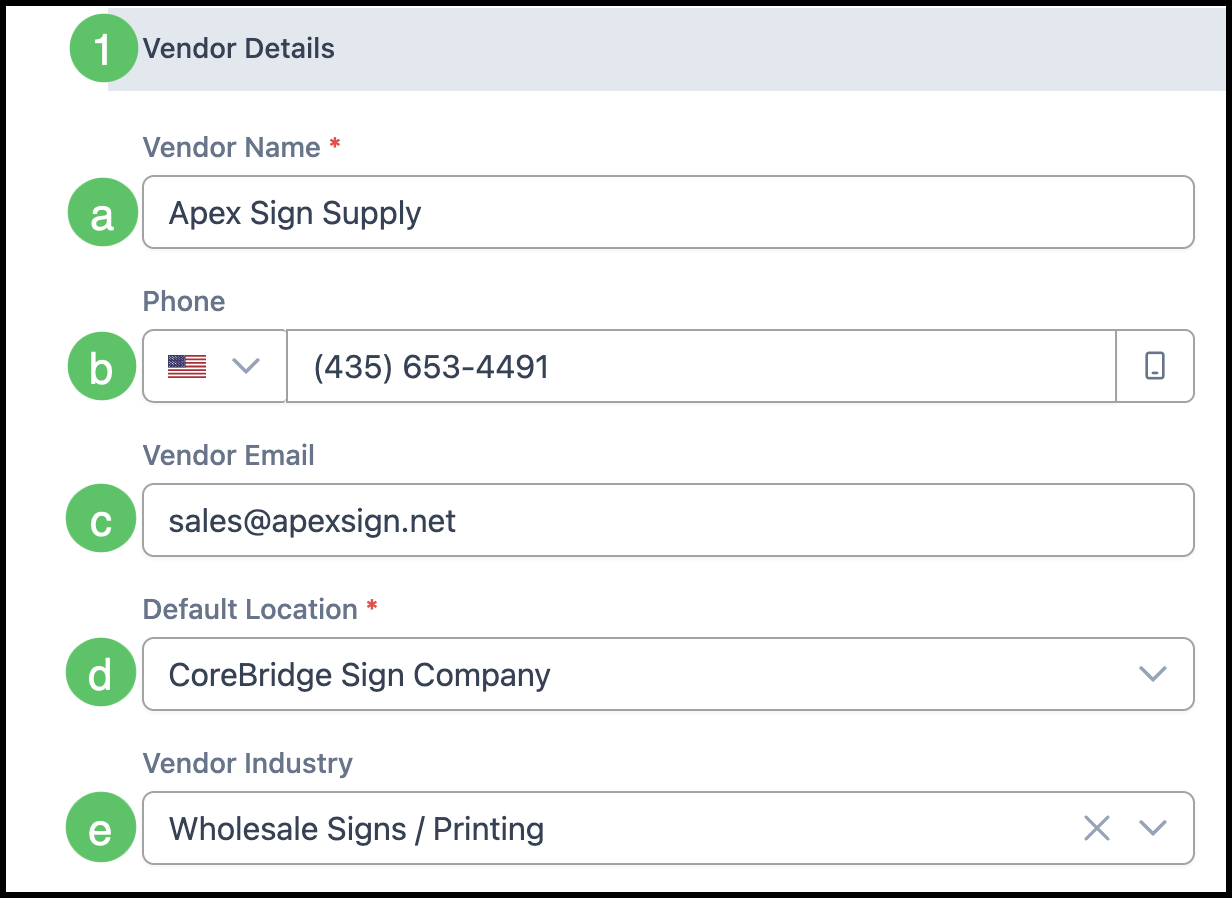
1. Complete the Vendor Details.
a. Vendor Name - Required.
b. Phone - Enter only numbers; the system will format the number automatically.
c. Vendor Email - Main email address for the vendor.
d. Default Location - Required. Select the location this vendor is associated with.
e. Vendor Industry - Select the industry the vendor is affiliated with.
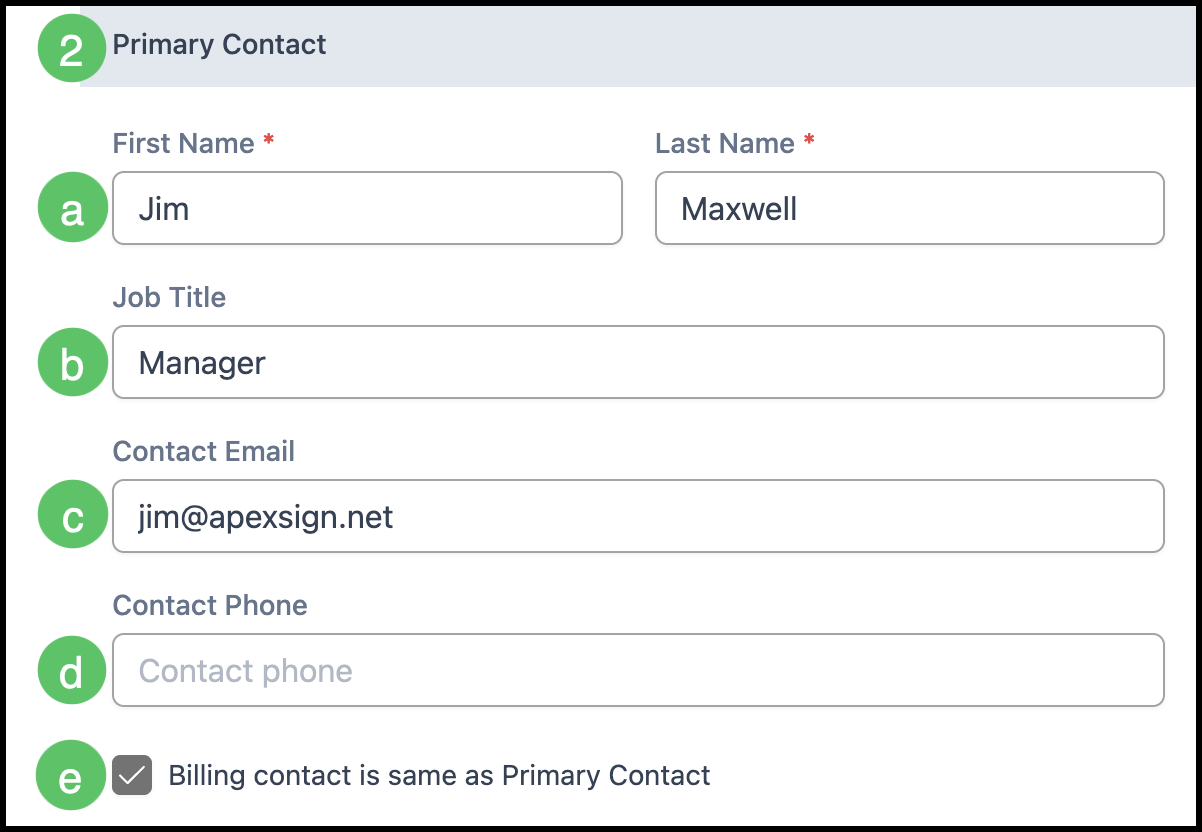
2. Enter the Primary Contact information.
a. First Name and Last Name - Required.
b. Job Title - Optional.
c. Contact Email - The best email to use when contacting this person.
d. Contact Phone - The best phone number to use when contacting this person.
e. By default, the Billing Contact is set to the same as the Primary Contact. Uncheck this box to enter a separate Billing Contact.
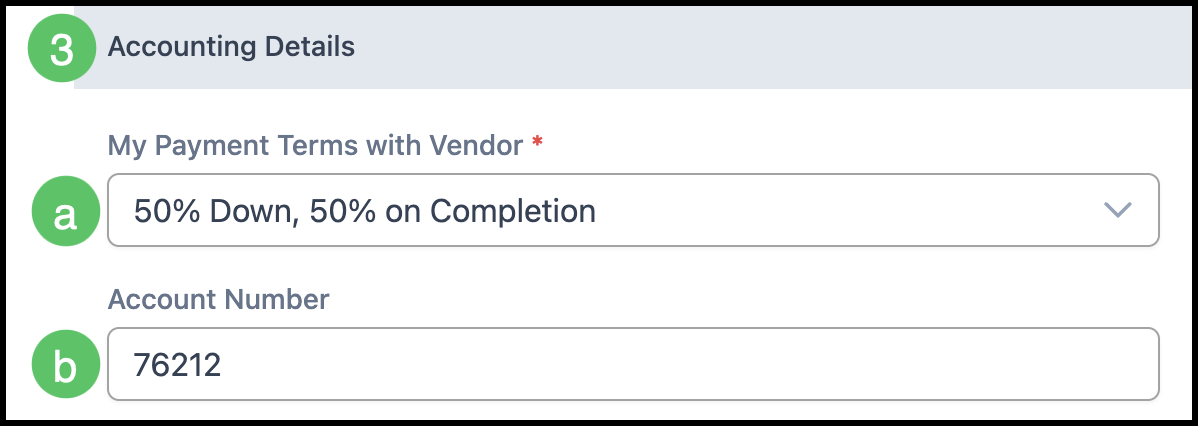
3. Complete the Accounting Details.
a. My Payment Terms with Vendor - Required. Defines the payment terms for purchase orders with this vendor.
b. Account Number - Your account number with this vendor, if applicable.
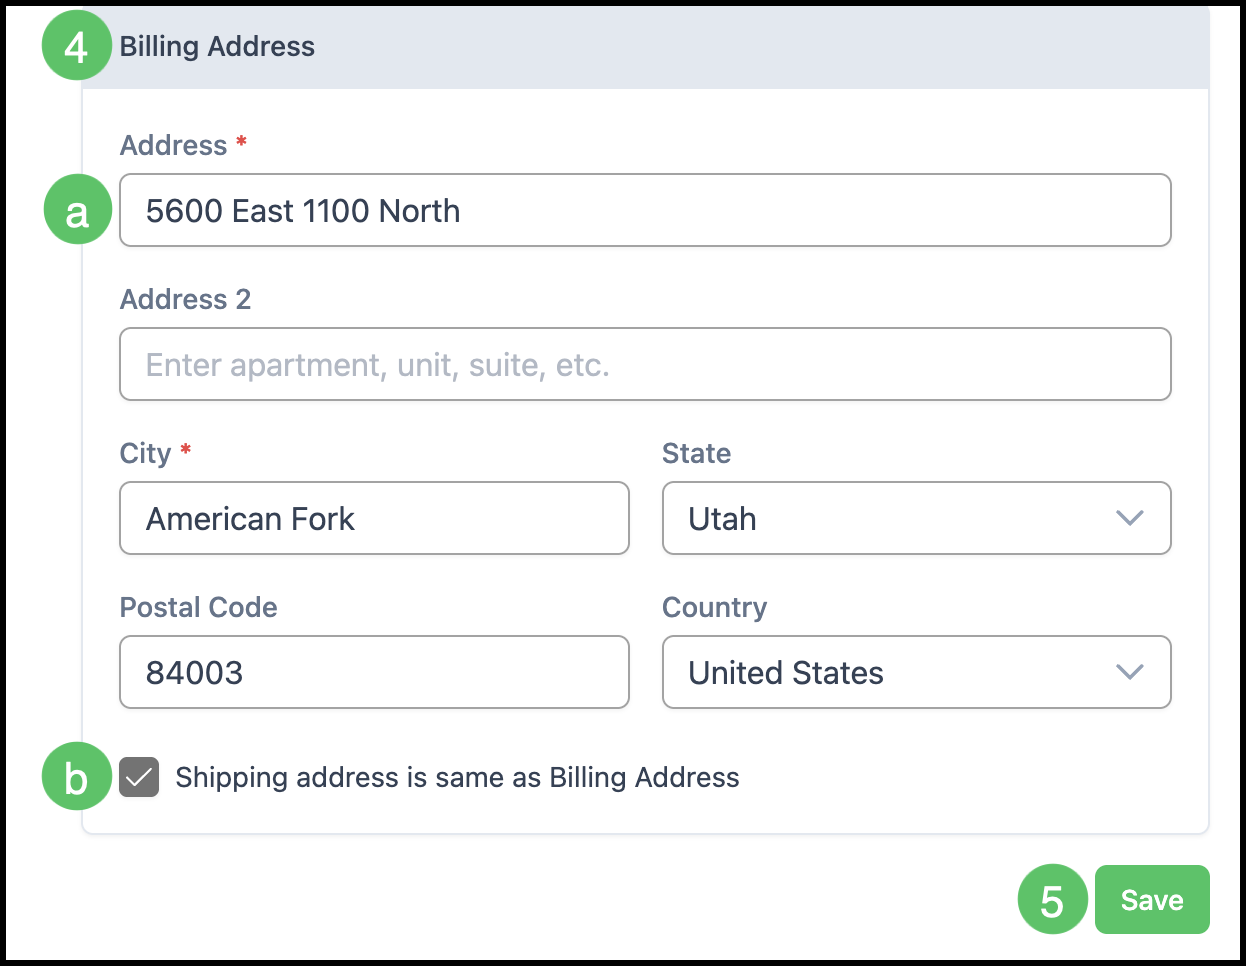
4. Enter the Billing Address. The following fields are required: Address, City.
a. Address, Address 2, City, State, Postal Code, Country.
b. By default, the Shipping Address is set to the same as the Billing Address. Uncheck this box to enter a separate Shipping Address.
5. Click Save to create the vendor. All required fields must be completed before saving.