
Materials are the physical items used during production and service delivery. Along with Labor and Machines, Materials are added to Products to help calculate costs, pricing, and production requirements. CoreBridge includes several standard Materials out of the box, and additional Materials can be created to match your business needs.
Note: When creating a new Material, it is often best to clone a similar existing Material and then update the necessary details.
For more information on Materials, see Materials Overview.
Table of Contents
Creating New Materials
Use this process to add a Material that does not closely match an existing one.
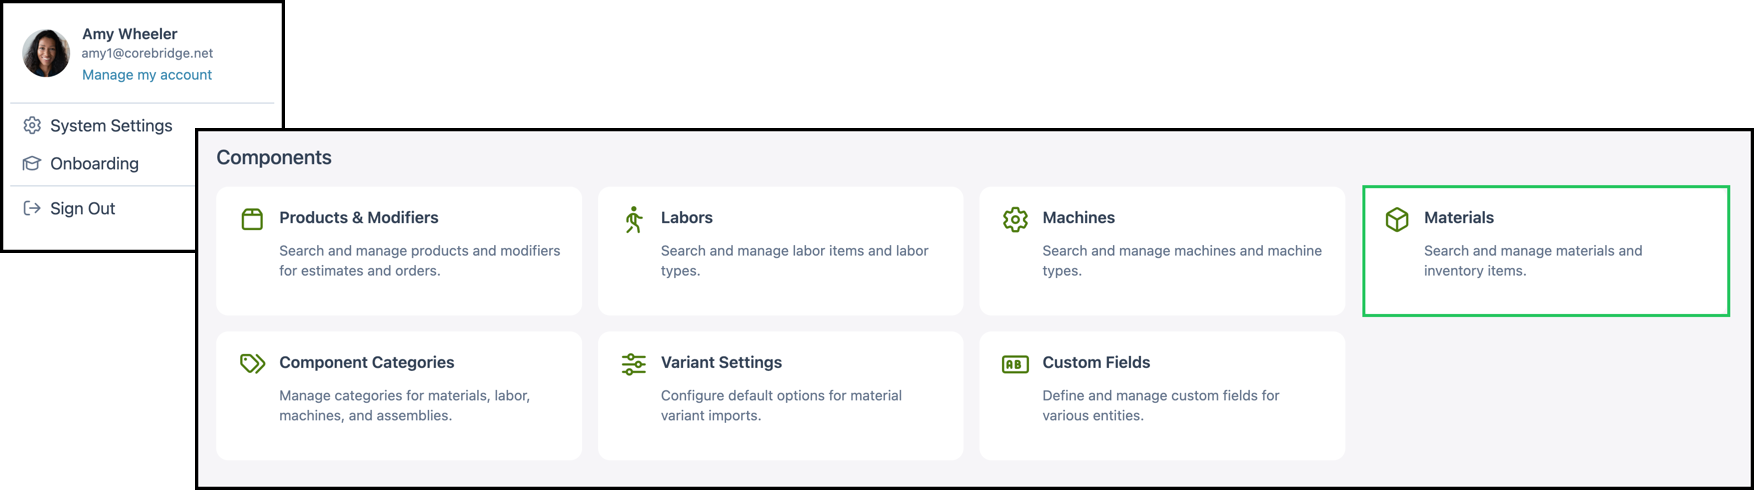
Navigate to System Settings / Components / Materials.
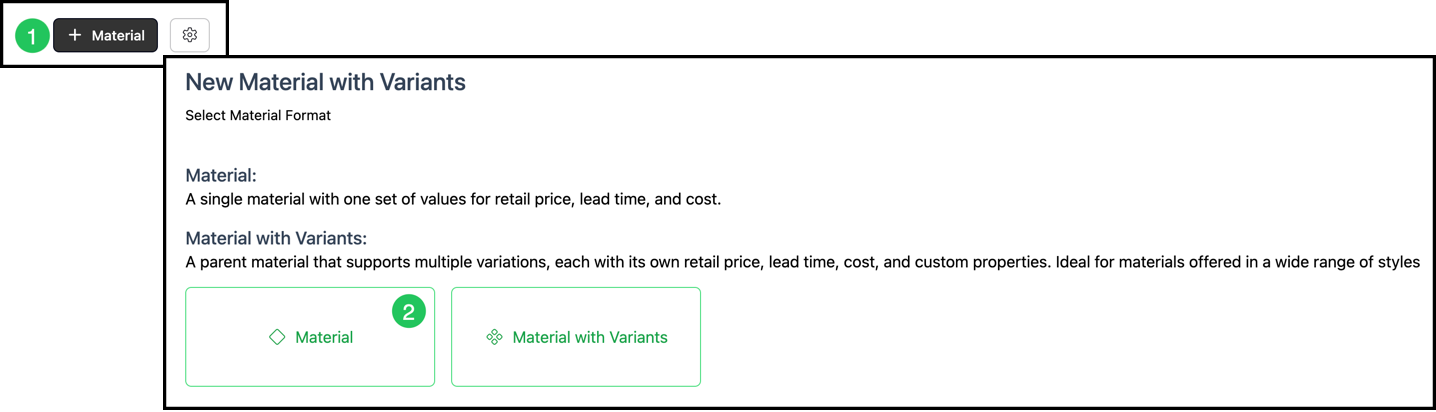
1. Click + Material.
2. On Select Material Format, select Material.
Note: The steps below are for a single Material with one set of values. Material with Variants is a parent Material with multiple variations.
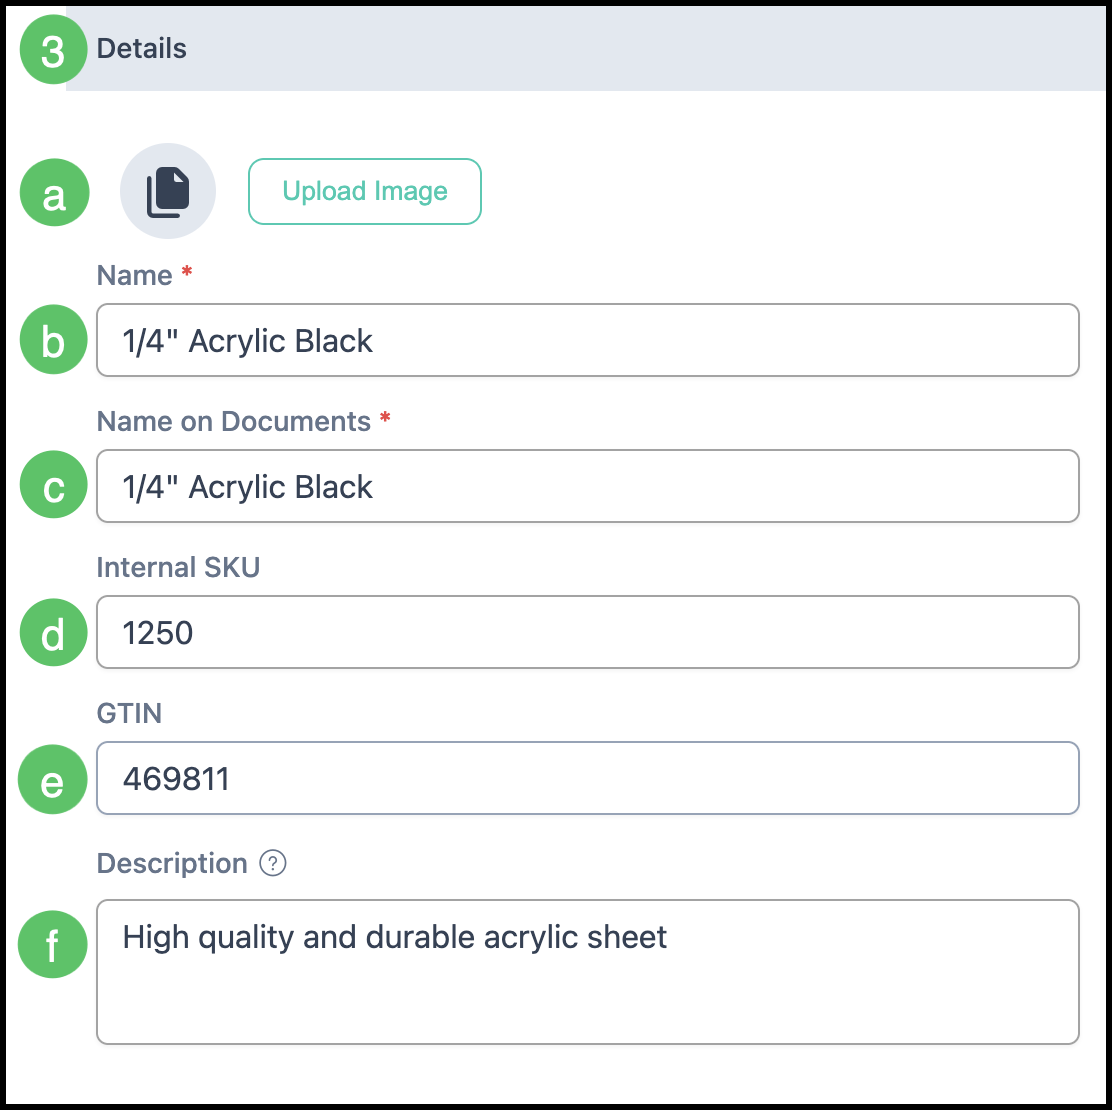
3. On the Material Details tab, enter the Details.
Note: Fields with a red asterisk are required in order to save the Material.
a. Upload Image: Optional picture of the Material.
b. Name: The name used in the Material list. Start with the Material type, then attributes such as thickness, color, or size.
c. Name on Documents: The name shown on customer documents such as Estimates and Invoices.
d. Internal SKU: An optional code used for internal inventory and tracking.
e. GTIN: A Global Trade Item Number. Vendors may use their own item numbers. The GTIN stays the same across suppliers.
f. Description: An internal description of this Material.
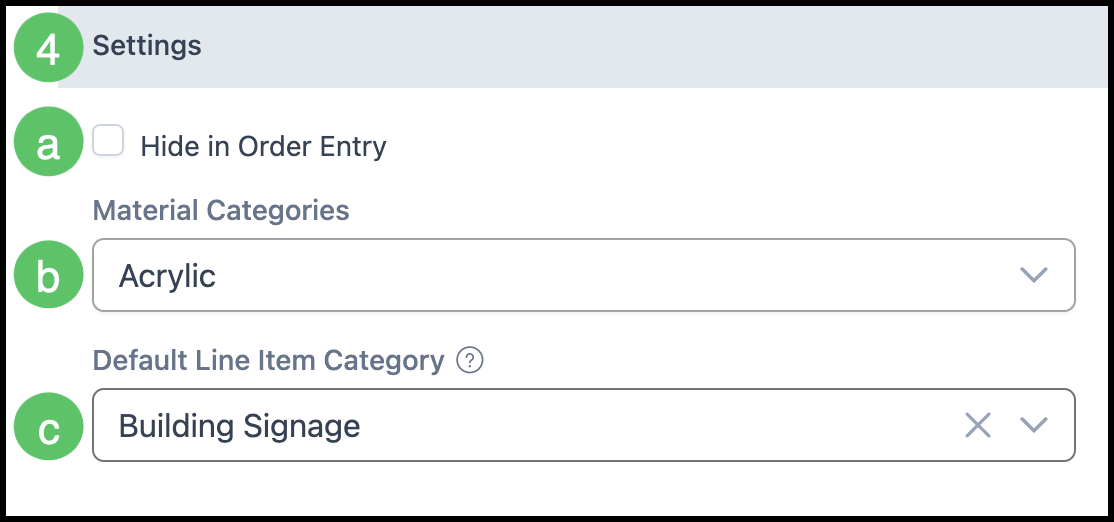
4. Enter the Settings.
a. Hide in Order Entry: When selected, this Material cannot be picked as a line during Order entry. It can still be used inside a Product.
b. Material Categories: Categories used to organize and filter Materials. When a category is linked to a Product, the Material is available during Order entry for that Product.
c. Default Line Item Category: The category applied when this Material is added to an Estimate or Order.
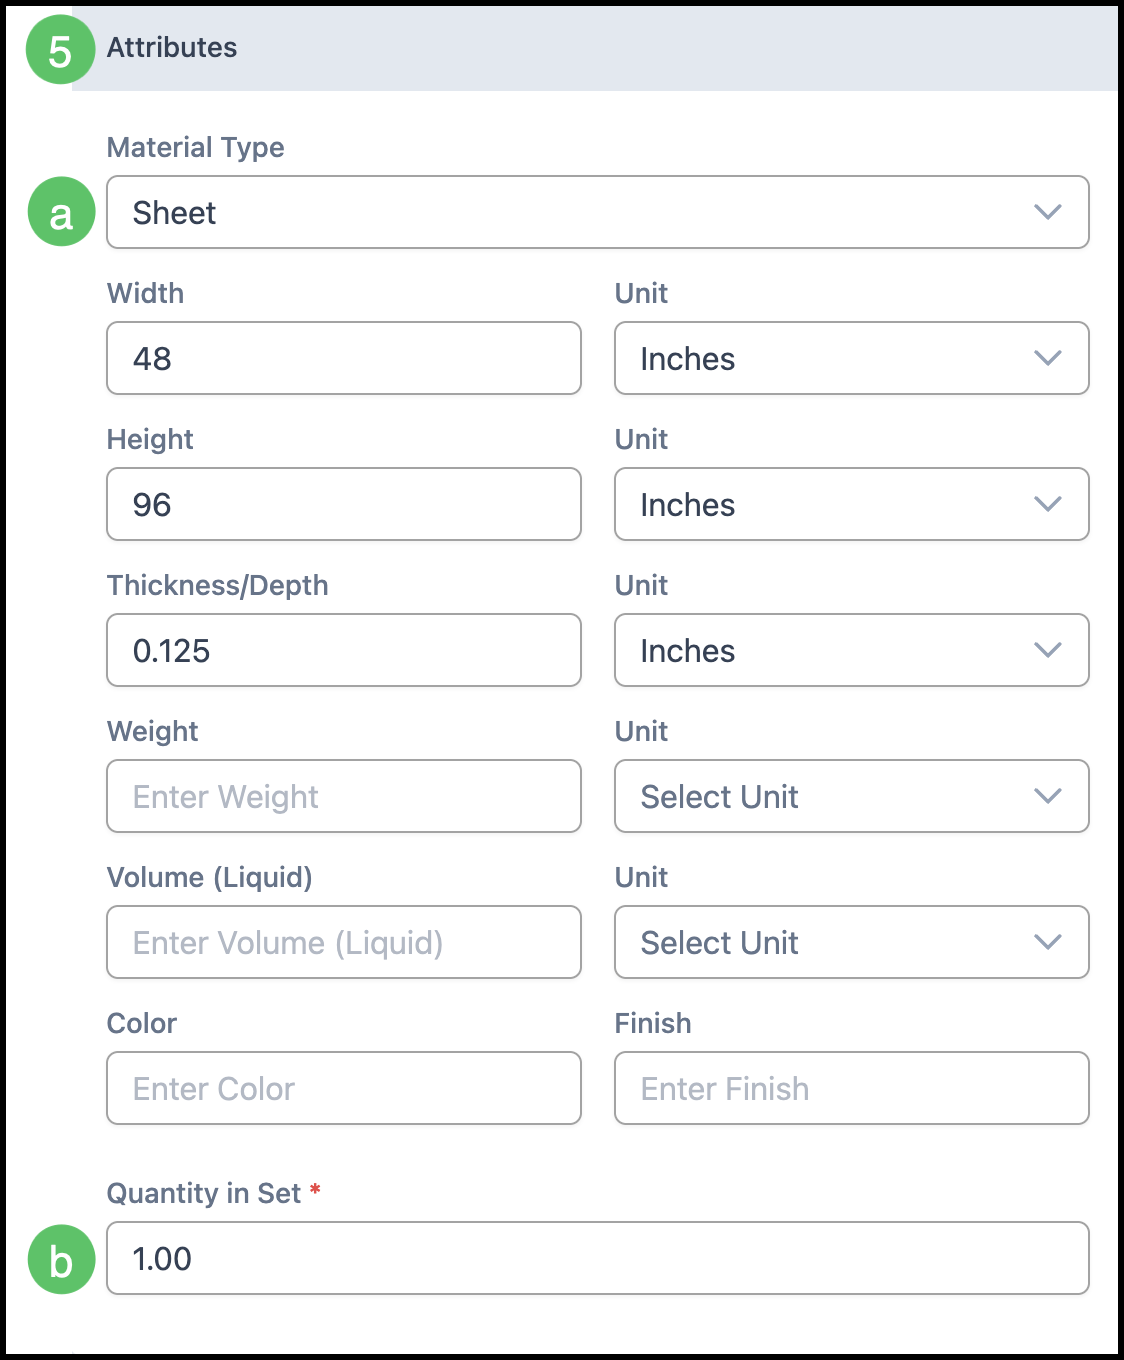
5. Enter the Attributes that apply. These are the physical values used for layout, stocking, and calculations.
a. Material Type: Select Roll, Sheet, or Other.
b. Quantity in Set: How many of this Material are sold in one set.
Example: A box of 500 business cards has a quantity of 500 in one set.
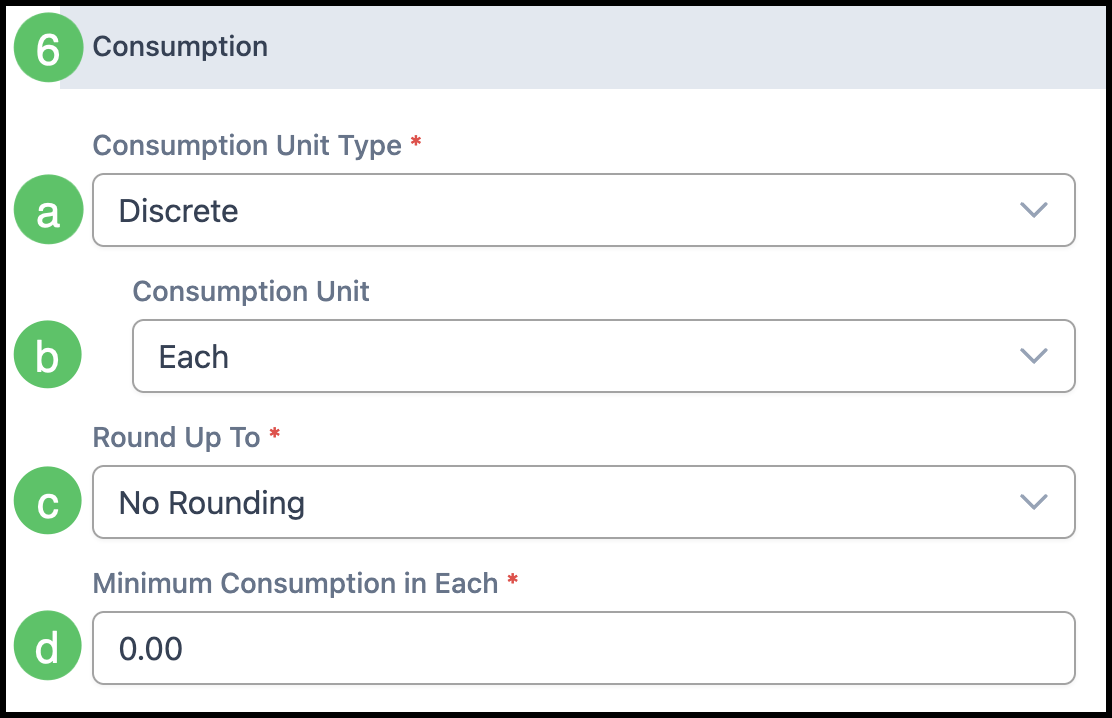
6. Enter the Consumption information. This defines how the Material is measured and rounded.
a. Consumption Unit Type: Select how the Material is measured. Options include Discrete, Length, Area, Volume Solid, Volume Liquid, Weight/Mass, and Digital Storage.
b. Consumption Unit: Fills from the unit type and can be changed.
c. Round Up To: Rounds usage up to the next increment. No Rounding leaves the calculated amount as entered.
d. Minimum Consumption in Each: The lowest amount used in calculations.
Note: Leave this at 0 unless a minimum amount is used even when the Product calls for less.
Example: If Minimum Consumption is 1 sheet and the request is 0.5 sheets, calculations use 1 sheet.
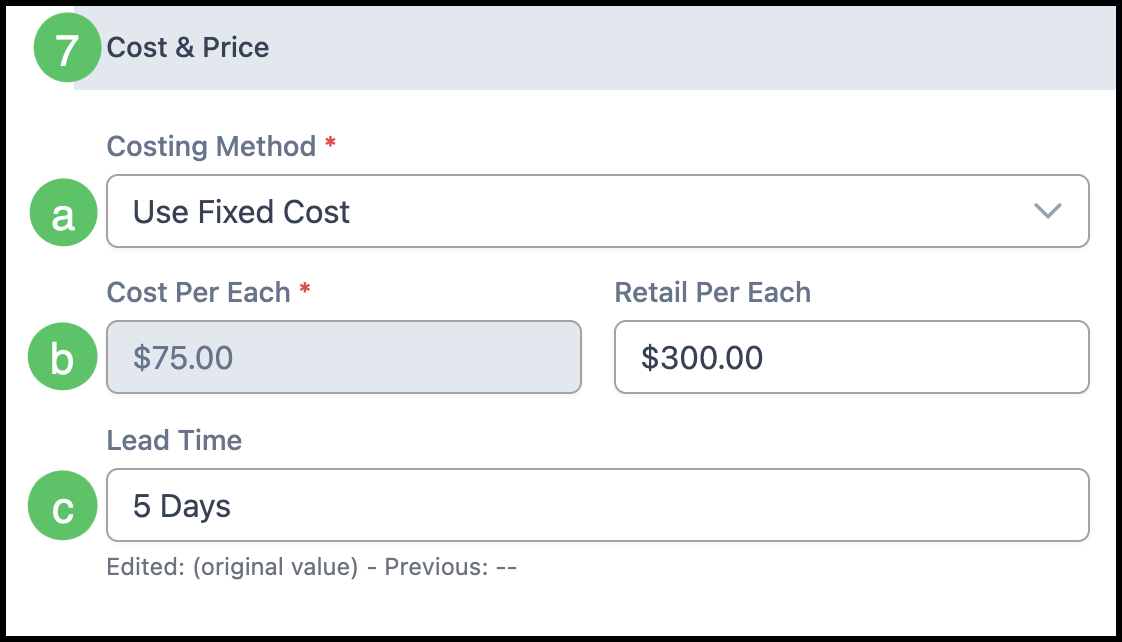
7. In Cost & Price, enter the cost and how it is calculated.
a. Costing Method: Select Use Fixed Cost, Use Highest Vendor Price For Matched Item, or Use Lowest Vendor Price For Matched Item.
b. Cost Per Each: The unit cost of one unit of this Material. Retail Per Each, in the field beside it, is the retail price for one unit. The words after Cost Per and Retail Per follow the consumption unit.
c. Lead Time: The number of days added when due dates are calculated for a job that uses this Material.
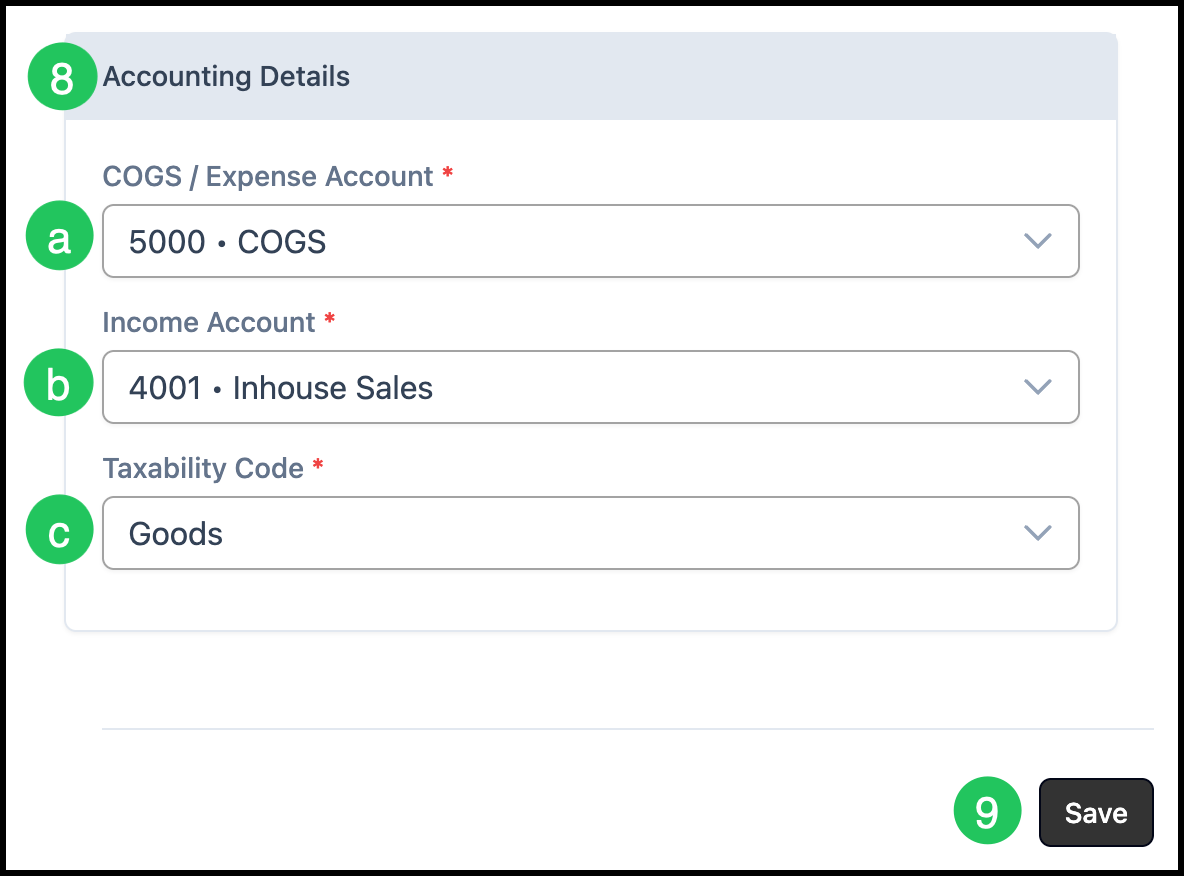
8. Enter the Accounting Details.
a. COGS / Expense Account: The account charged for this Material's cost.
b. Income Account: The account credited when this Material is sold.
c. Taxability Code: Whether this Material is taxable, tax exempt, or taxable with exceptions.
9. Click Save.
Note: When inventory tracking is turned on for the Material, Settings also includes stock fields, and Accounting Details includes Inventory Asset Account.
The Material record also has Vendor Items and Custom Fields tabs. Files and Comments are available on the record. Custom Fields are configured in System Settings / Components / Custom Fields.