
Tags are colored labels you assign to Line Items so the team can see extra information at a glance. This article shows how to apply and remove Tags on a Line Item. To create Tags, see Tag Setup.
Table of Contents
Important Information
Create Tags in Tags Management before you apply them. For more information, see Tag Setup.
Tags work the same way on Estimates and Orders. This article uses an Order as the example.
Changes to Tags save automatically.
A Line Item can have more than one Tag.
Rush and Vended on Line Item Details are separate from Tags.
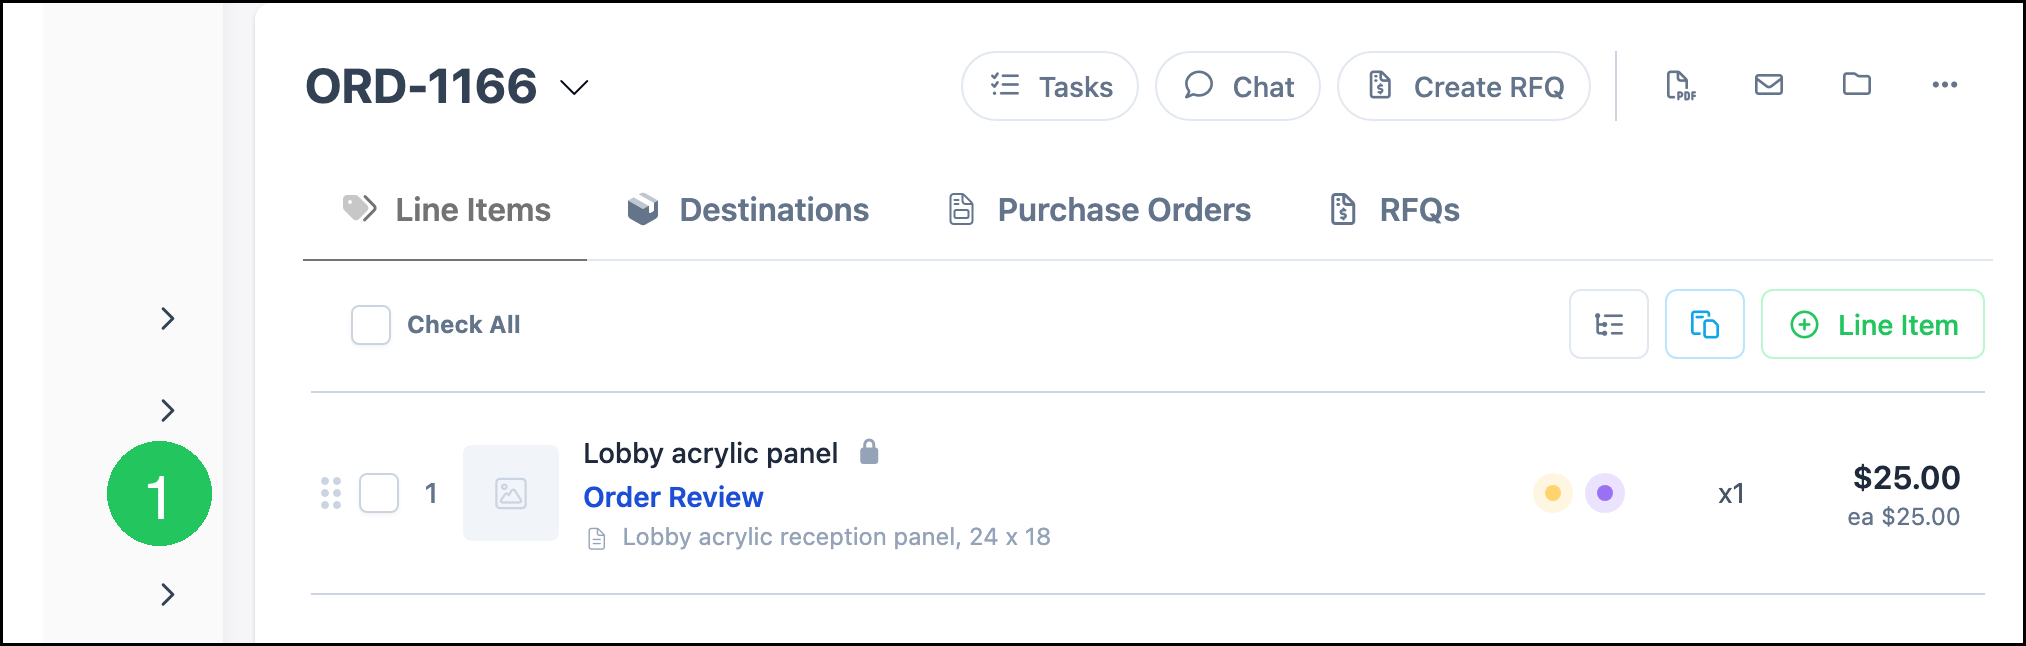
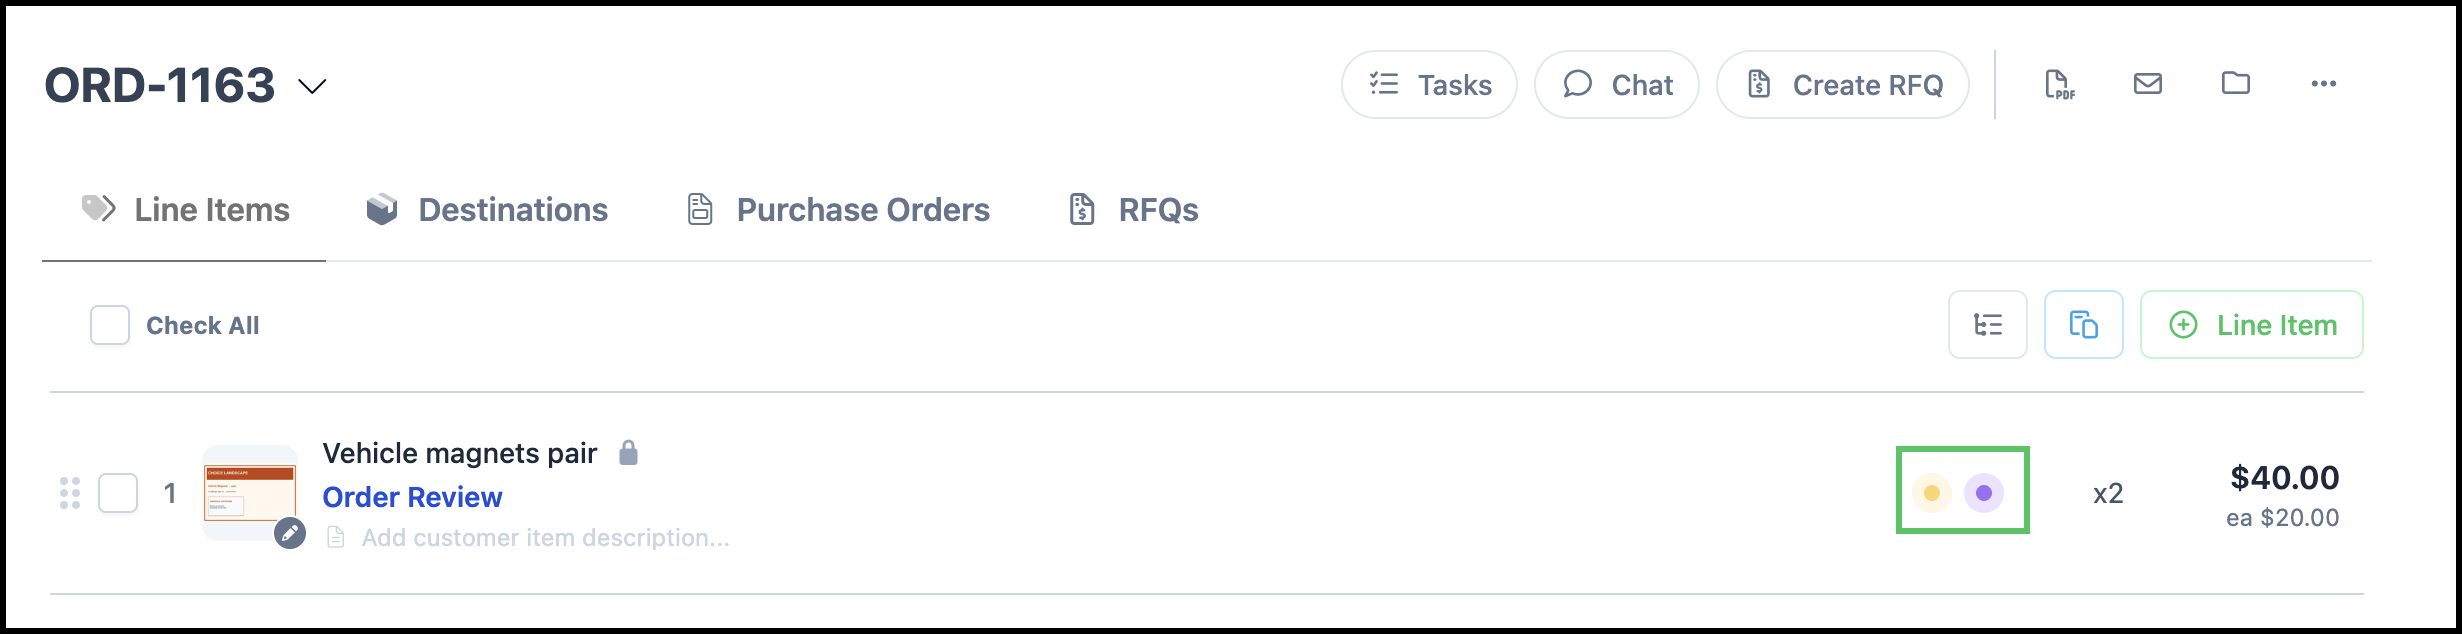
On the Line Items list, assigned Tags can appear as colored dots on the Line Item.
Applying Tags
Navigate to Sales / Orders.
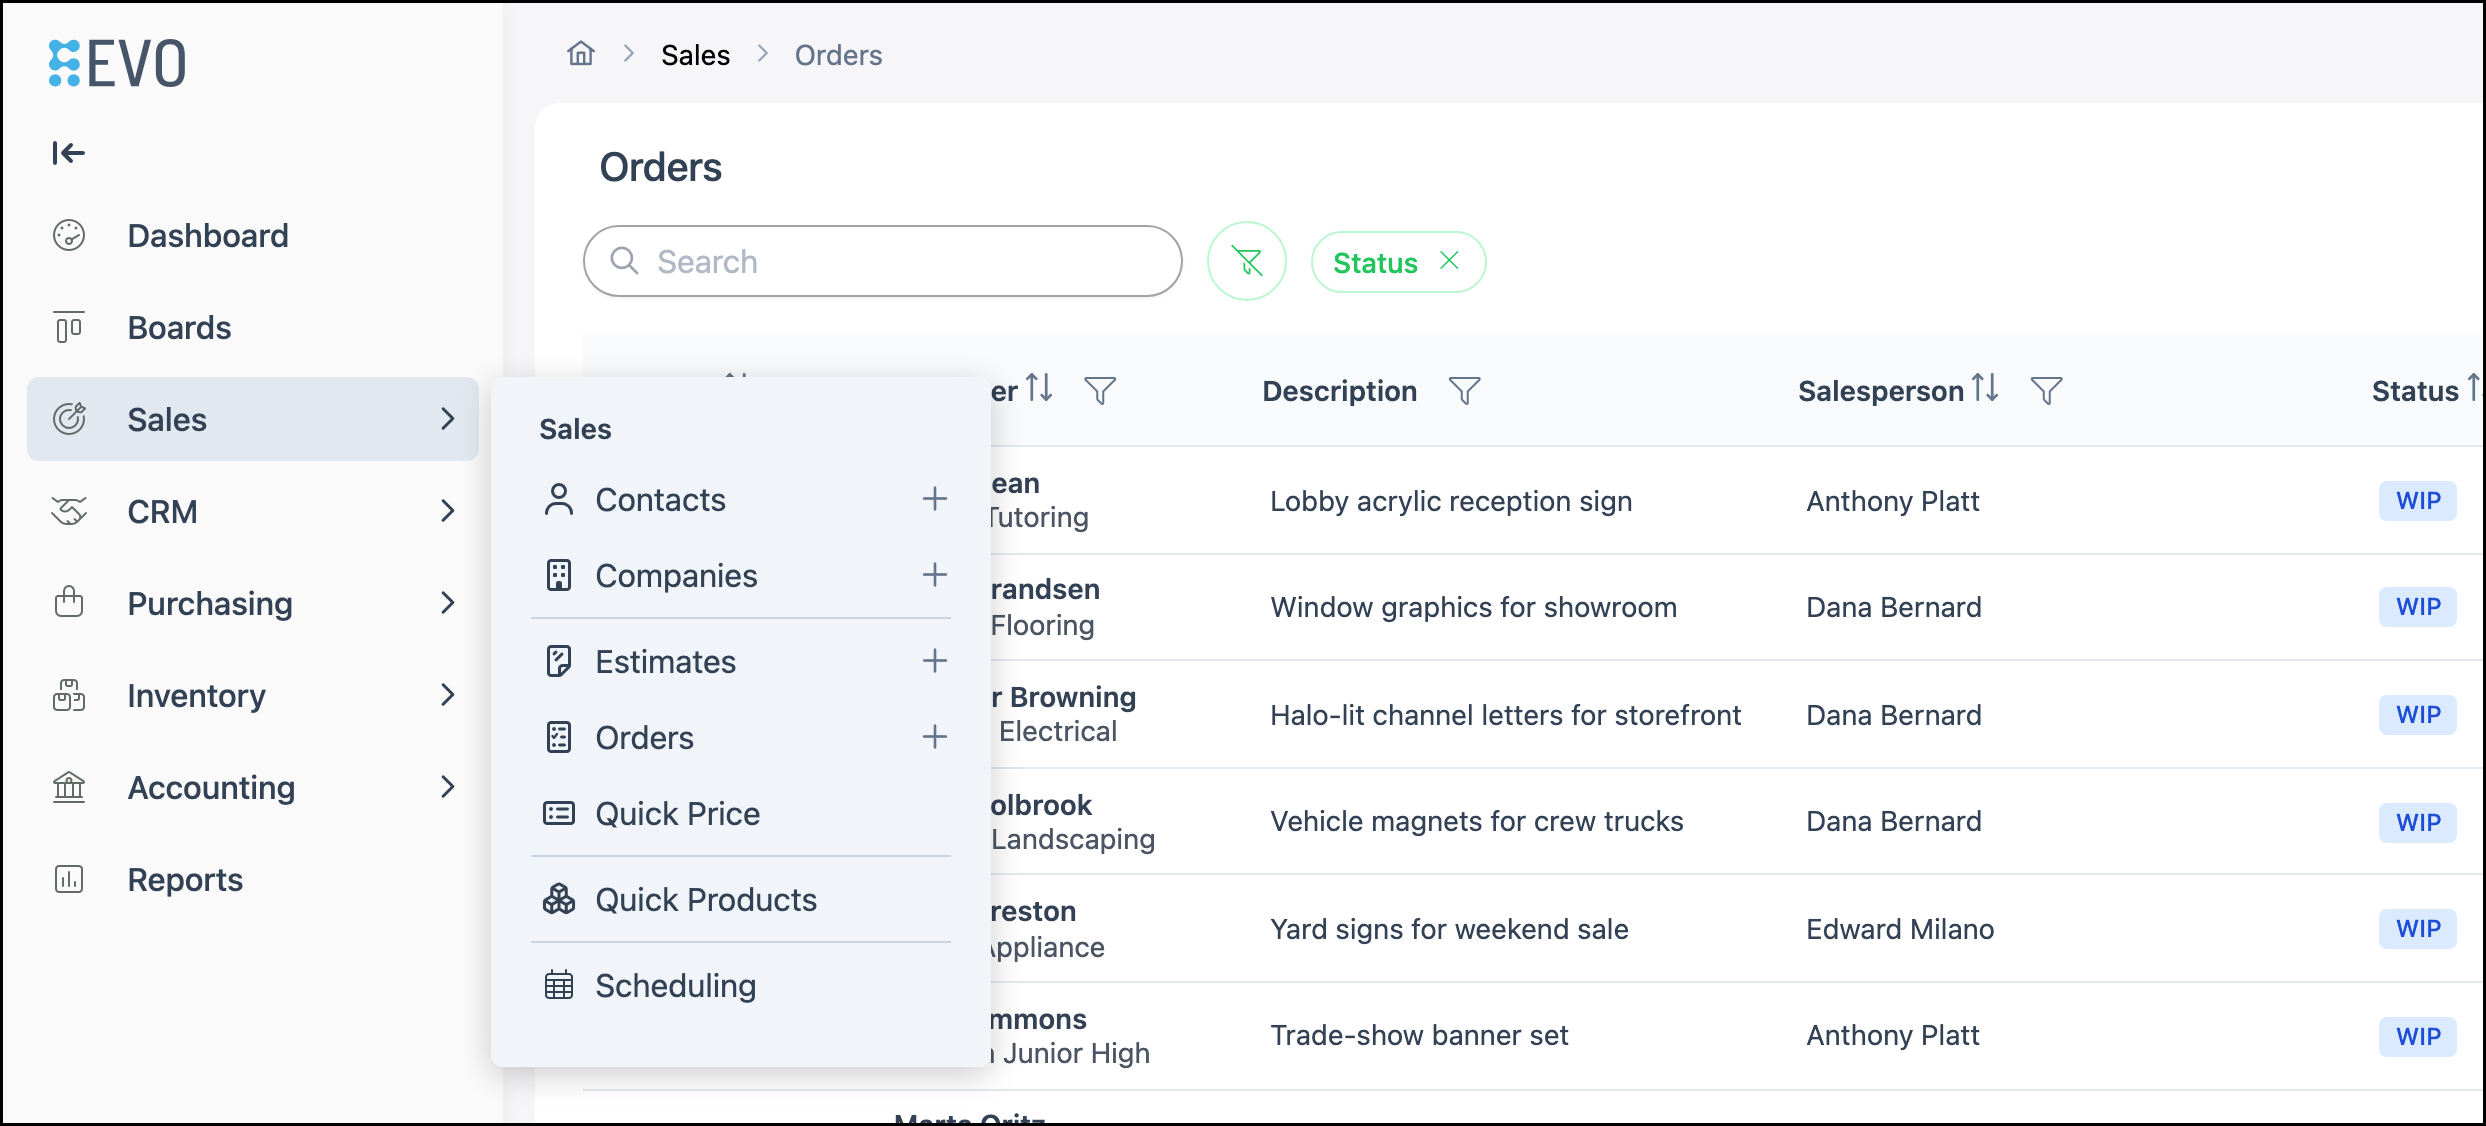
Open an Order. The Line Items tab is selected by default.
Note: You can also apply Tags from Sales / Estimates.
1. Click the Line Item (not the checkbox). Line Item Details opens.
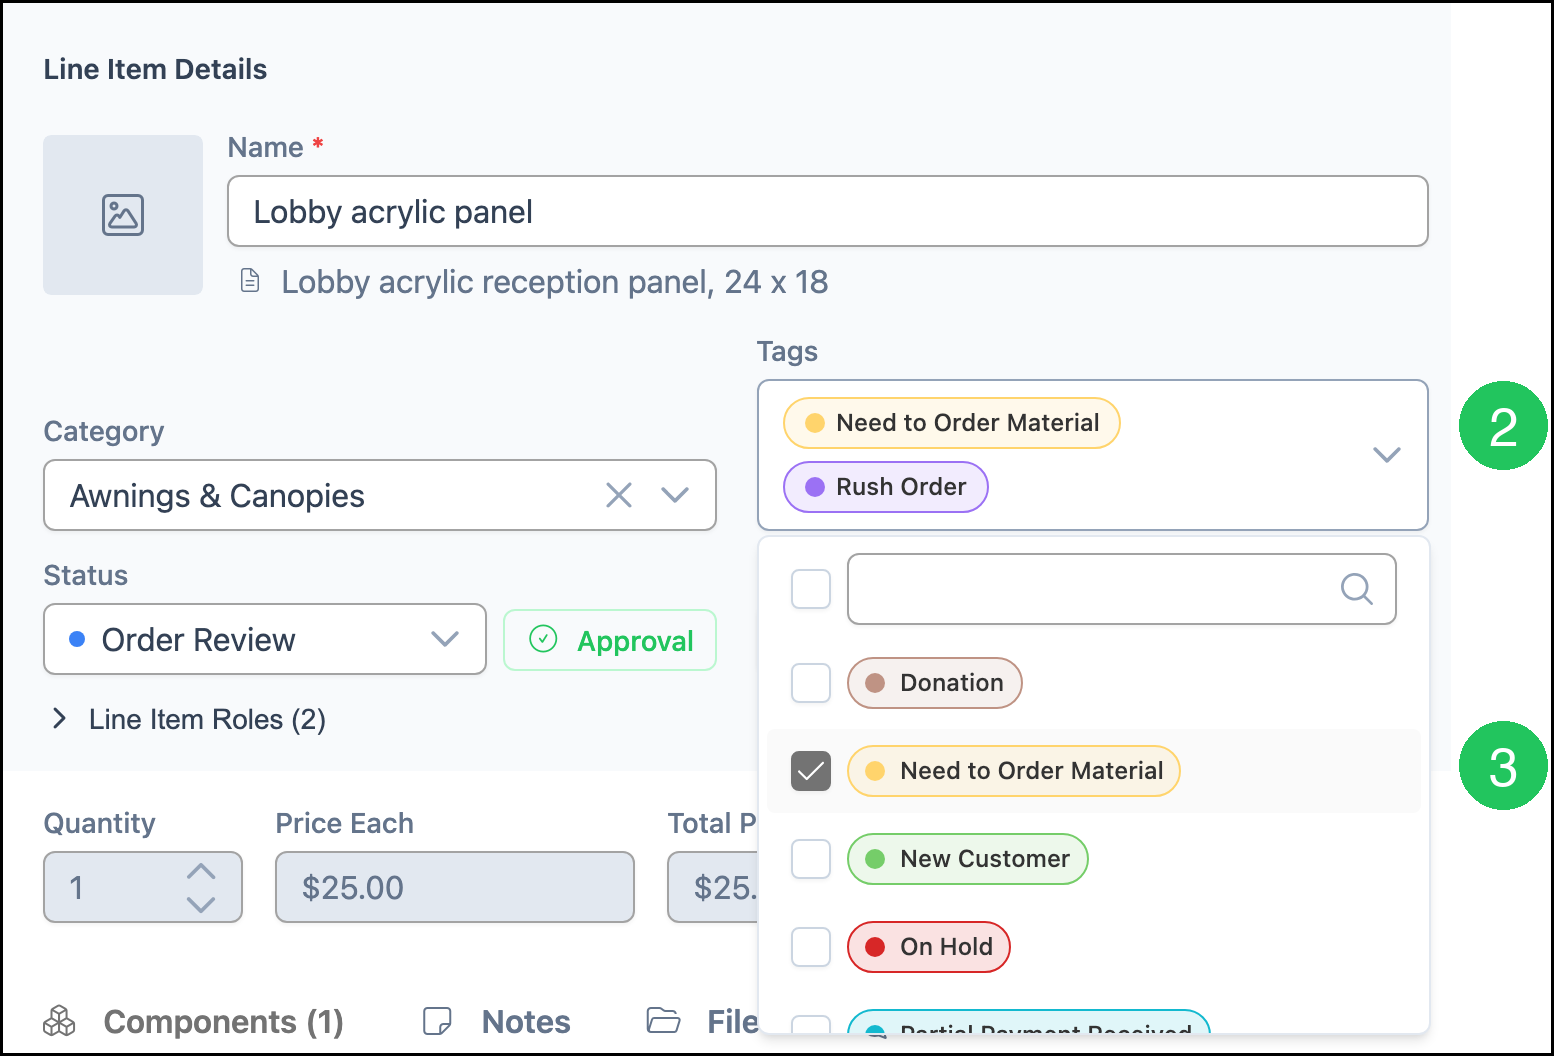
2. Click Tags.
3. Select one or more Tags.
Note: Changes save automatically.
Removing a Tag
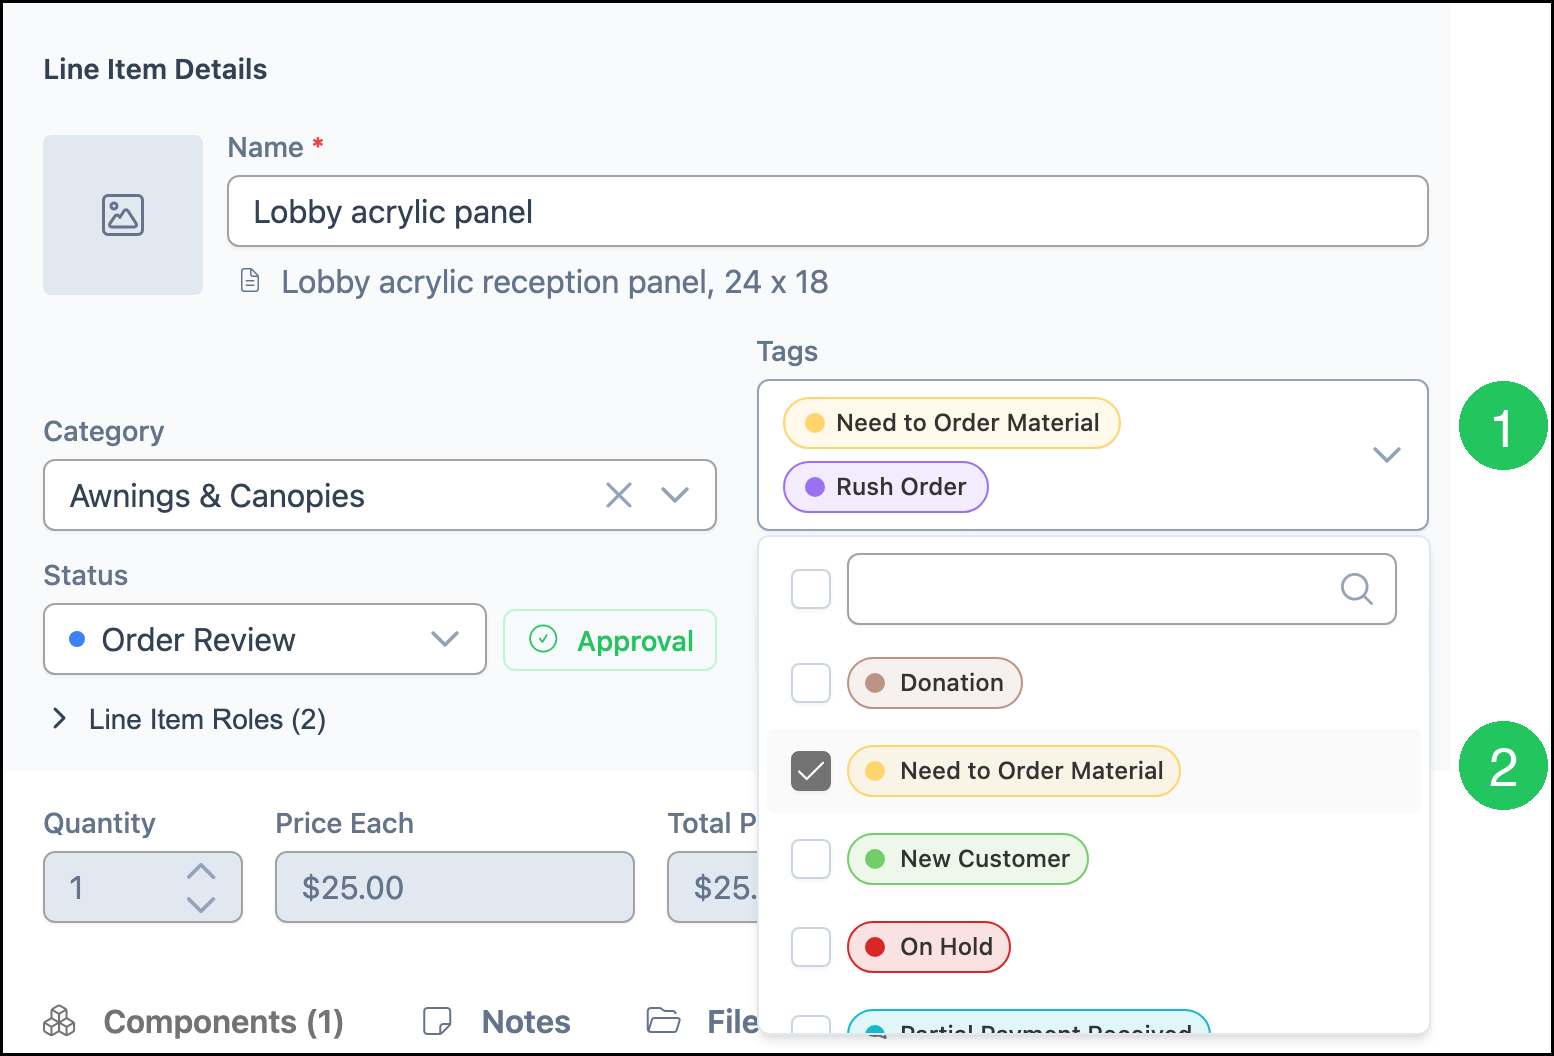
From Line Item Details:
1. Click Tags.
2. Clear the checkbox for the Tag you no longer need.
Note: Changes save automatically.
Frequently Asked Questions
1. Where do I create Tags?
Answer: Create Tags in Settings / Workflow / Tags Management. For more information, see Tag Setup.
2. Can I use Tags on Estimates?
Answer: Yes. Apply Tags on Line Items from Line Item Details on Estimates the same way as on Orders.
3. Can a Line Item have more than one Tag?
Answer: Yes. Select as many Tags as you need.
4. Do I need to click Save after I change Tags?
Answer: No. Changes save automatically.
5. How do Tags appear on the Line Items list?
Answer: Assigned Tags can appear as colored dots on the Line Item.
6. Can I use Tags on Boards?
Answer: Yes. You can include Tags when you set up Boards. For more information, see Boards Overview and Board Filters.
Related Articles
Board Filters
Boards Overview
Line Item Statuses
Line Items Overview
Tag Setup
Using Statuses