
The Bill of Materials provides a structured breakdown of all components required for the production of an Order. Your Components are the Materials, Machines, and Labors that make up a Product. Reviewing the Bill of Materials allows you to validate the estimated usage and costs of each Component. This is where you can identify discrepancies between what CoreBridge is estimating versus what you are actually using in production. This article will guide you through how to find the Bill of Materials, analyze it, verify costs, and update pricing. This ensures your Products are both cost-effective and correct.
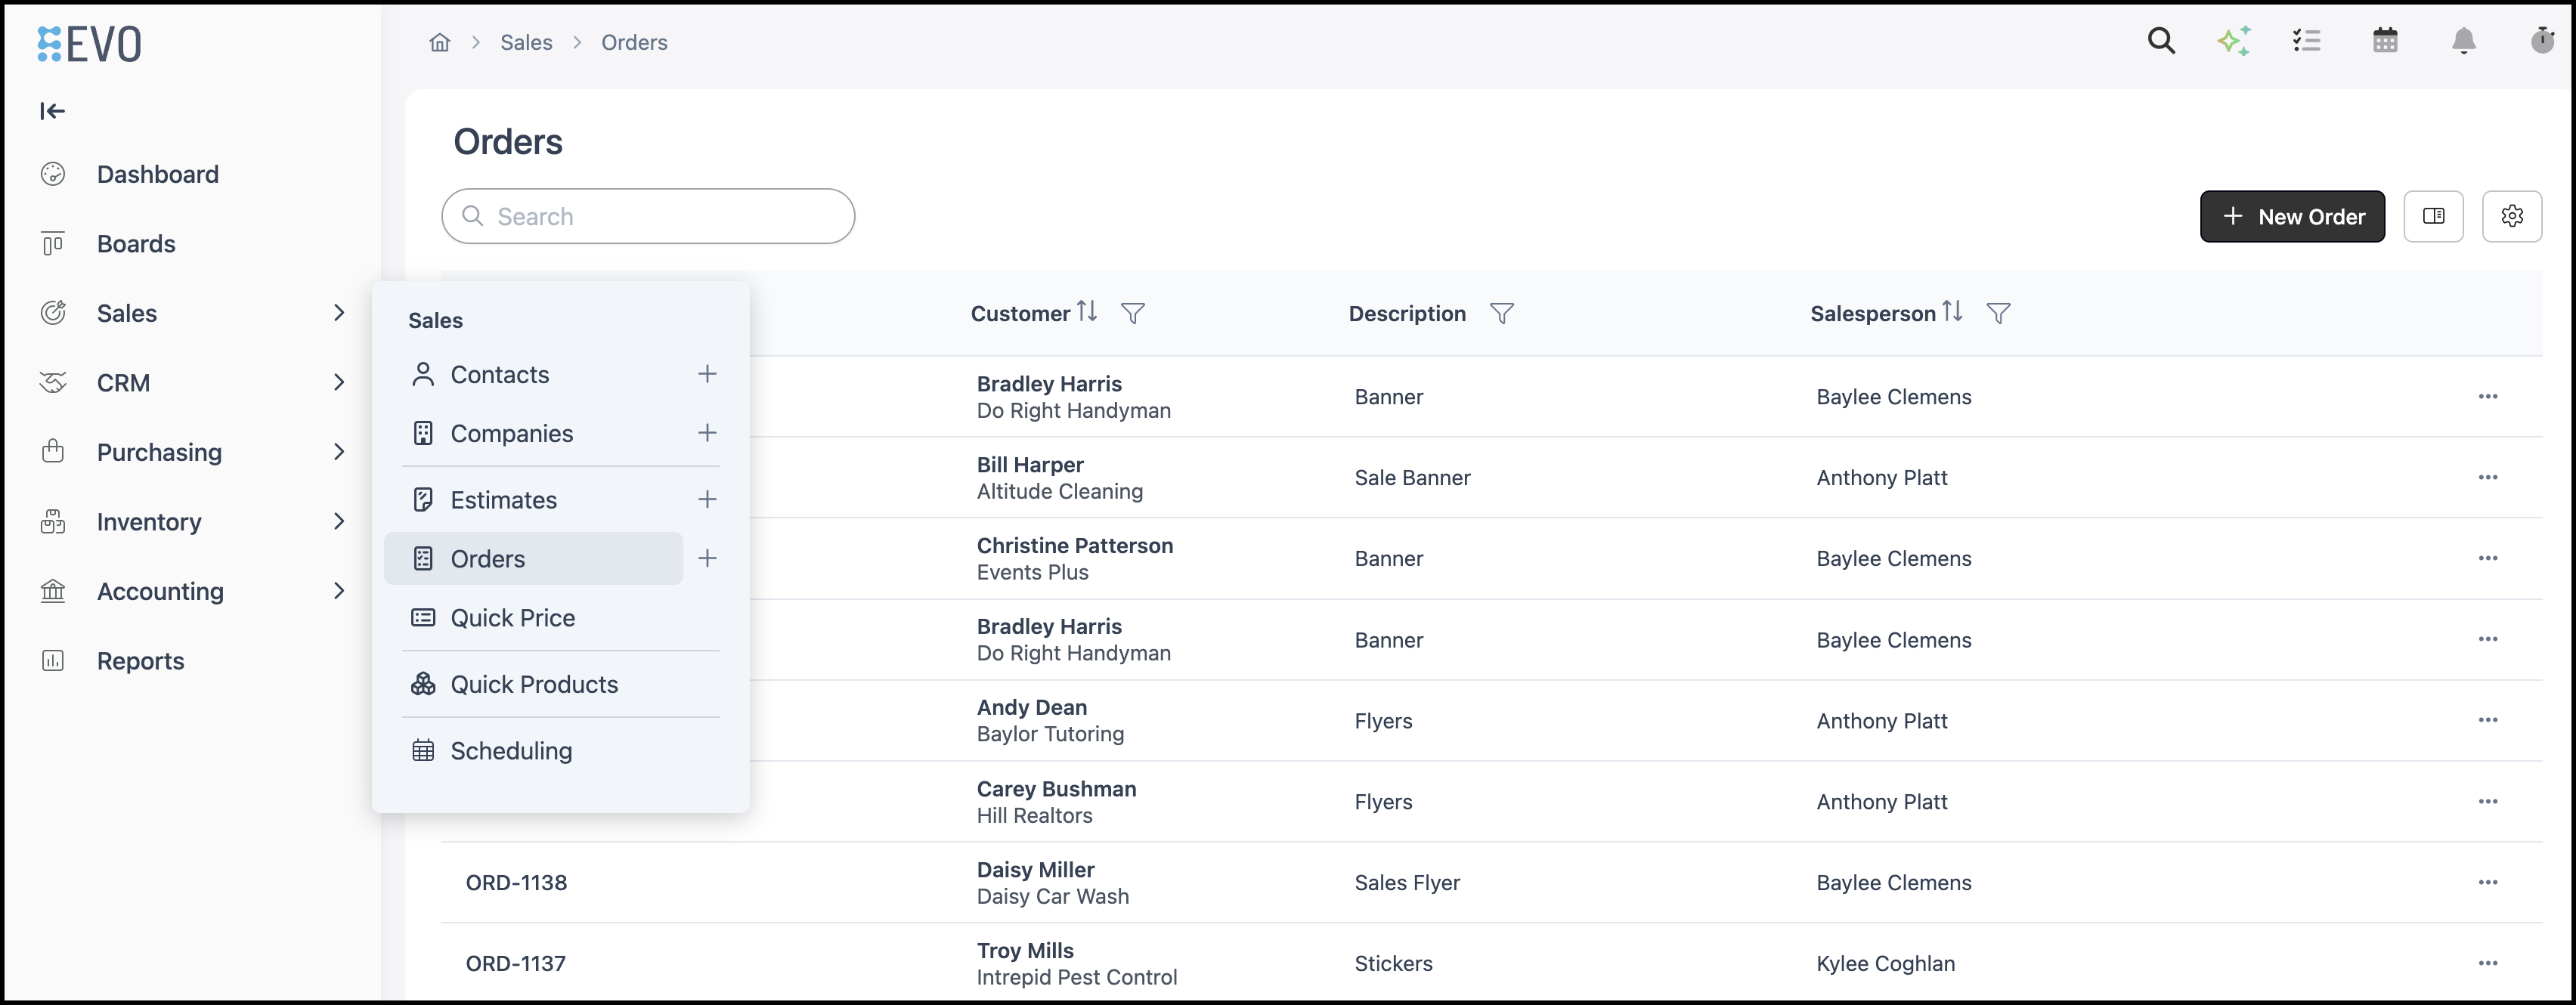
Navigate to Sales / Orders, or Sales / Estimates and select the specific Order or Estimate.
Note: In this article, we will be viewing the Bill of Materials in an Order. The Bill of Materials functions and is accessed the same way in both.
Opening Bill of Materials
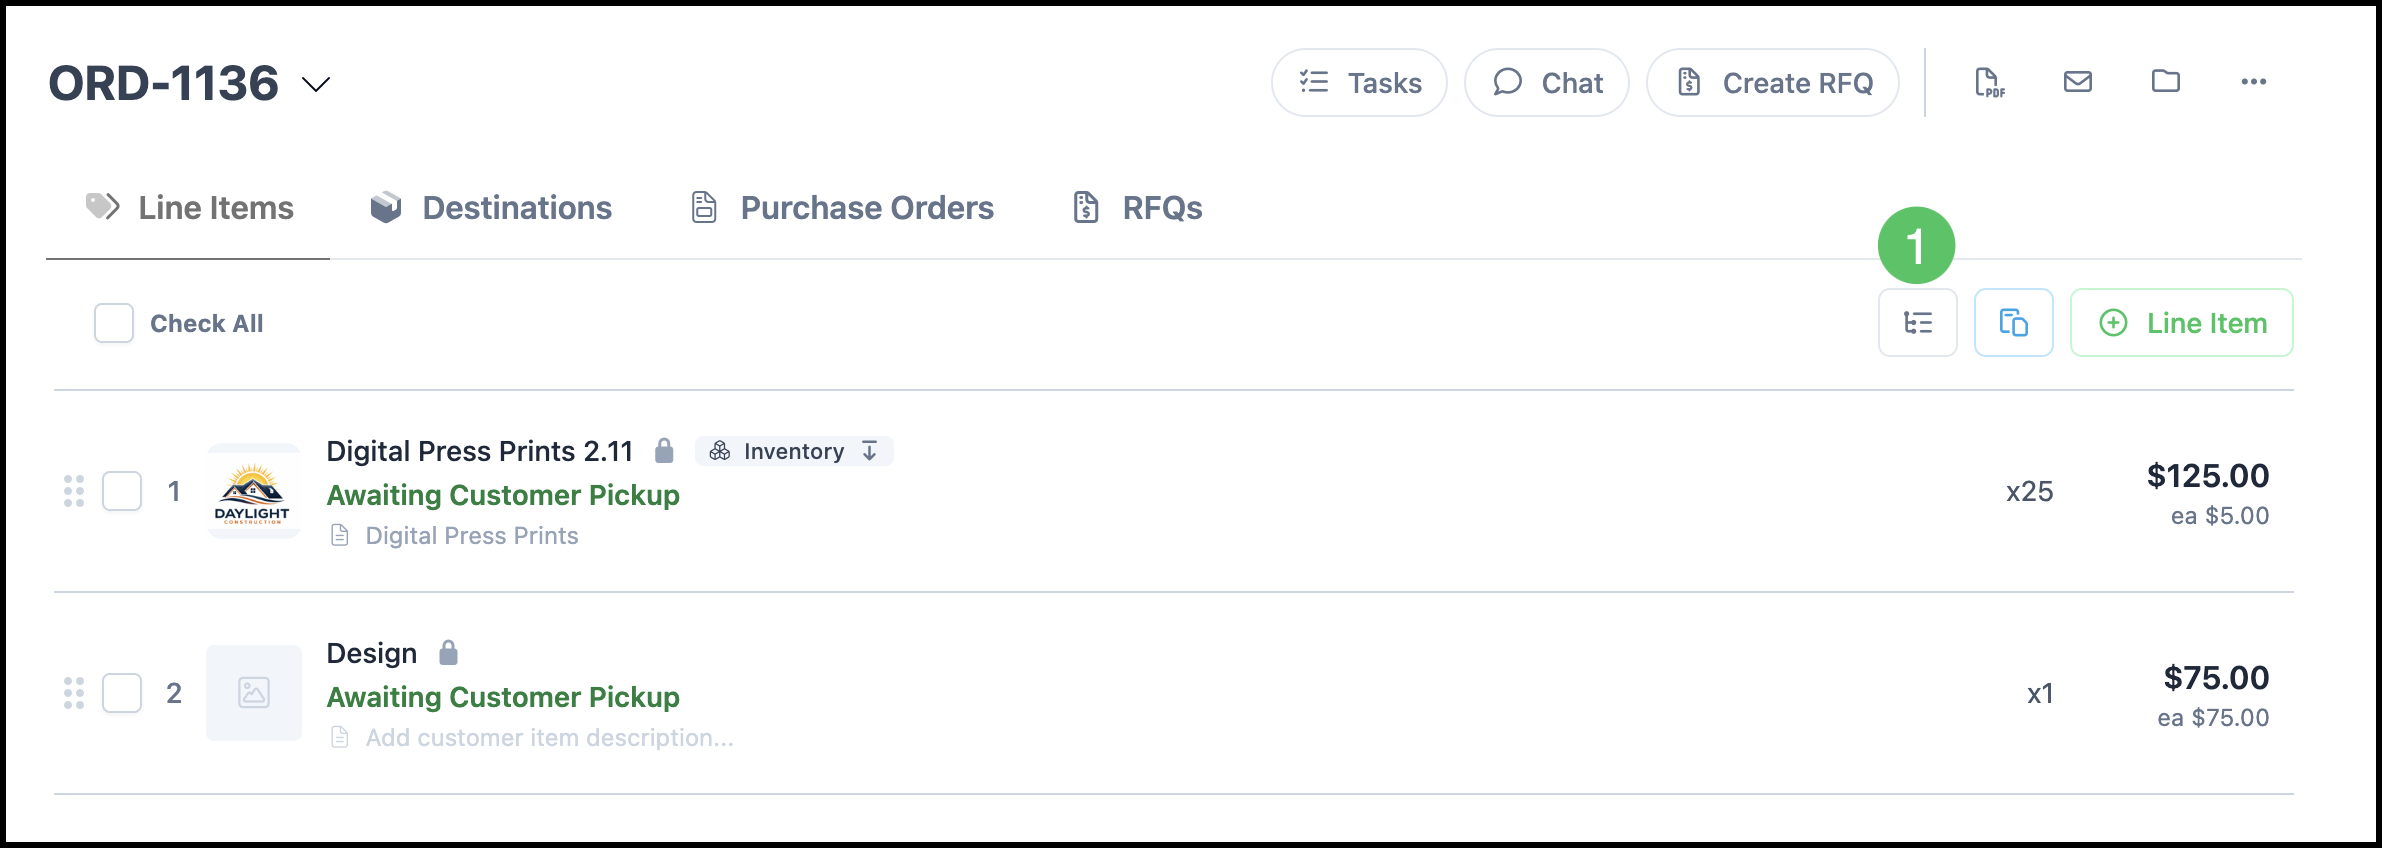
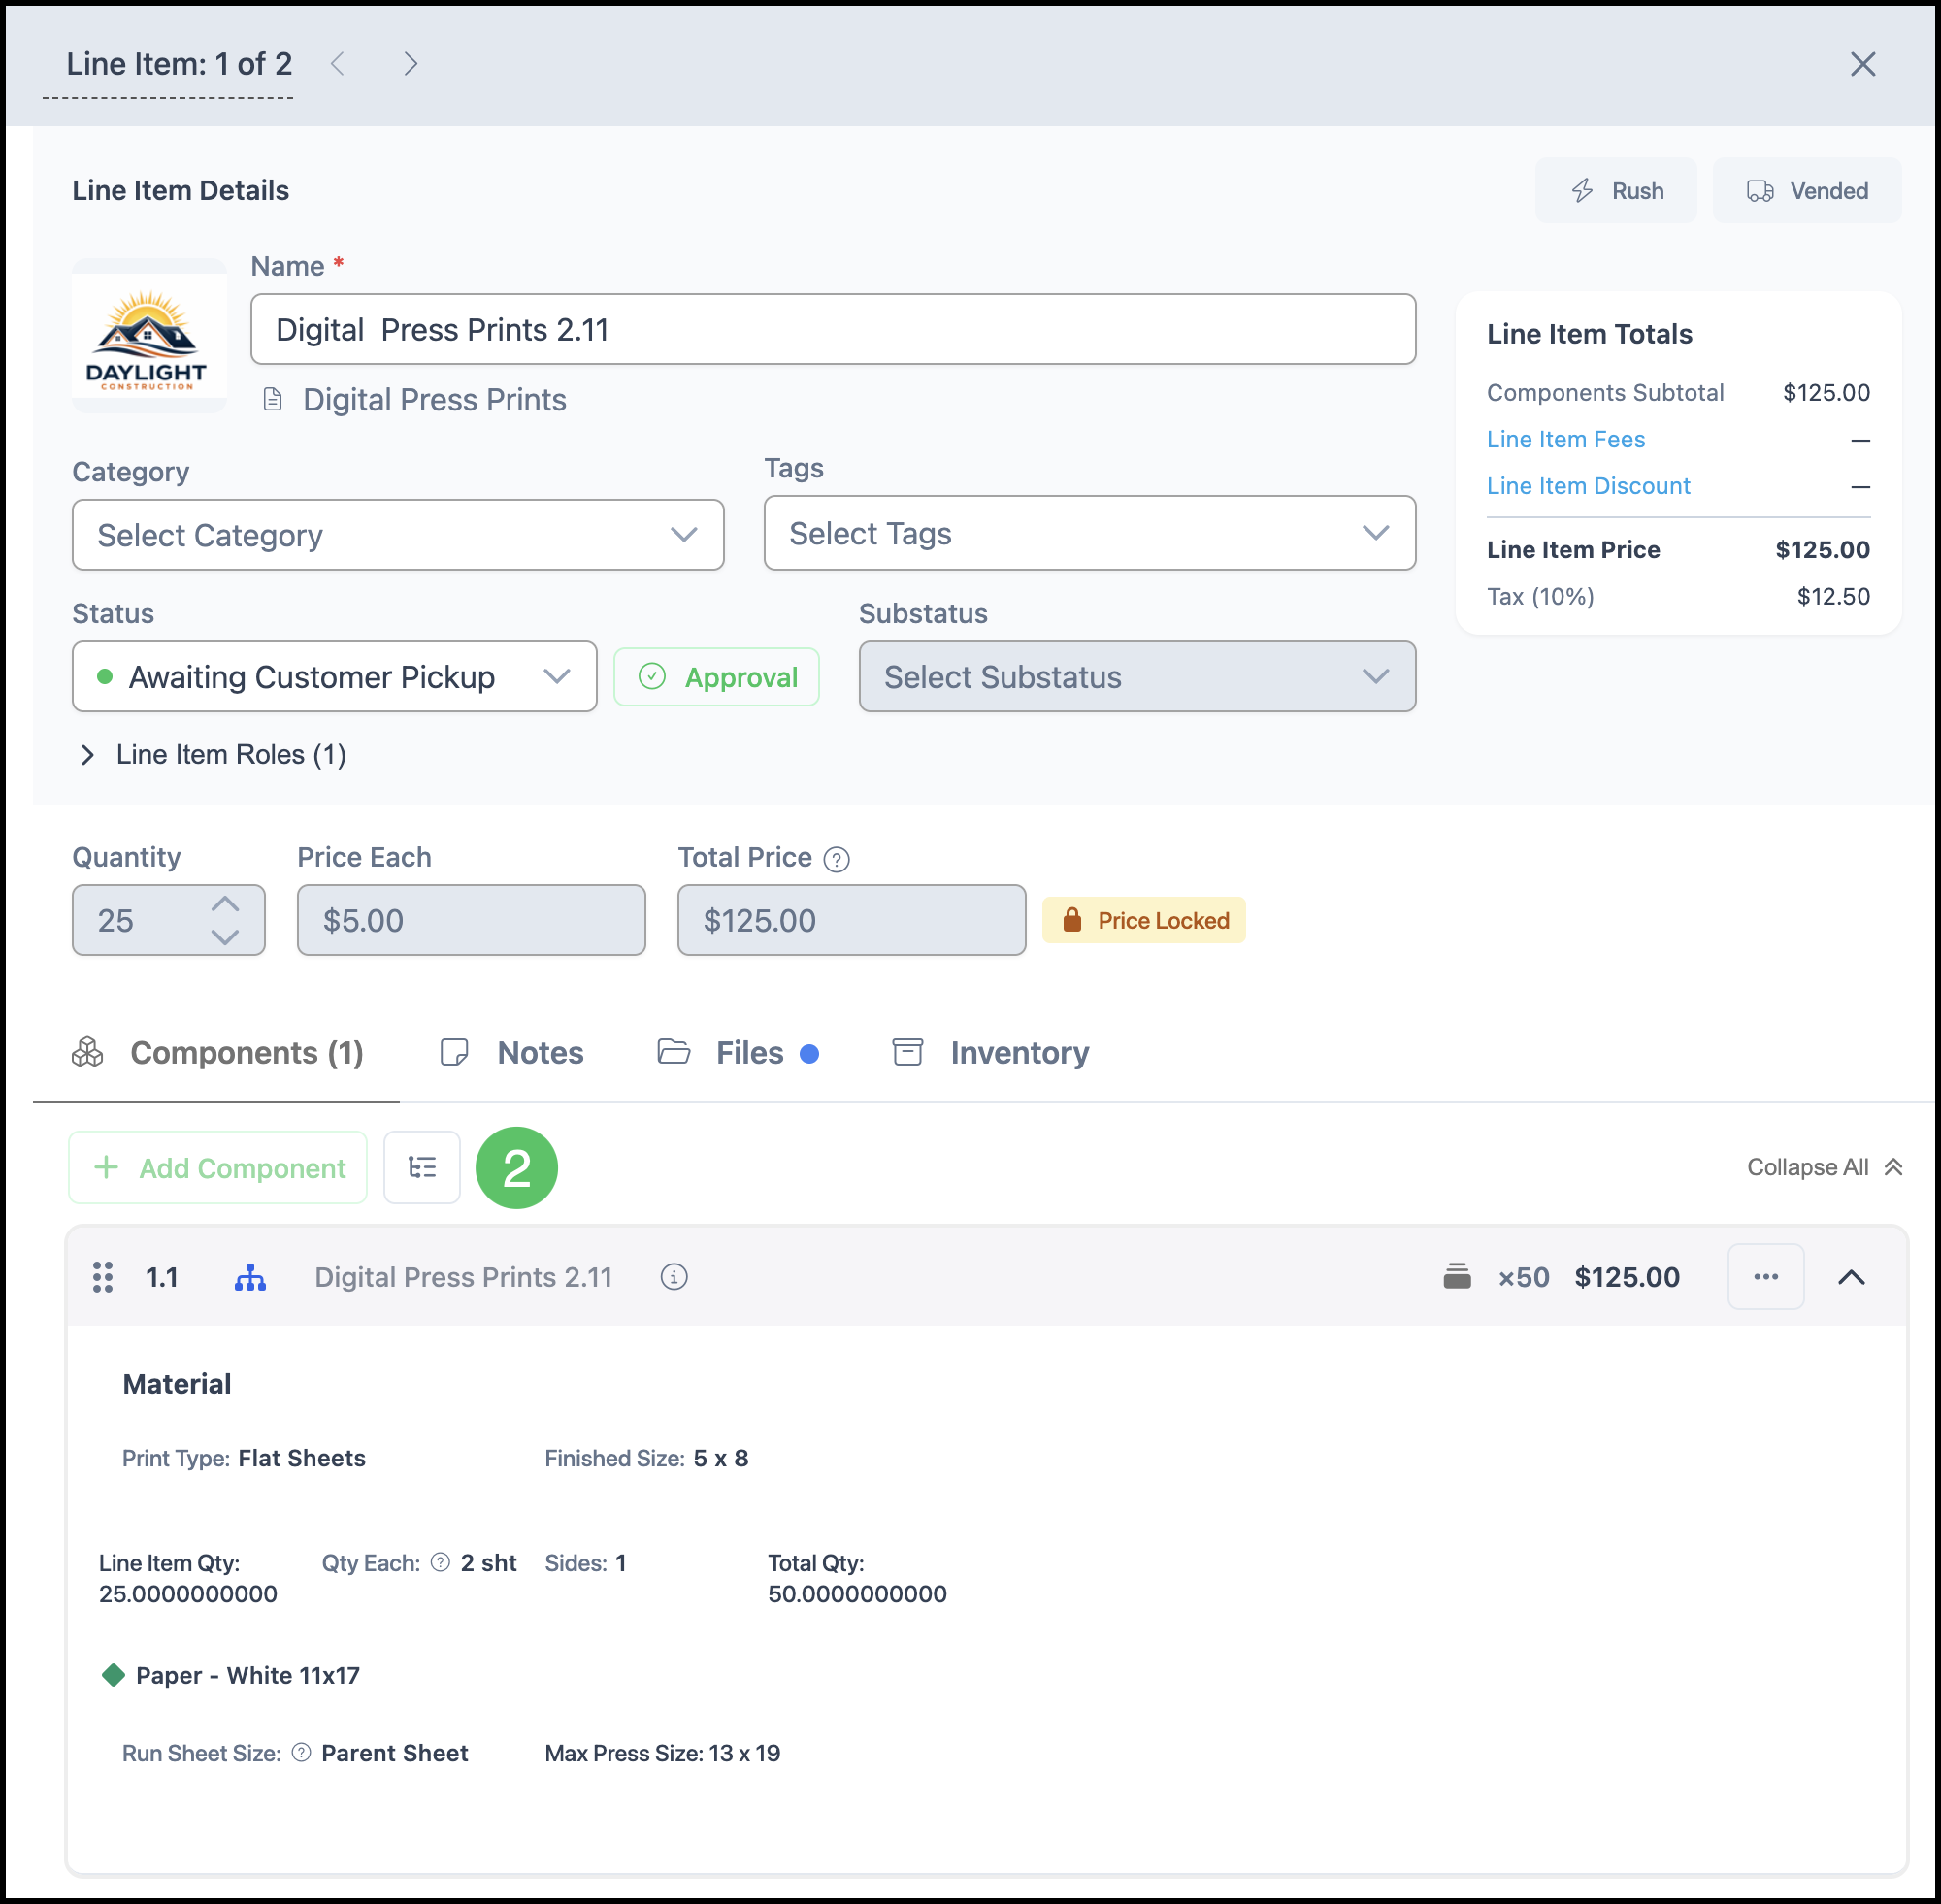
Bill of Materials can be opened either directly from the Order screen, or from within a Line Item side panel.
Order Screen:
1. Click the Bill of Materials icon.
Line Item Side Panel:
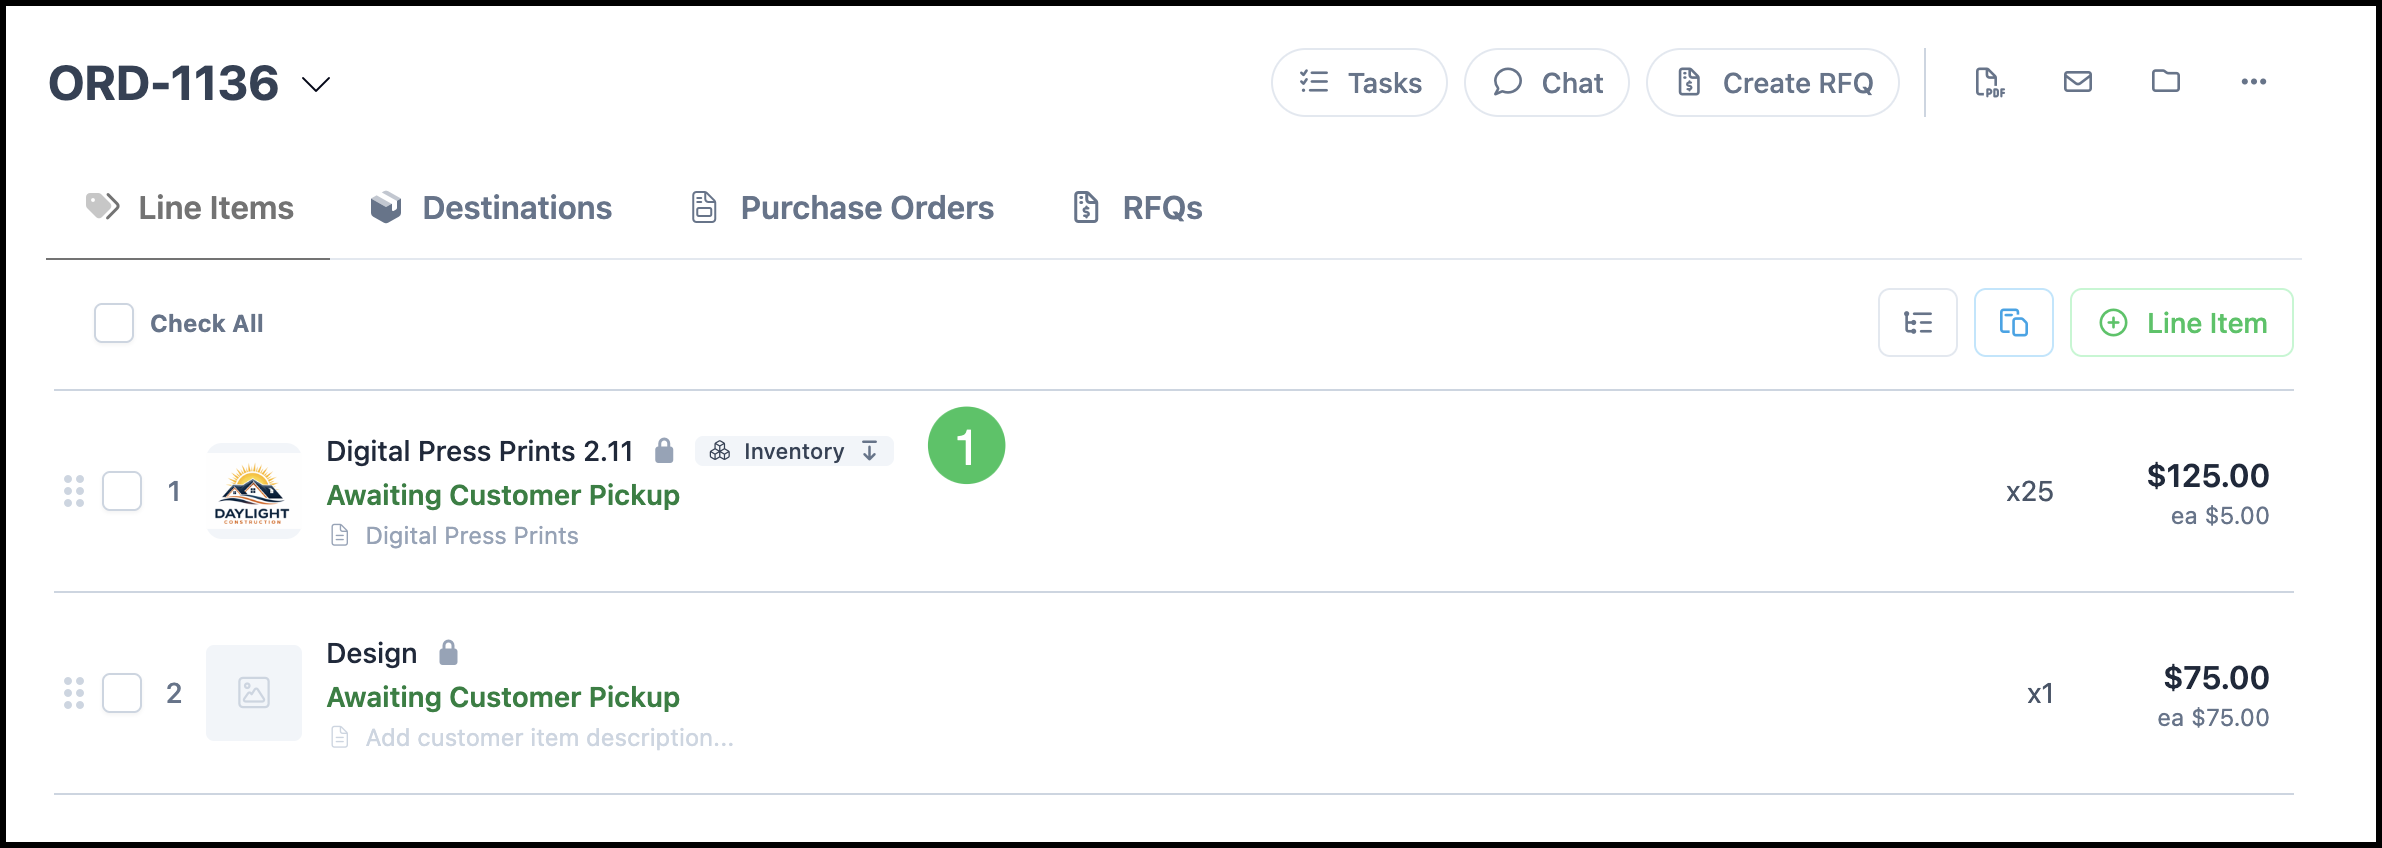
1. Select the Line Item.
2. Click the Bill of Materials icon.
Reading the Sales Bill of Materials
Reading the Sales Bill of Materials should be done from top to bottom, left to right.
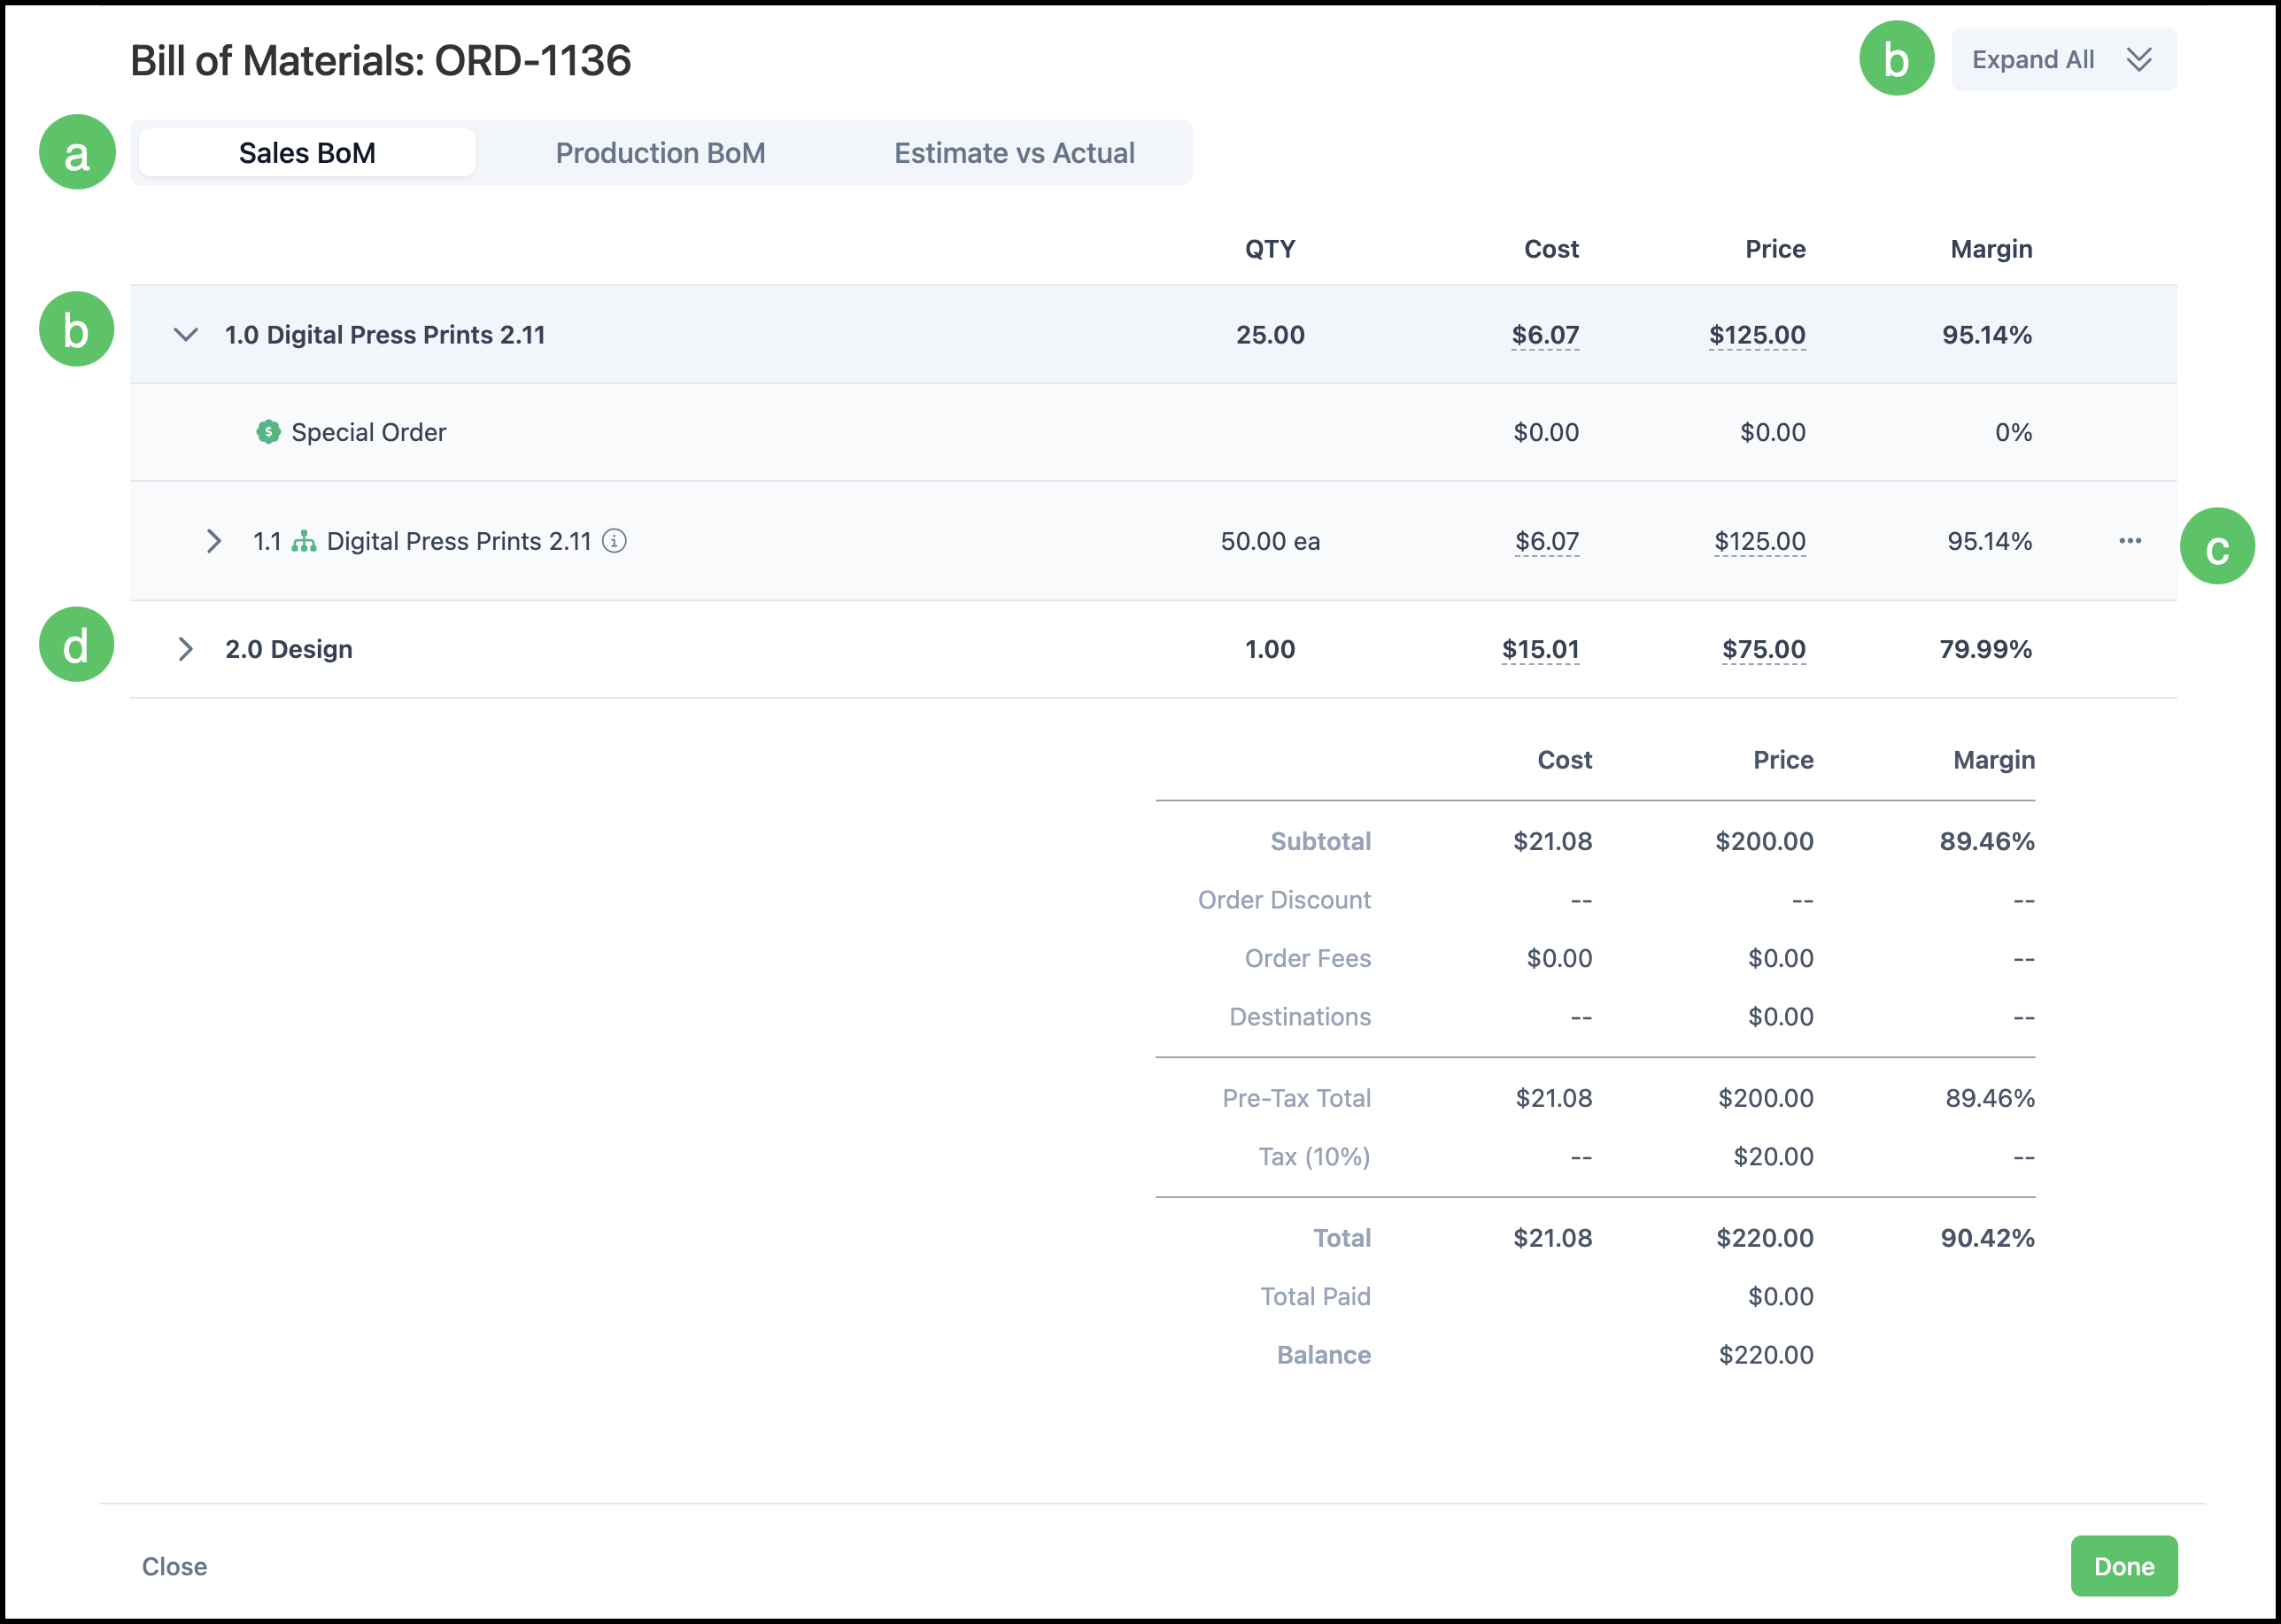
a. These tabs allow you to switch between the Sales Bill of Materials view, Production Bill of Materials view, and an Estimate vs Actual view.
- Sales BoM - This shows how the cost of individual components in an assembly with the pricing method you have set and the percentage difference between cost and price.
- Production BoM - This allows you to group Components by category, such as Materials, Labor, or Machines, or organize them by Line Item for easier review and production planning.
- Estimate vs Actual - This displays the estimated usage for each Component and allows you to record the actual amount used. Reports can then be reviewed to determine a pattern to make adjustments to your component settings to ensure Actual Usage is closer to Estimated usage on your next order.
b.Individual Expansion Arrows on the left or the Expand All arrow at the top allow you to see the details for each Product.
c. Clicking on the ellipsis will give you the option to Open in Settings.
d. Individual Line Items on the Order are separated by a page break and designated by their Line Item number for reference.
Note: Modifiers have a separate Price and Margin listed.
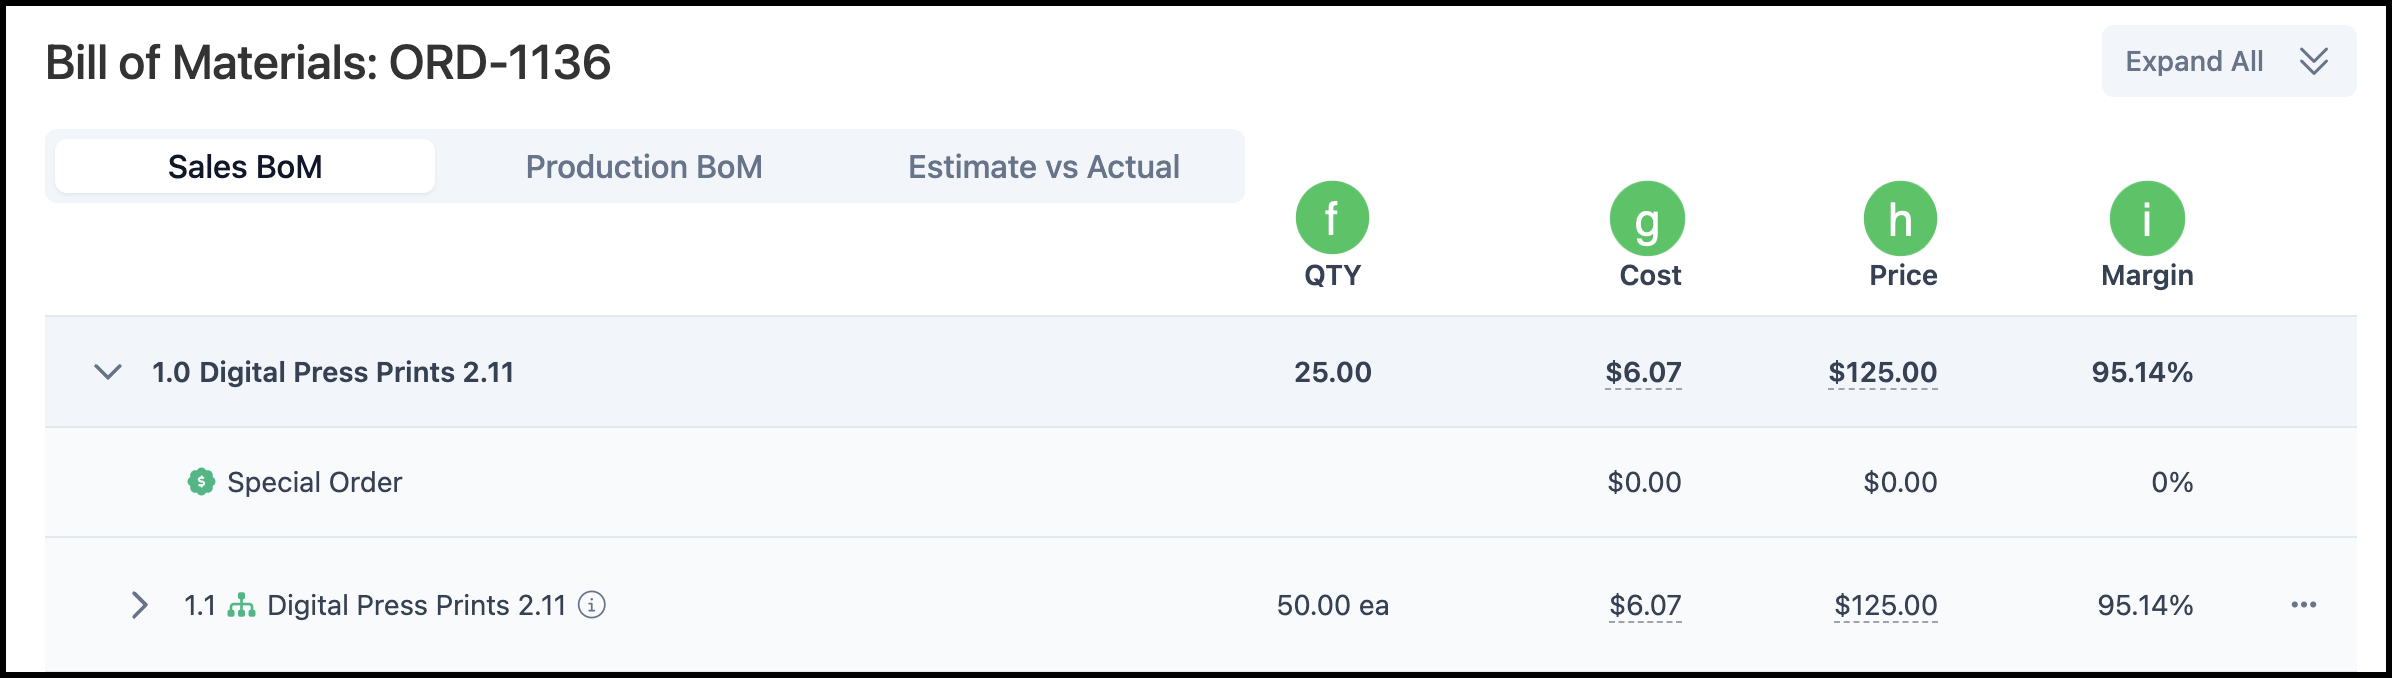
f. Quantity - Beginning with a single line in the Bill of Materials, determine if the quantity of that Component is correct.
g. Cost - Determine if the Cost is correct for the quantity listed.
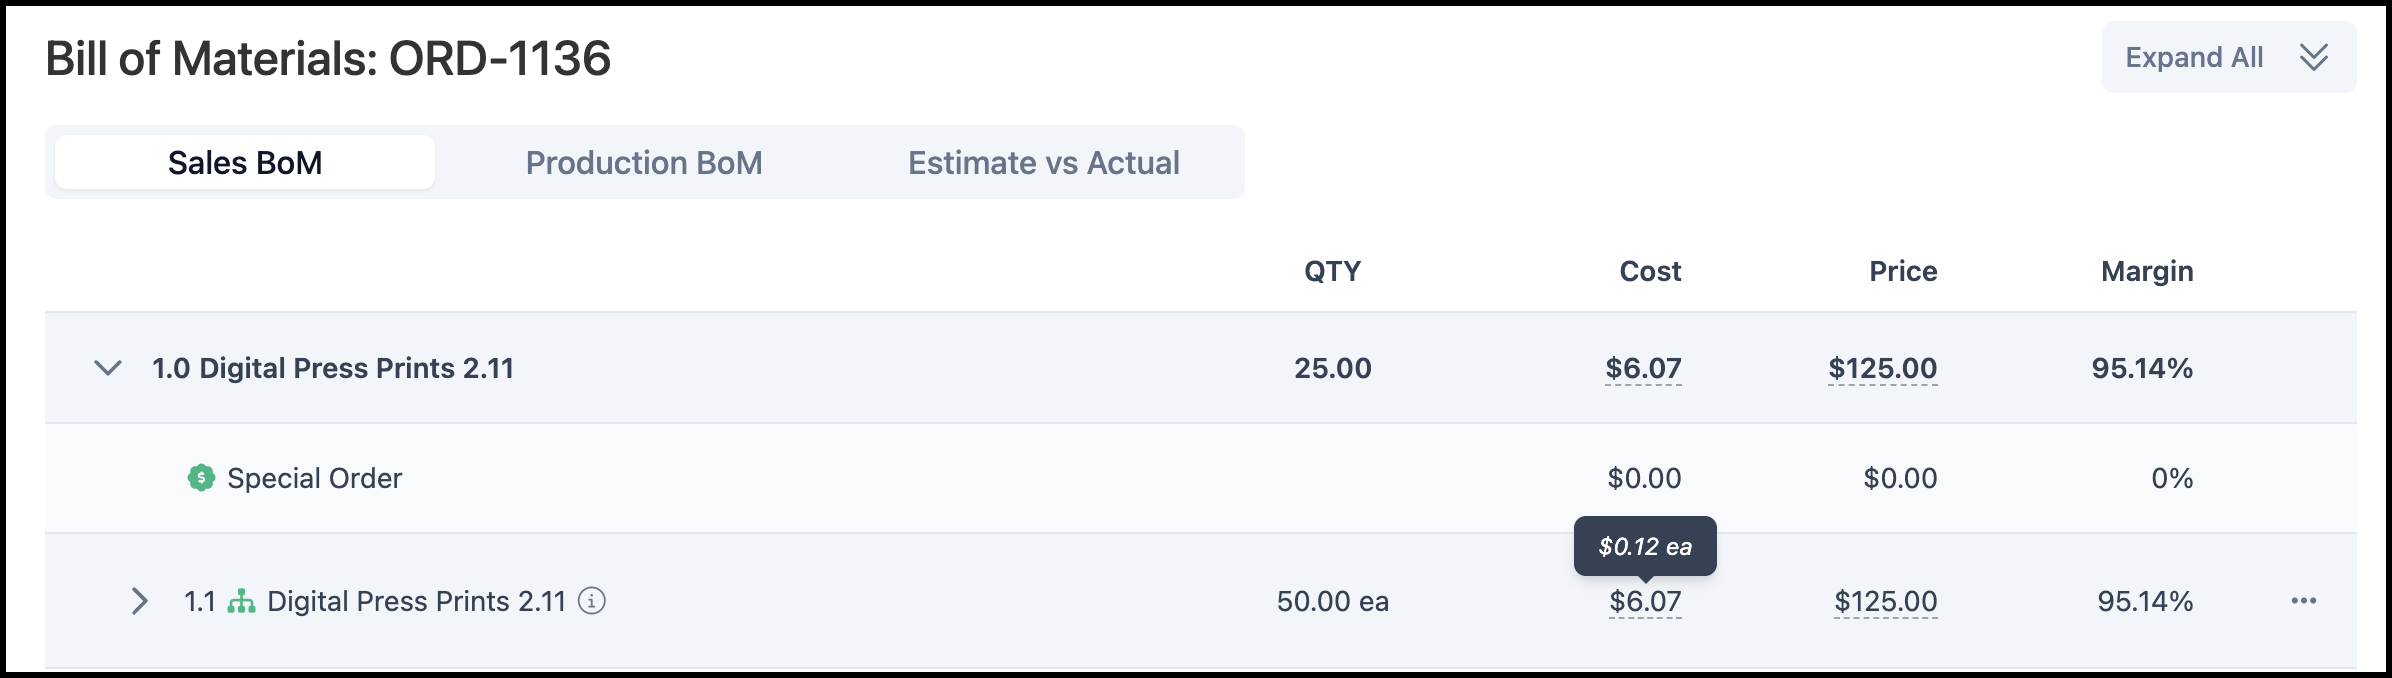
Note: Hovering over the Cost on the line will show you how much the Cost of each unit. See the example below.
h. Price - If the Quantity and Cost are both correct, the Price will be accurate as well.
Note: For more information on the difference between Cost and Price, please see Cost vs. Price.
i. Margin - This column reflects the difference between the Cost to produce the product and the Price at which it is sold, expressed as a percentage. Reviewing the margin helps ensure the Product is not underpriced or overpriced relative to its Component costs.
Example: In this example, hovering over the Cost of the Digital Press Prints shows that one costs $0.12. Therefore, the cost of fifty is $6.07. The Price to the customer is $125.00 which equals a95.14% profit Margin.
Making Adjustments in Settings
Discrepancies on the Bill of Materials can be corrected by going into Settings and making the necessary changes.
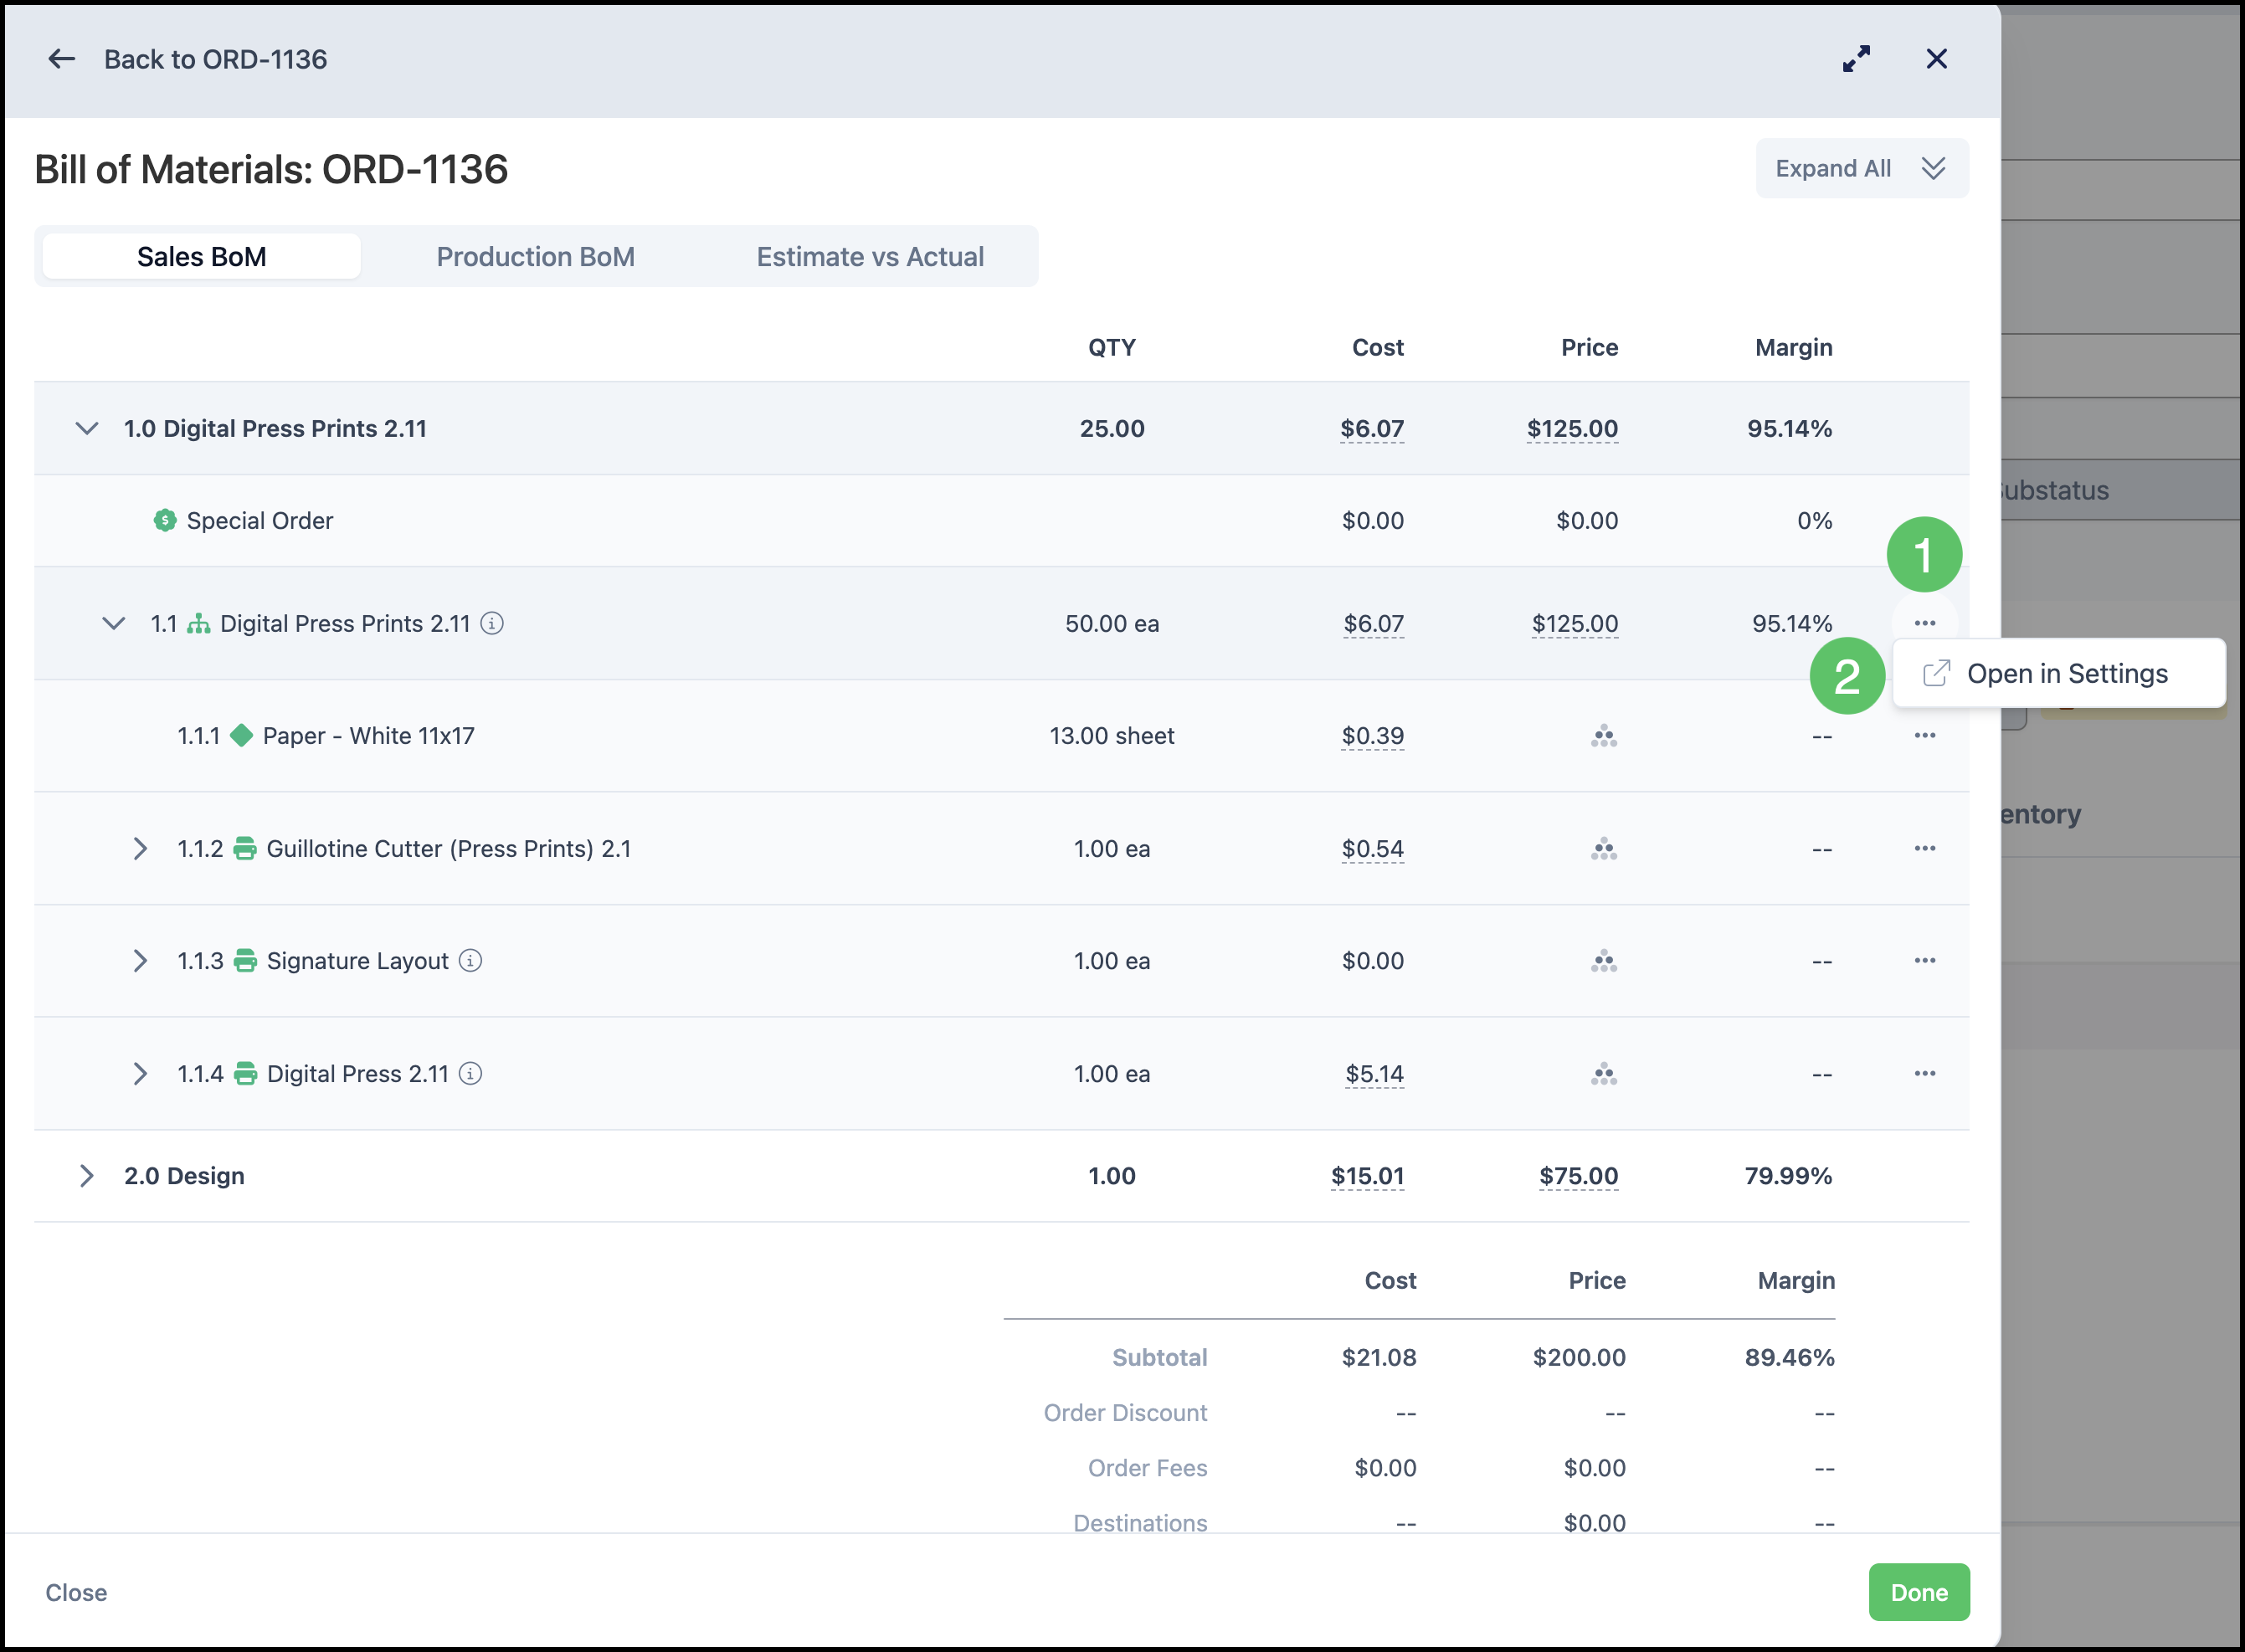
1. Click the More Actions menu at the end of the row.
2. Click Open in Settings.
Note: This will open the Settings screen for this item in a new tab where you can make the necessary adjustments. Be sure to save your changes.
Updating the Bill of Materials
After making any changes in Settings, you will need to update the Bill of Materials. This can be done by making any kind of change on the Order, and then immediately changing back.
Example:
Change the quantity to another number, and then immediately change it back. For example, you could change the quantity to 2 and then change it back to 1. When you open the Bill of Materials again, it will then reflect any changes you made previously in Settings.