
E-Signature provides a signature on an Estimate or Invoice from Document Preview when Show Signature and Date is turned on for that document.
Table of Contents
- Important Information
- Opening the Document
- Showing the Signature Line
- Signing the Document
- Declining to Sign
- Frequently Asked Questions
- Related Articles
Important Information
- The signature line appears when Show Signature and Date is selected in Layout Options on the document. The default for each document type is Include Signature and Date in Document Settings. For more information, see Document Settings.
- Sign on the preview toolbar and Click to sign on the signature line appear when e-signature is available for that document. If they do not appear, contact Support.
- E-Signature records a signature on the document. It is separate from approving a proof.
Opening the Document
Navigate to Sales / Orders.
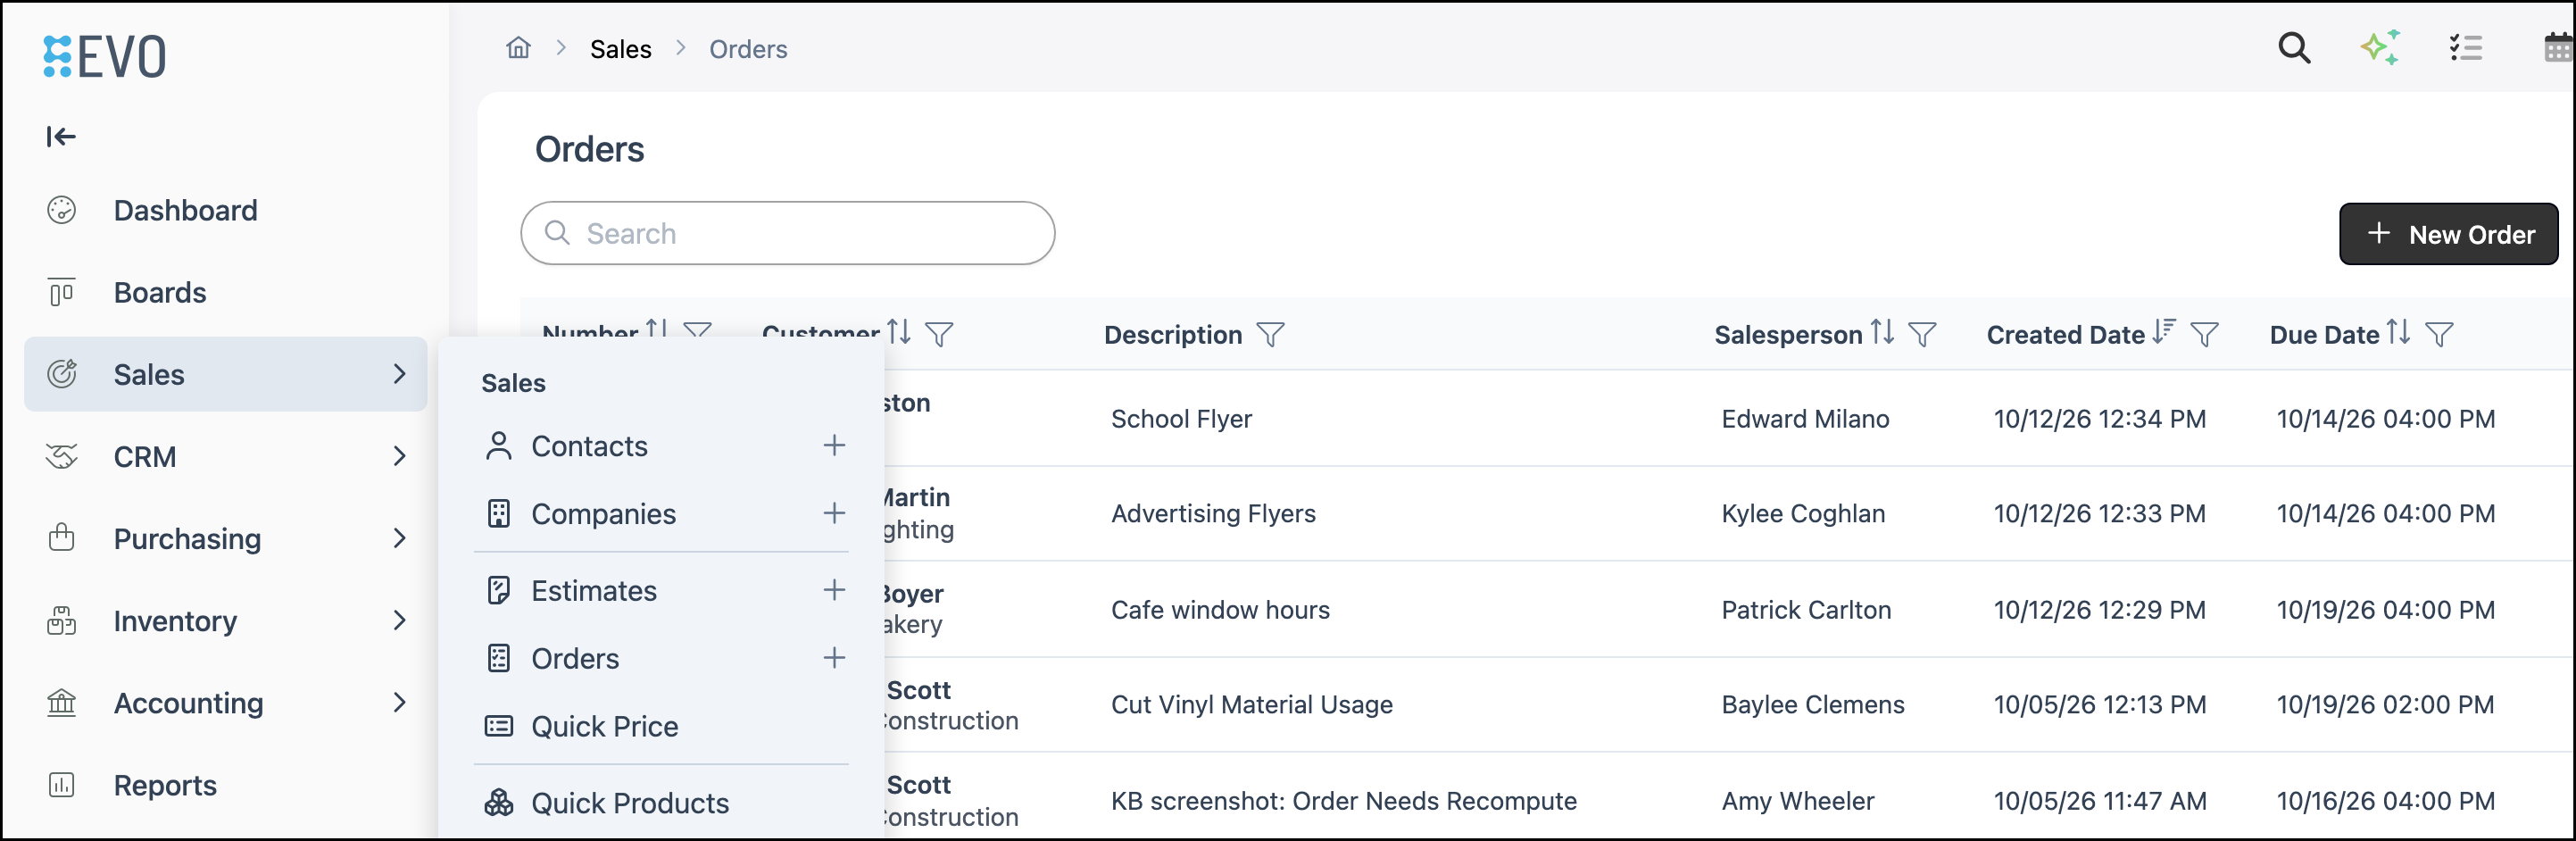
1. Open the Order.
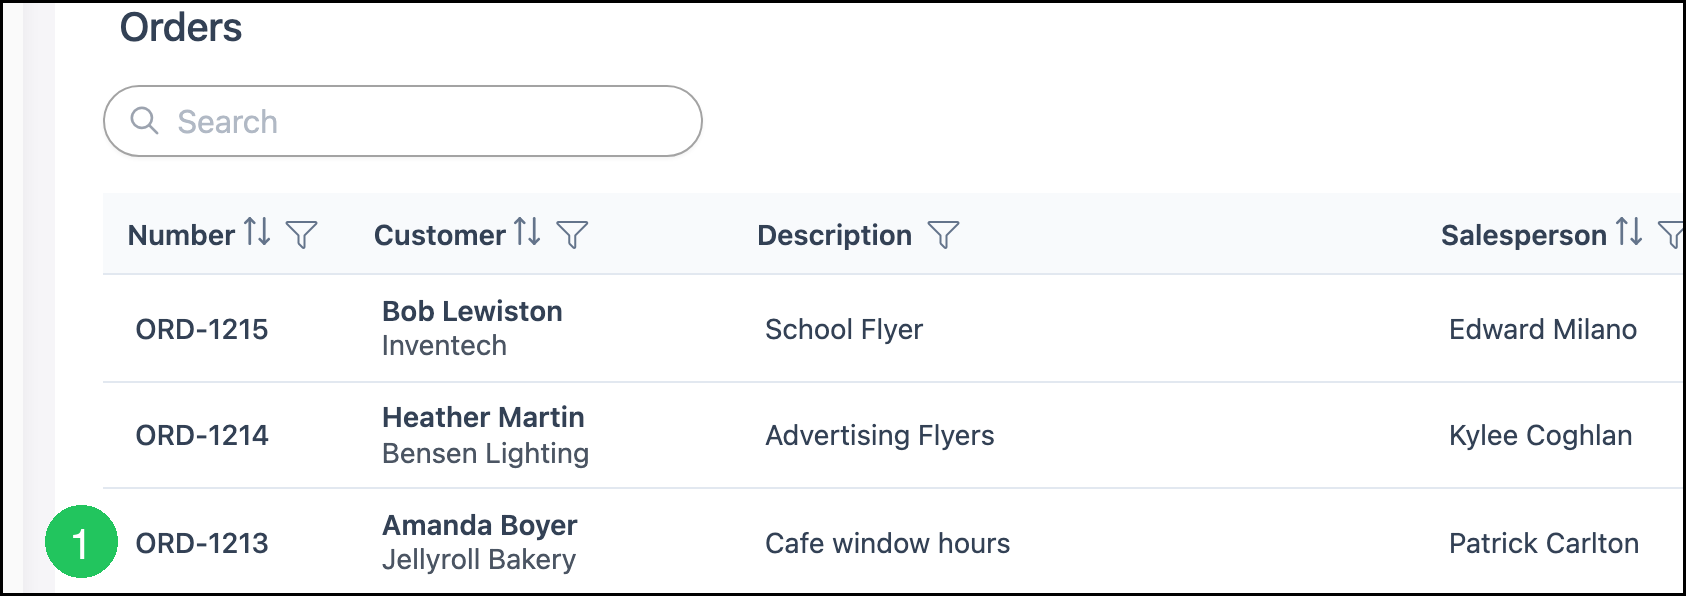
2. Click Documents.
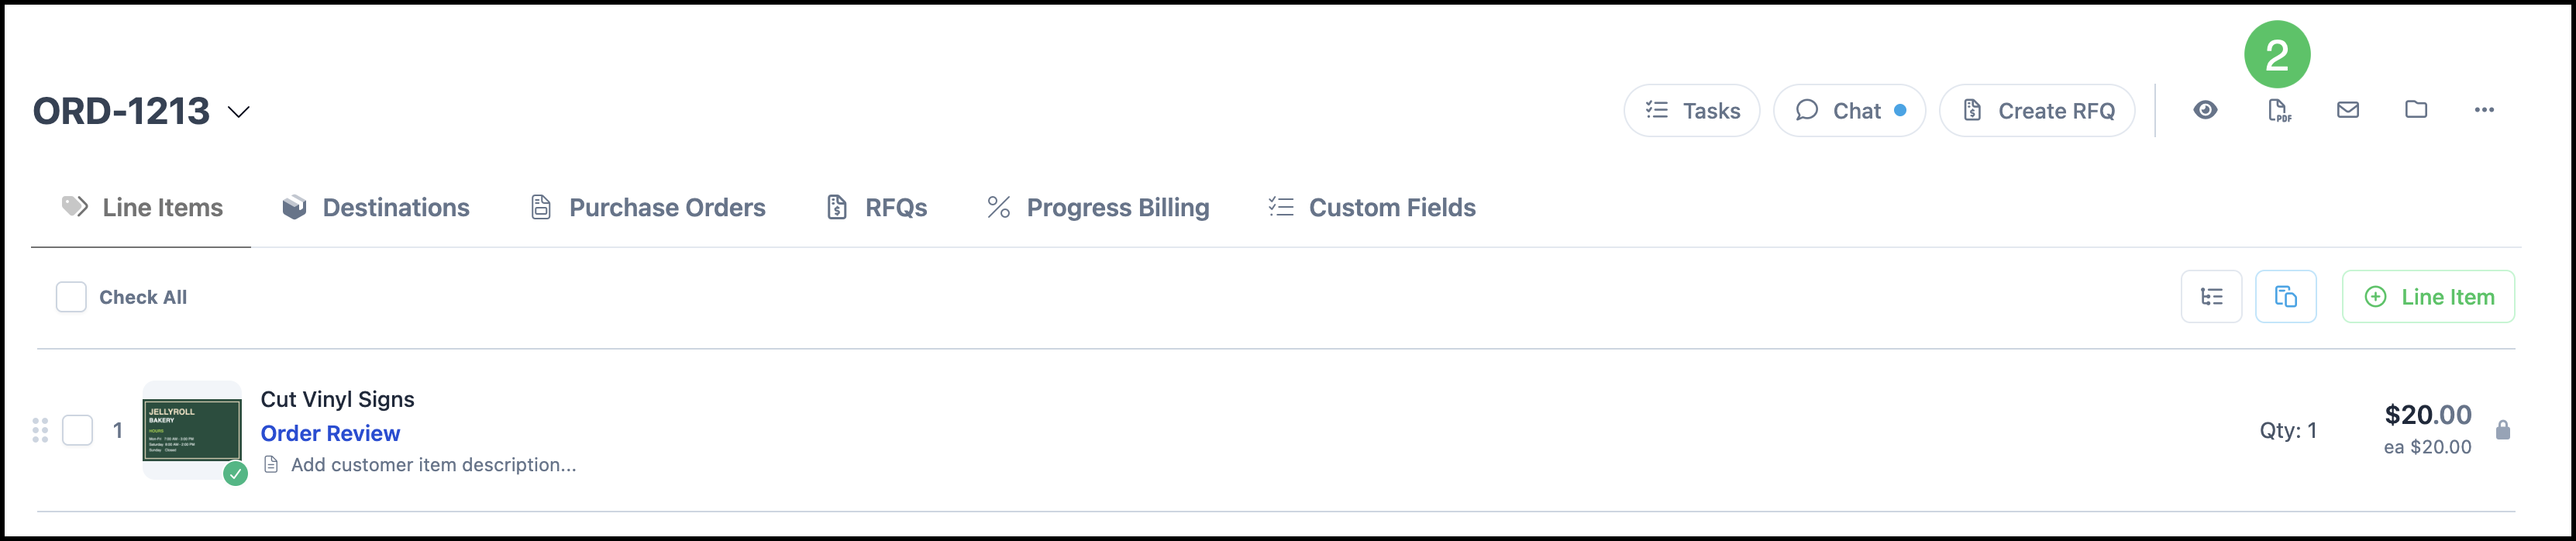
3. Click Invoice.
4. Click Detailed Invoice.
Note: This opens the Detailed Invoice in a Document Preview in a new tab.
Note: To sign an Estimate, open the Estimate and choose the Estimate document. Document Preview uses the same signature line.
Signature Line in Document Preview
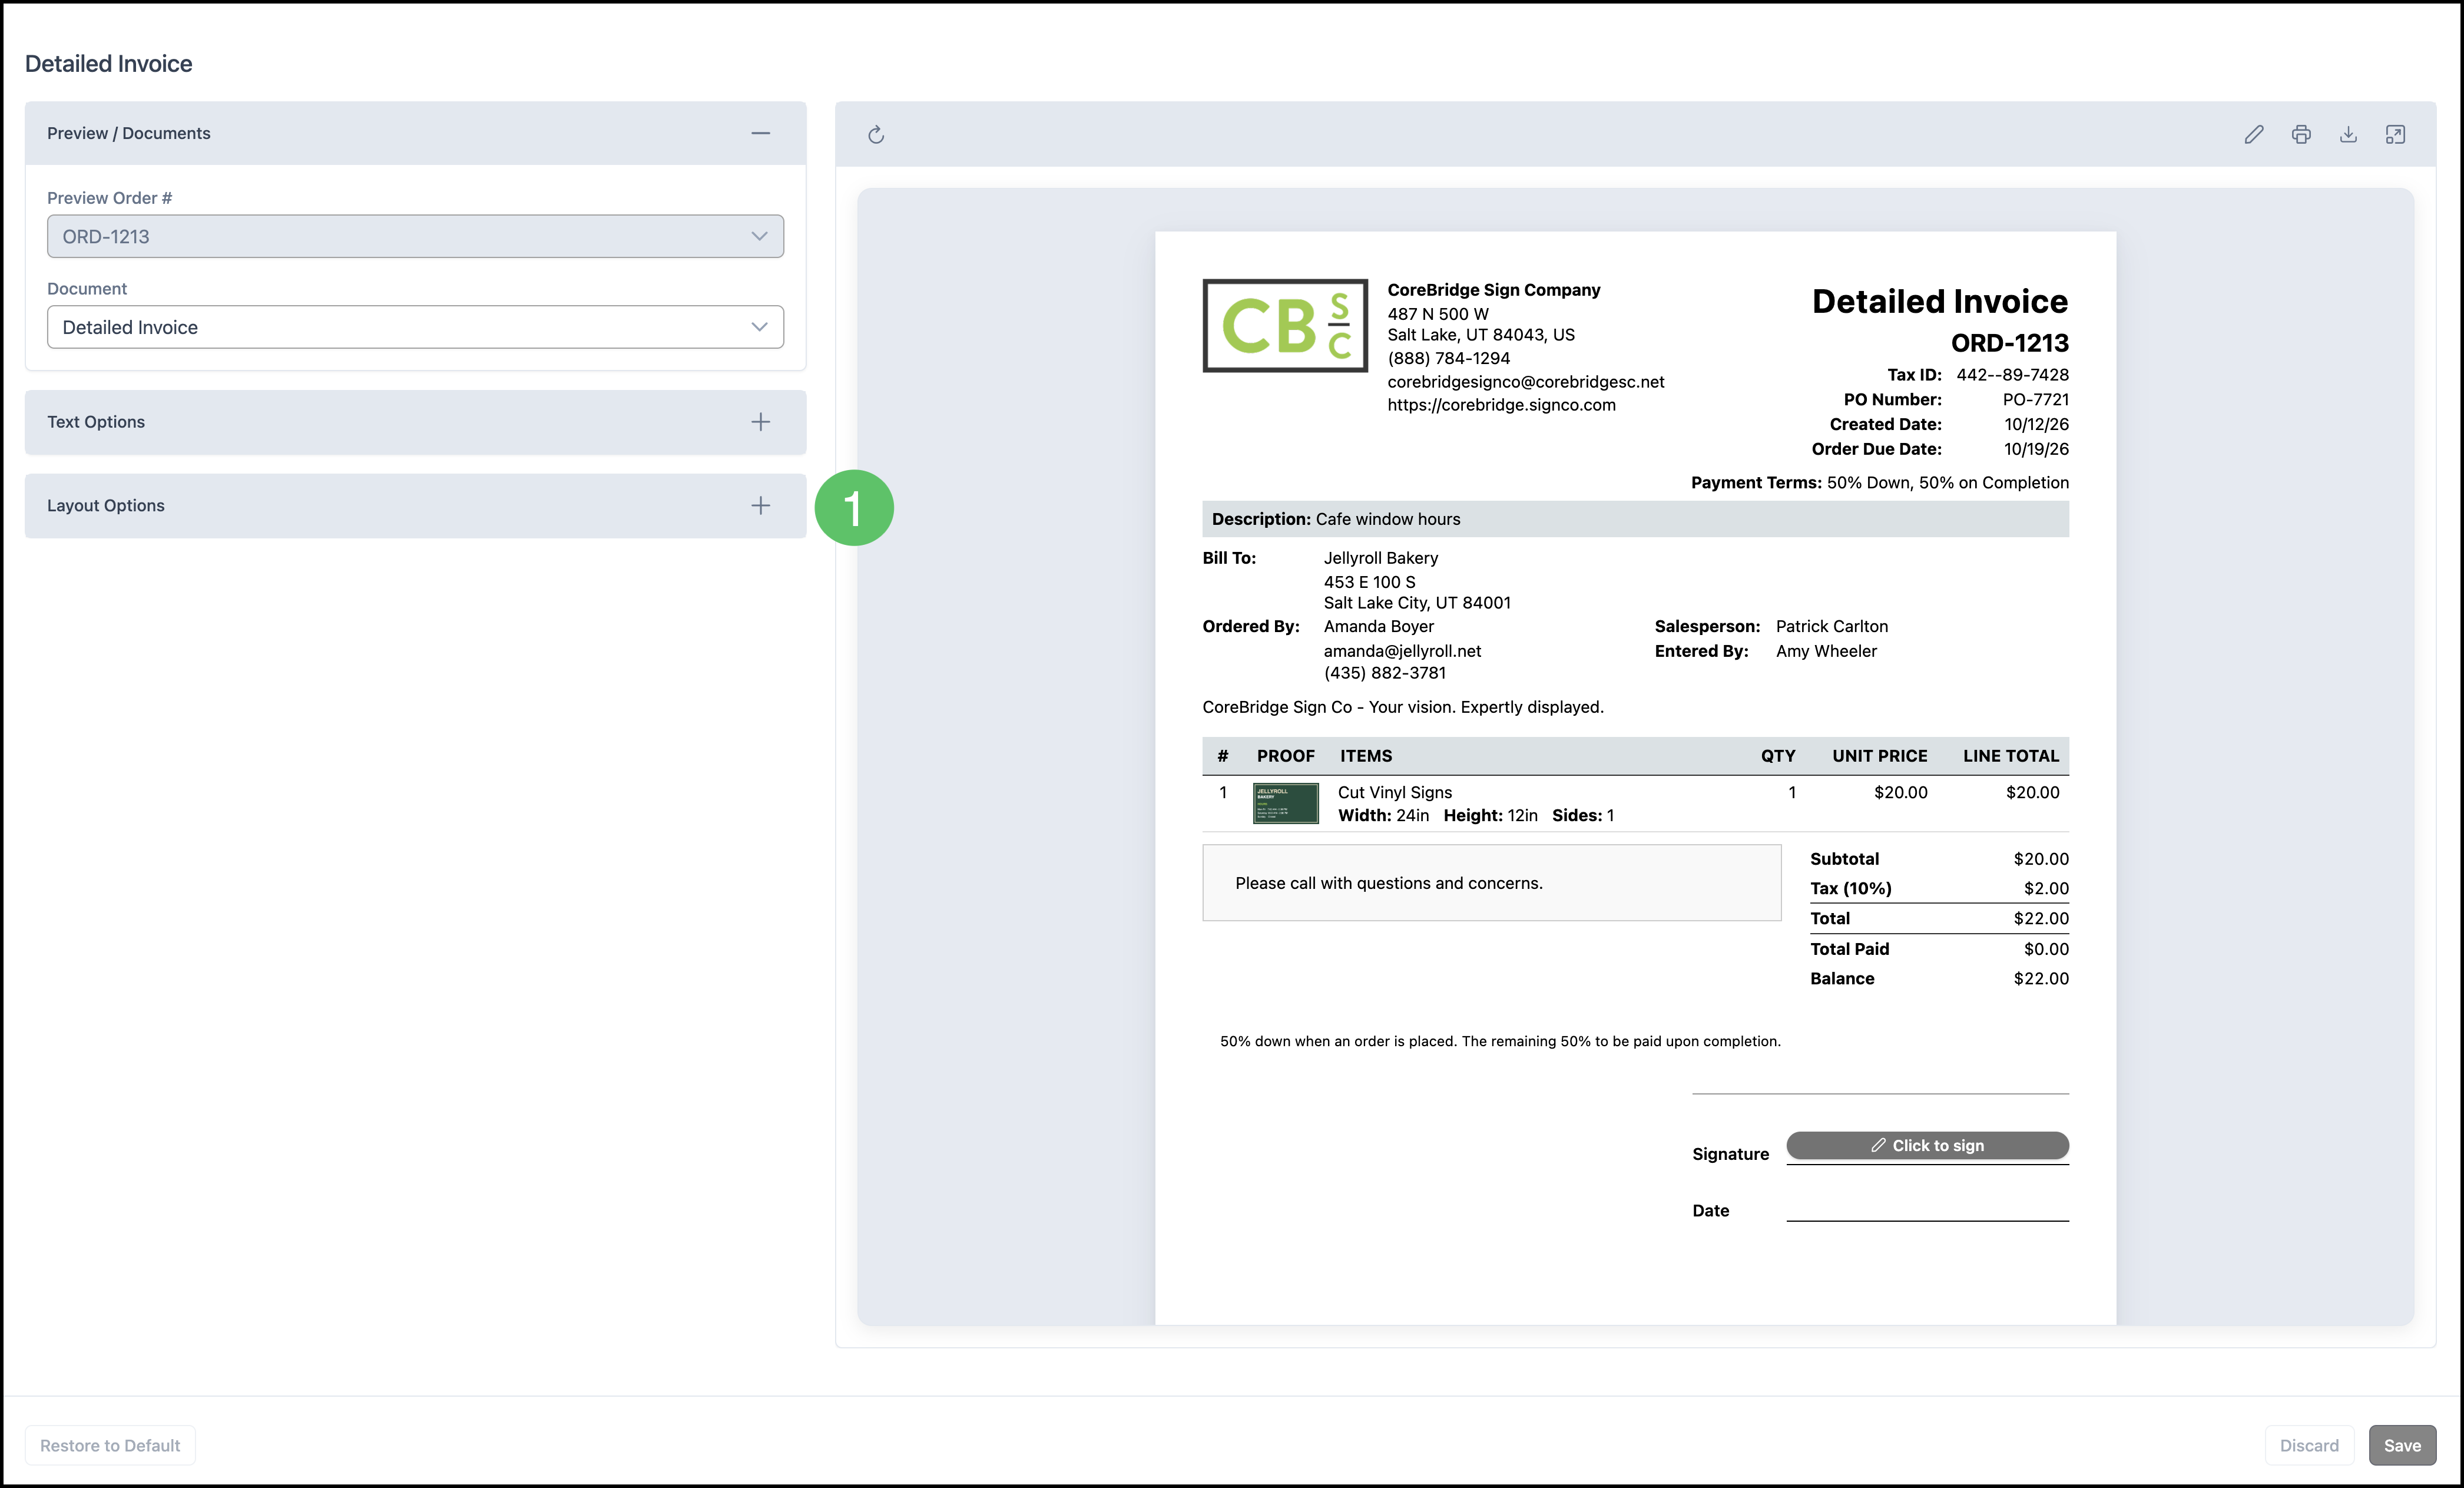
Document Preview opens when you choose the document. The document name appears at the top of the preview. Layout Options is the panel on the left side of that screen. It controls whether the Signature line appears on this document.
1. Click Layout Options.
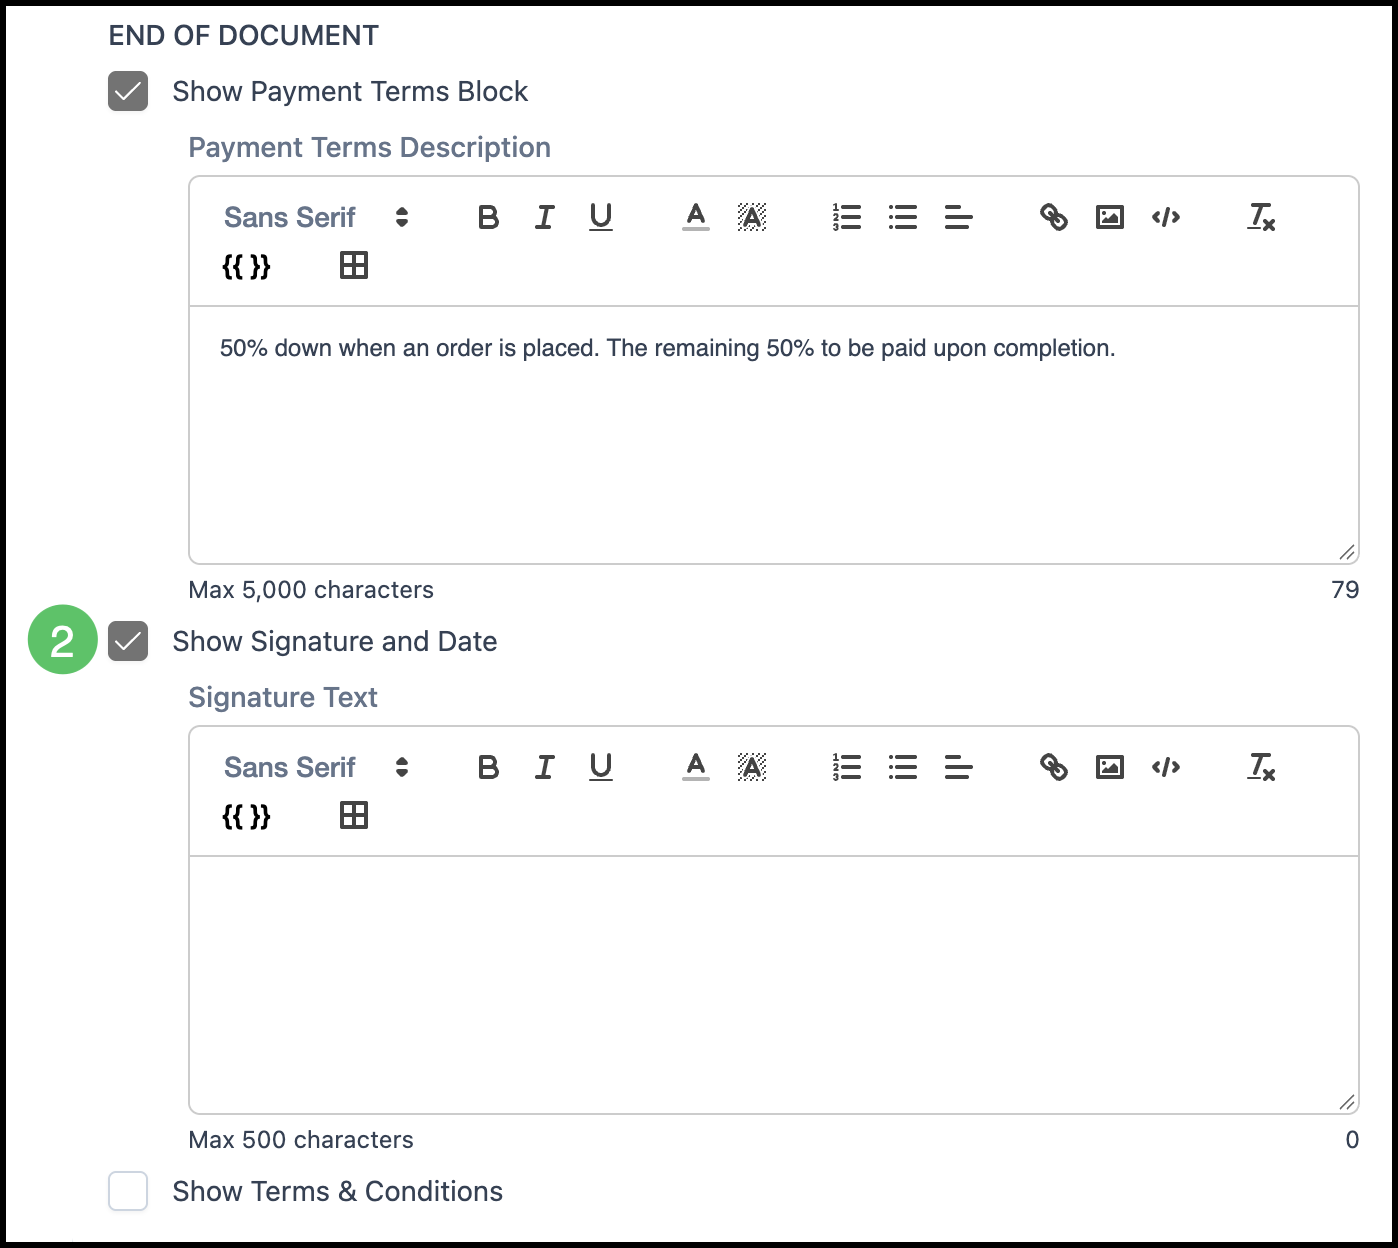
2. Select Show Signature and Date. Signature Text is the label printed on the signature line.
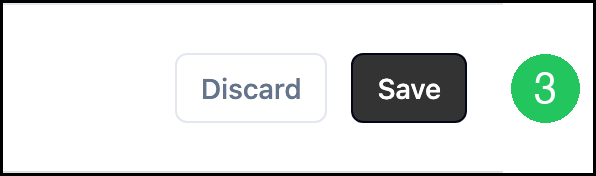
3. Click Save.
Signing the Document
Customers can access and electronically sign an Invoice in two ways:
- Email Link - The shop can email the customer a direct link to the document for signing. The most efficient way to do this is to create an email template for the Order or Estimate and include the Document eSignature Direct Link merge field in the email body. This generates a link the customer can use to open and sign the document. The template can also include an attachment, such as the Detailed Invoice, that contains the signature line.
For more information, please see Creating and Editing Email Templates.
- Customer Portal - Customers with access to the Customer Portal can sign in to their account and open the Estimate or Invoice directly from the portal.
For more information, please see Customer Guide to Using the Customer Portal.
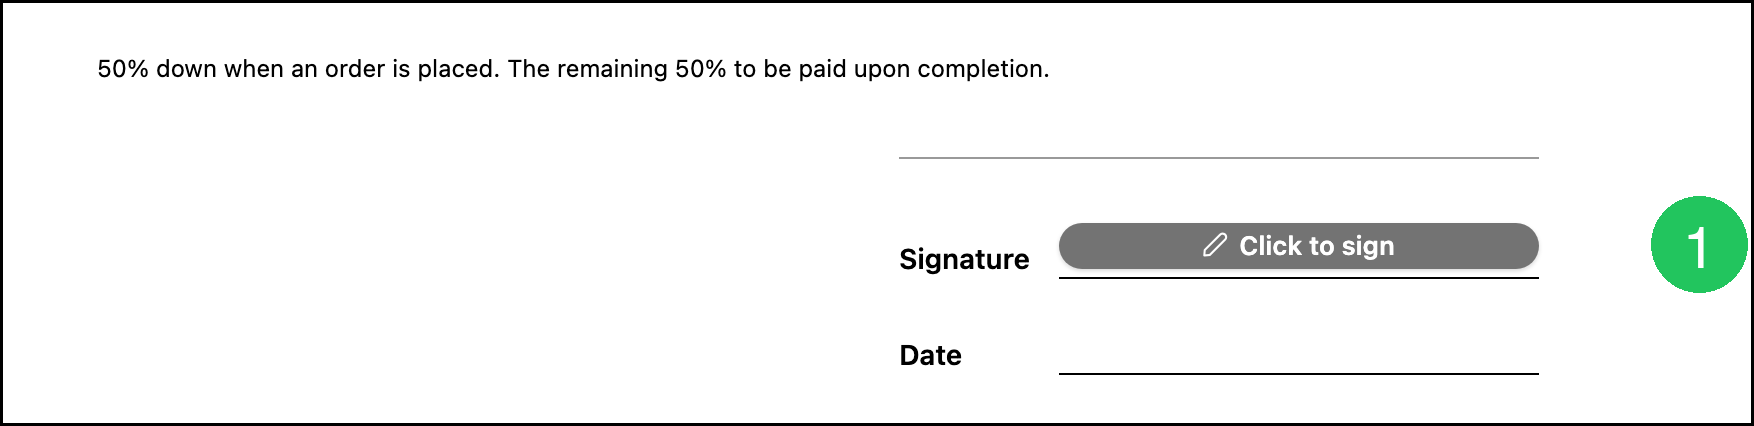
With either method, Click to sign appears on the document's signature line when Show Signature and Date is enabled for that document.
1. On the signature line, click Click to sign.
The Sign this invoice window opens. The title uses the document name.
a. Your Name
b. Email for Confirmation. CoreBridge sends a confirmation to this address.
c. Draw. Sign in the box. Clear removes the drawing.
d. Type. Enter the signature in Type Your Signature.
e. Select the checkbox to agree that the electronic signature is the legal equivalent of your handwritten signature on this document.
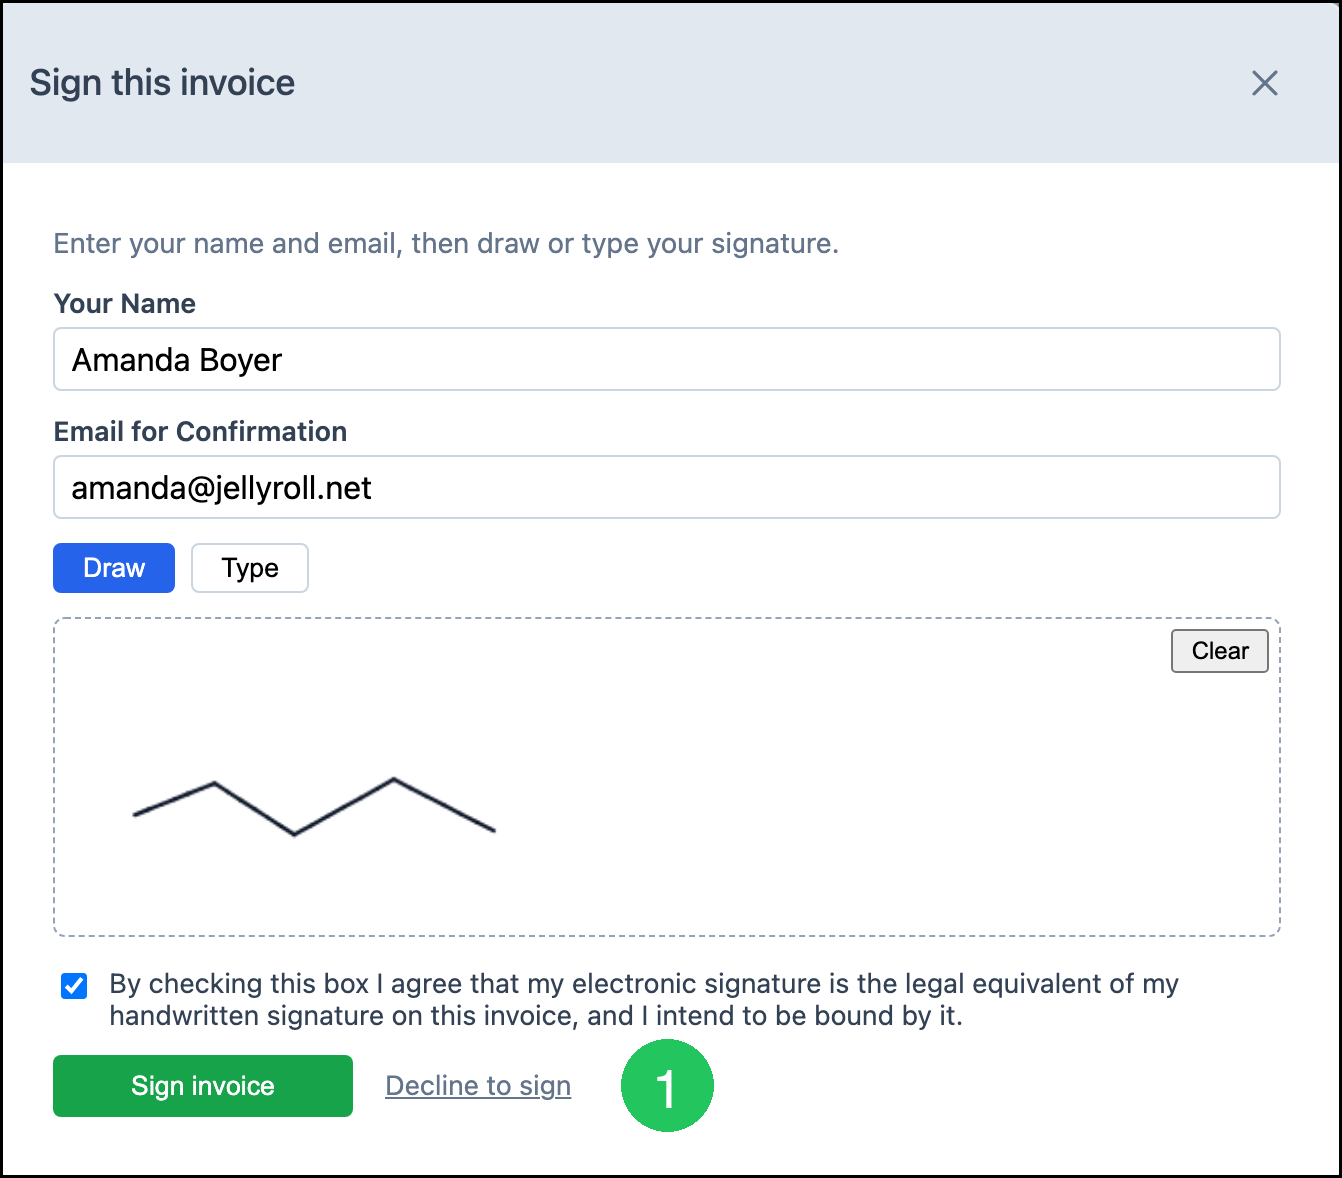
2. Click Sign invoice.
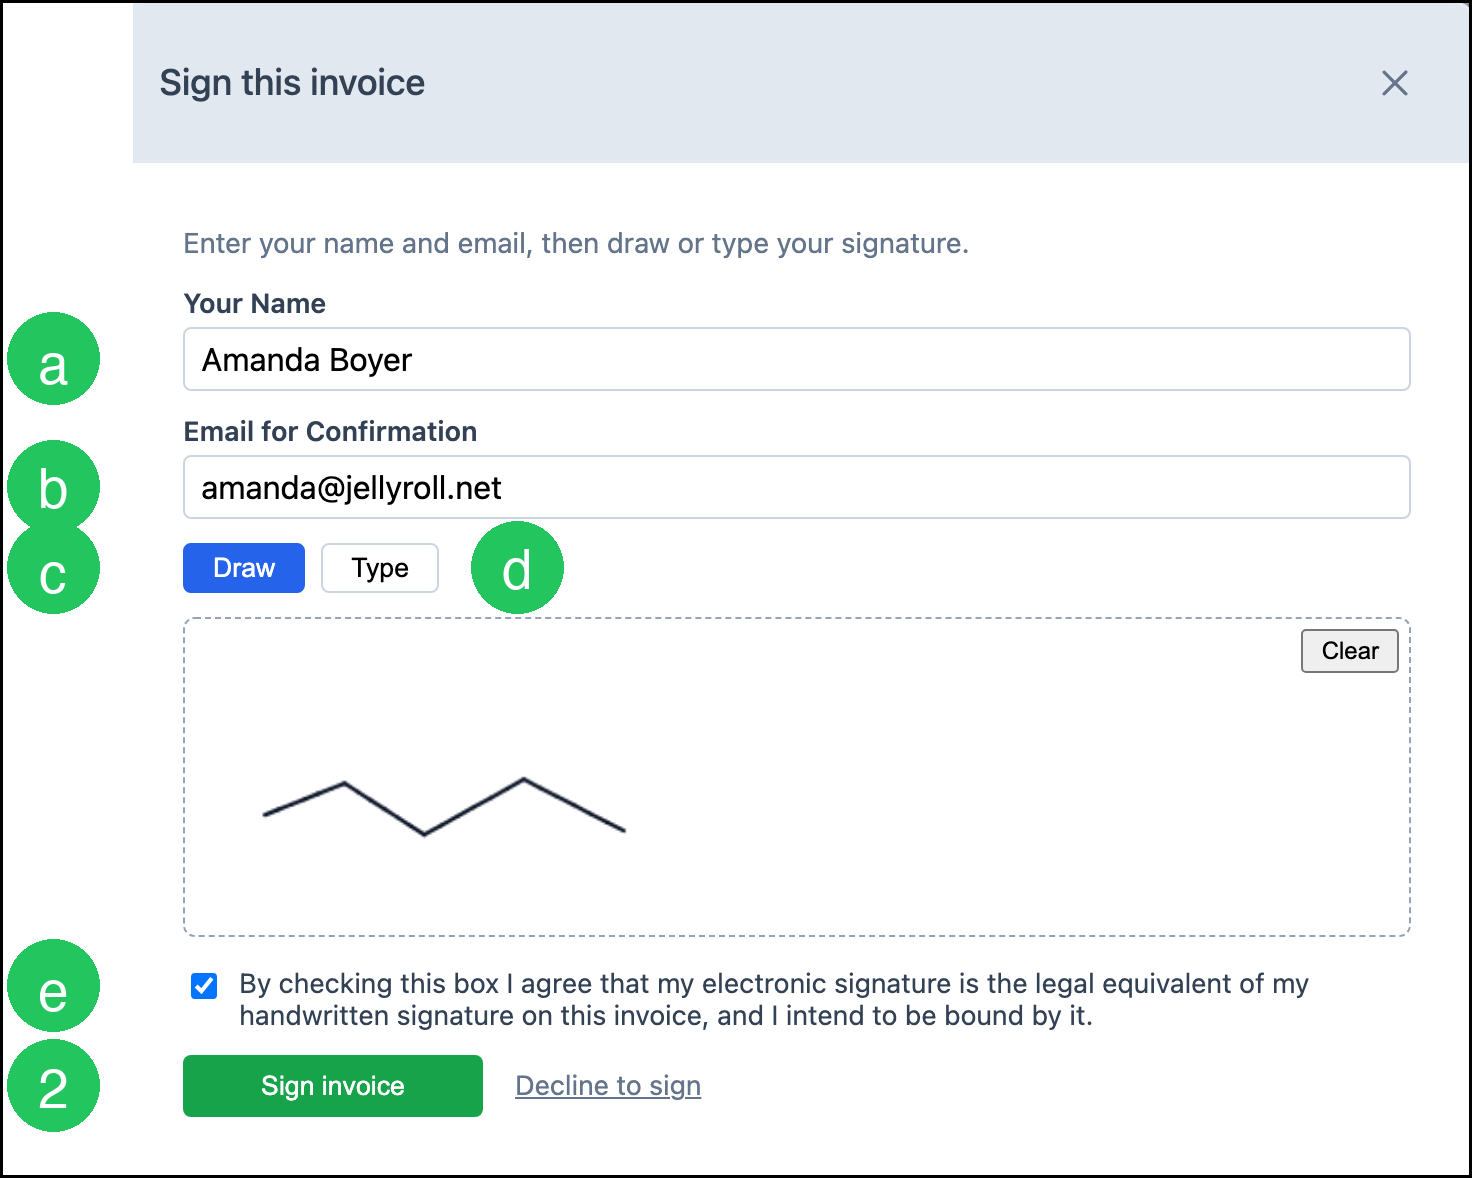
After you click Sign invoice, CoreBridge records the signature and sends a confirmation to the address in Email for Confirmation.
Declining to Sign
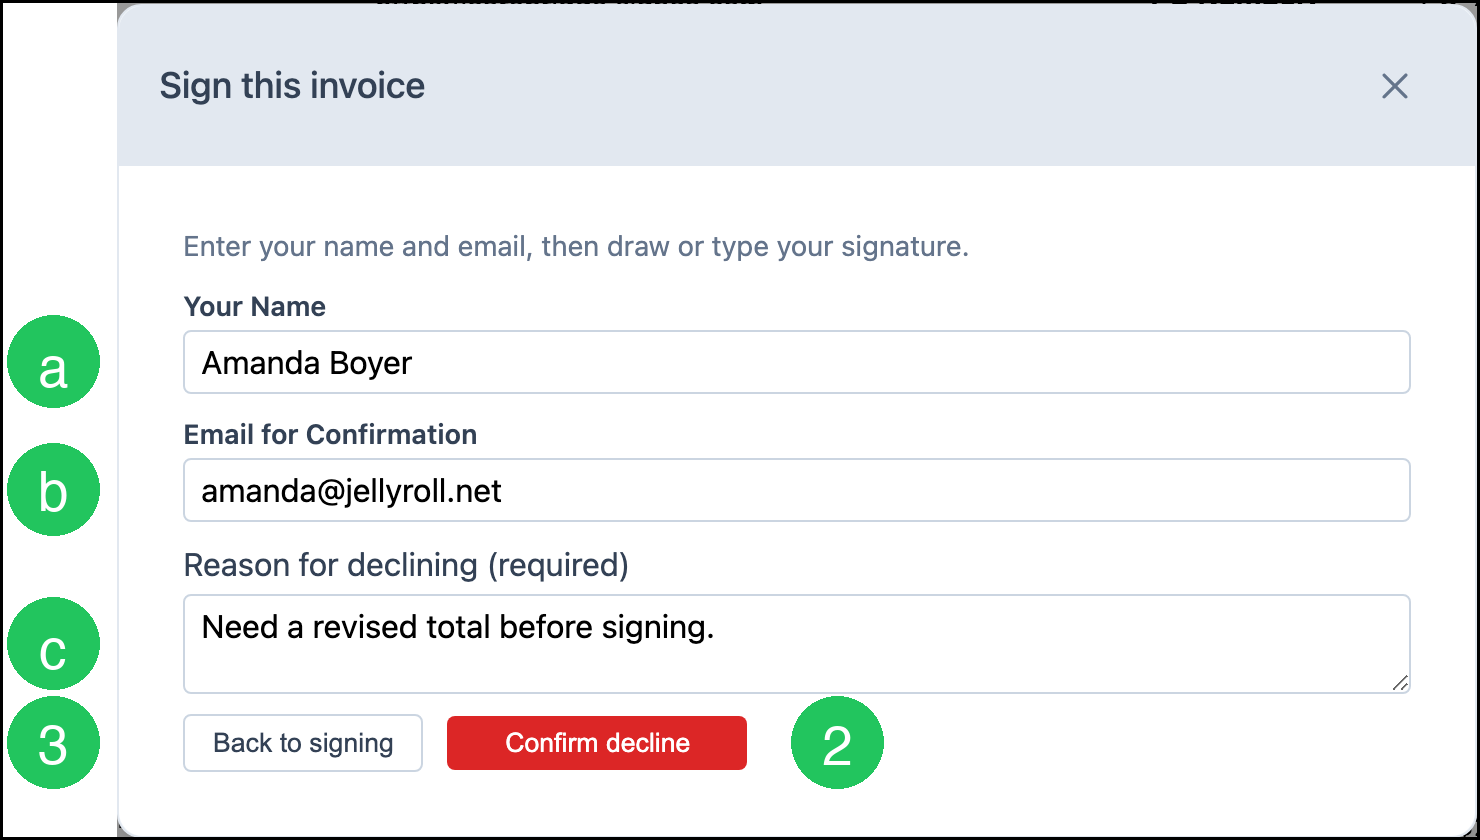
1. In the sign window, click Decline to sign.
a. Your Name
b. Email for Confirmation
c. Reason for declining. This field is required.
2. Click Confirm decline.
3. Click Back to signing to return to the signature form without declining.
Frequently Asked Questions
1. Why do I not see Sign or Click to sign?
Answer: Show Signature and Date must be selected for that document. If it is selected and the controls are still missing, contact Support.
2. Is e-signature the same as approving a proof?
Answer: No. Approving a proof accepts the artwork. E-Signature records a signature on the document.
3. Which documents can be signed?
Answer: Estimates, invoices, and other documents that include a signature line. Click to sign appears when Show Signature and Date is on and e-signature is available for that document.
Related Articles
Creating and Editing Email Templates