CoreBridge Shipping connects your CoreBridge system to supported parcel carriers so you can rate shipments, choose services, and purchase shipping labels without leaving your workflow.
For more information on using this integration, please see Using CoreBridge Shipping.
Note: CoreBridge can help with how the shipping integration behaves inside CoreBridge. Questions about carrier contracts, claims, refunds, or services on the carrier side should go to your carrier or shipping provider.
Table of Contents
- Installing CoreBridge Shipping
- Set Up Shipping
- Connecting Carriers
- Managing Carriers
- Subscription and Per-Label Fees
- Enabling CoreBridge Shipping
- Using CoreBridge Shipping
- Package Details
- Important Notes
- Related Articles
Installing CoreBridge Shipping
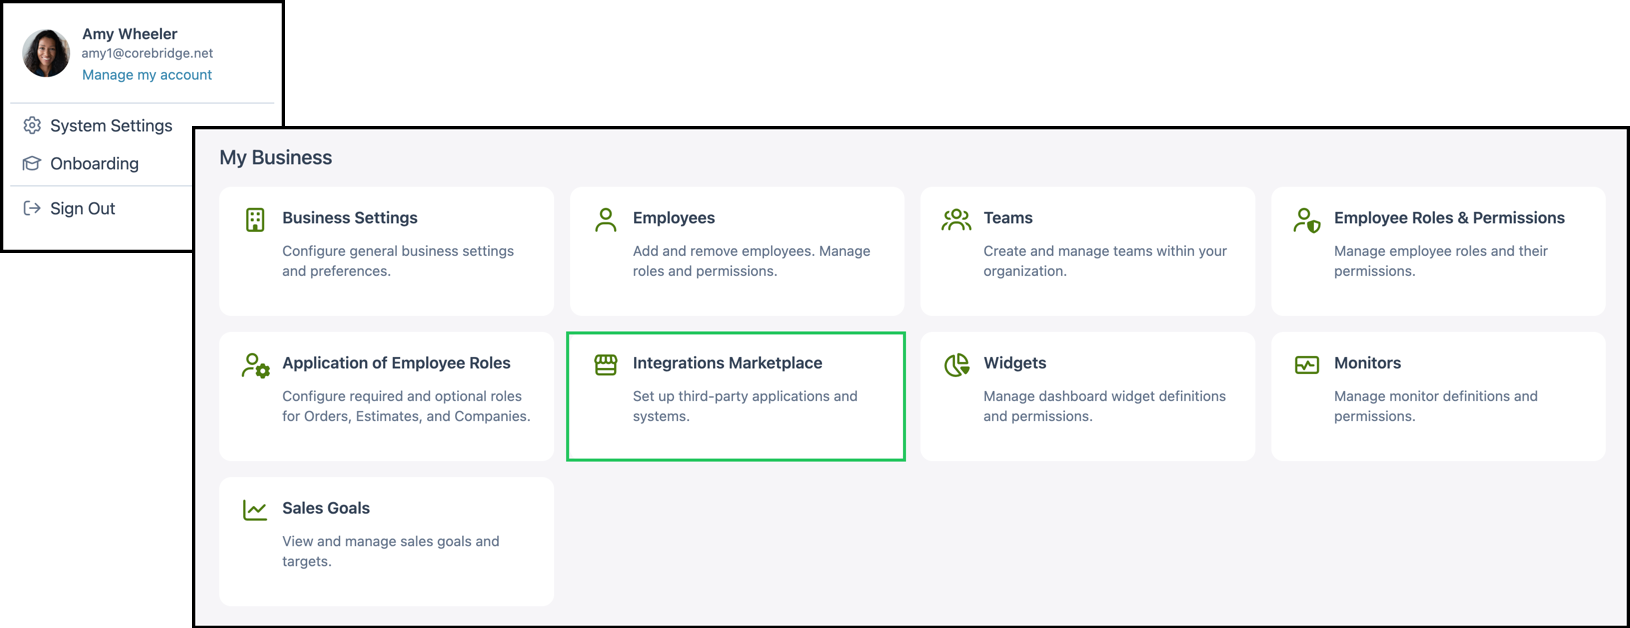
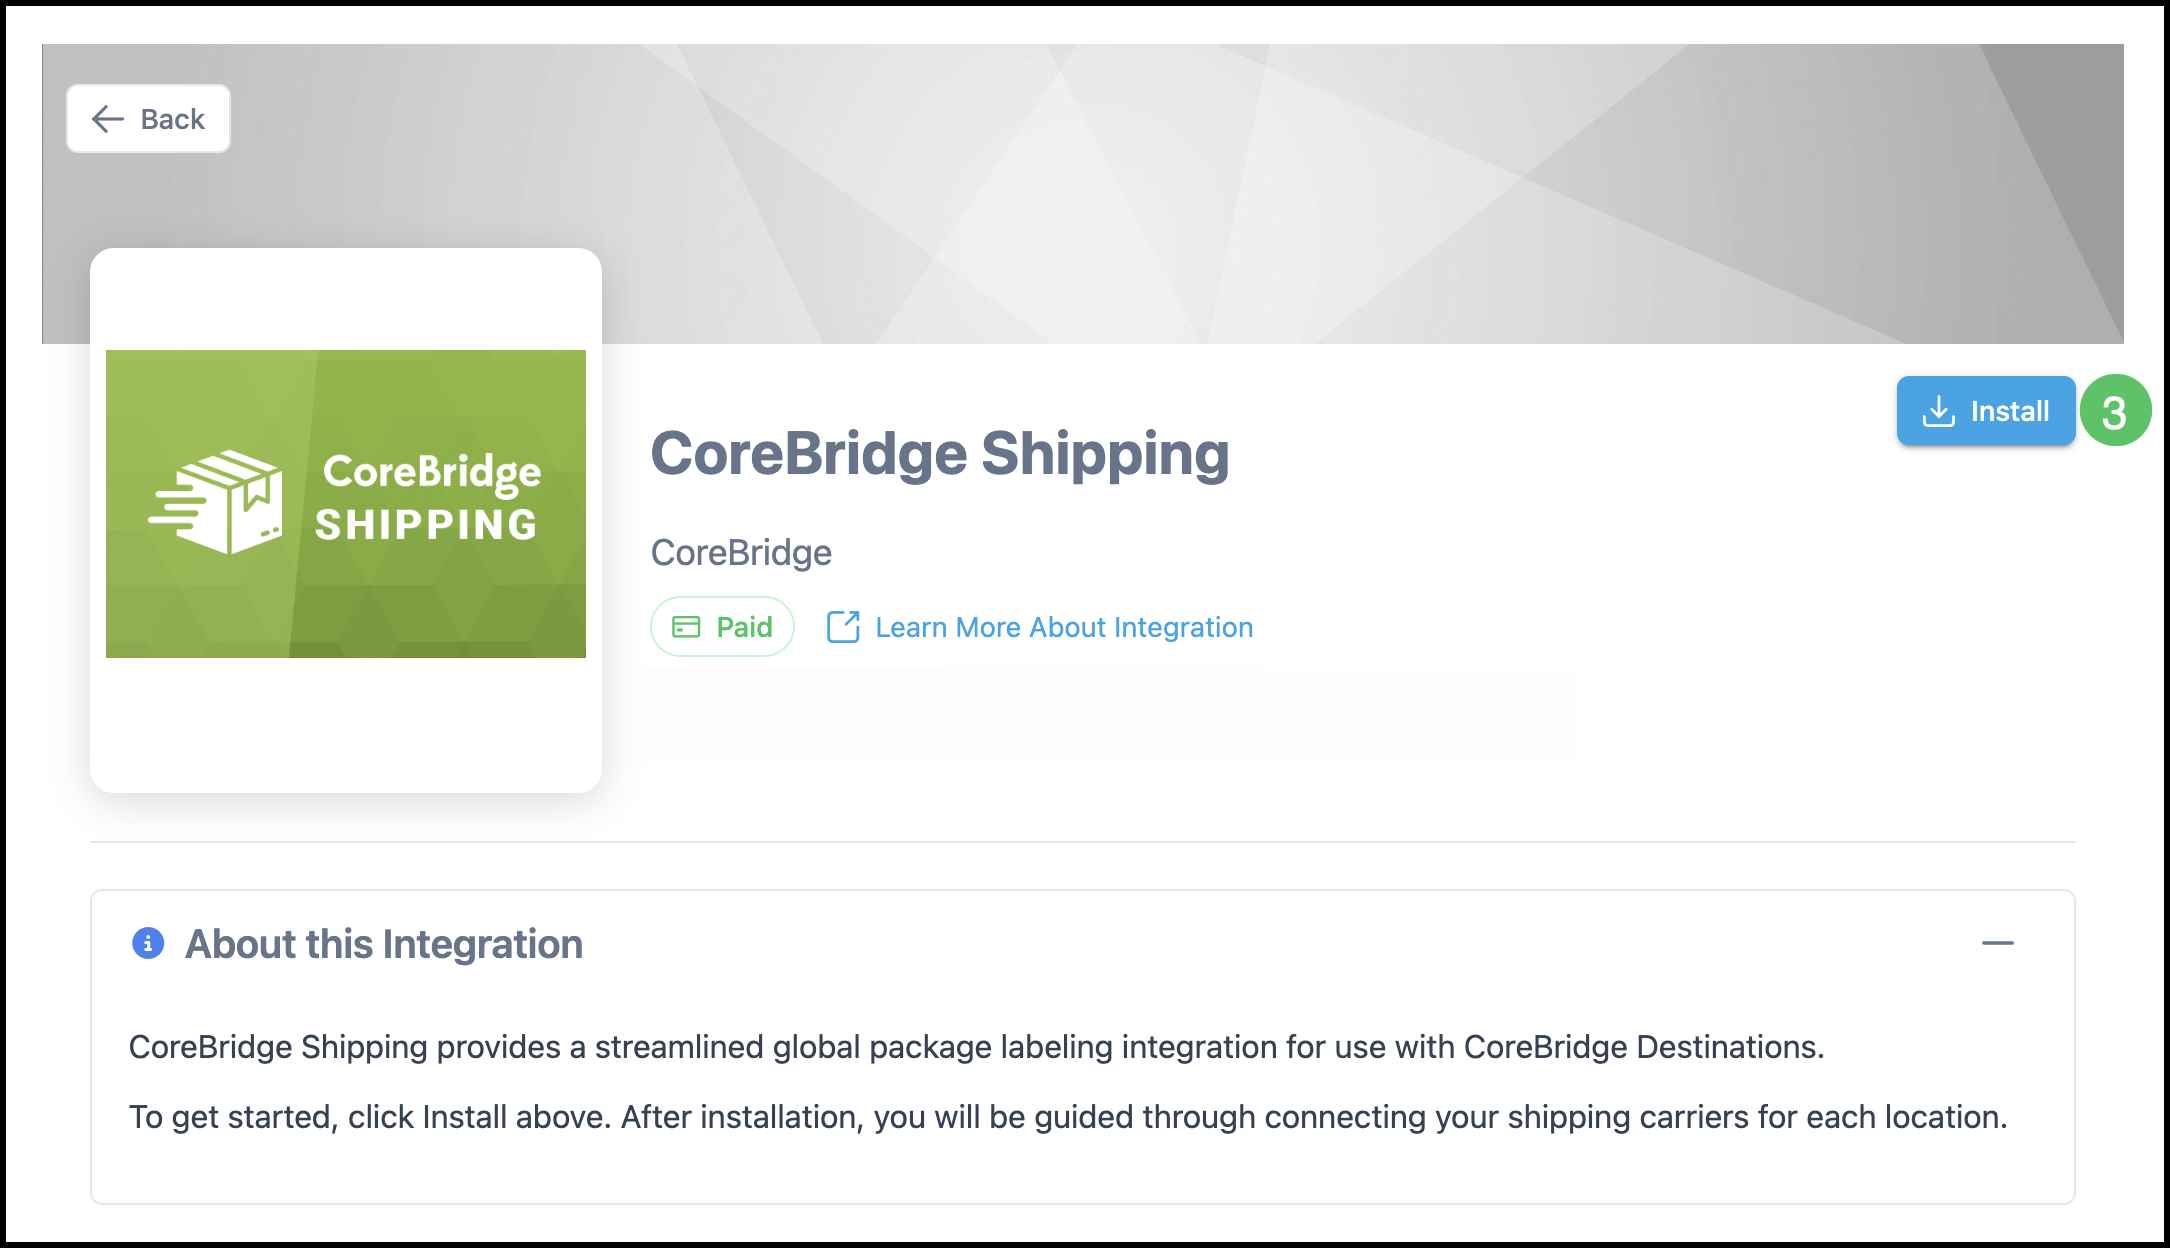
Navigate to System Settings / My Business / Integrations Marketplace.
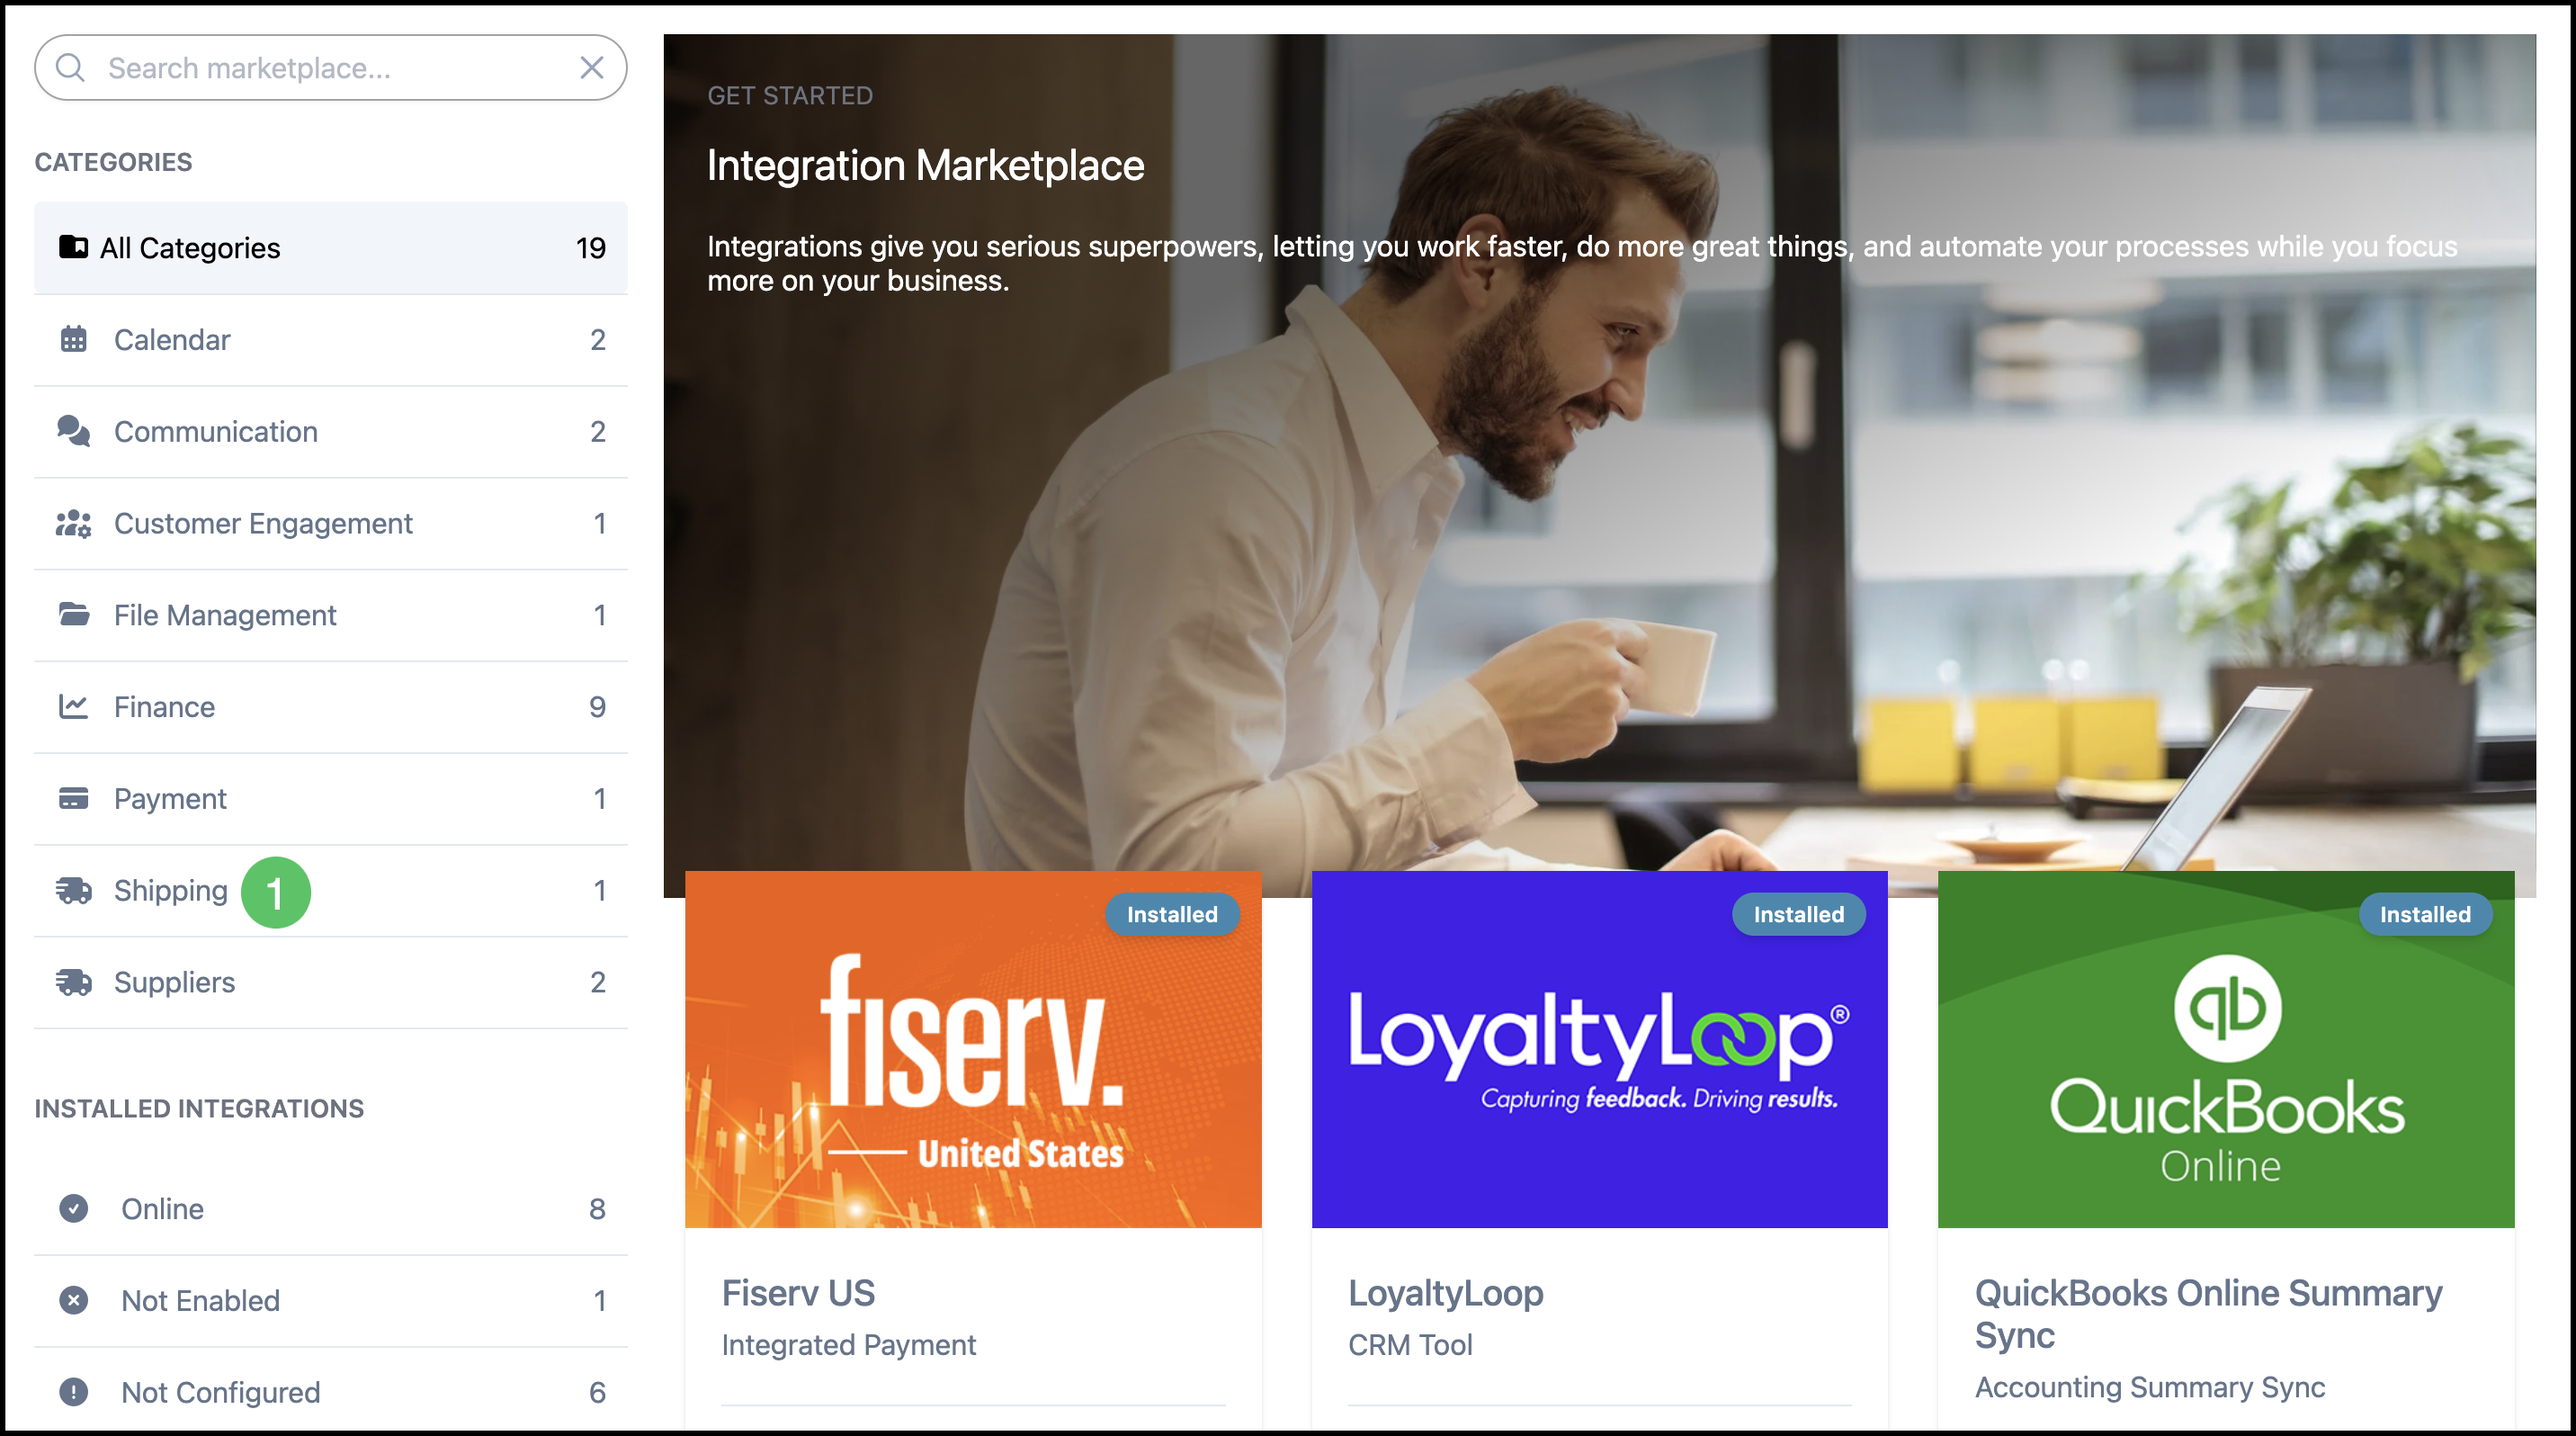
1. Click the Shipping Category.
Note: You can also find CoreBridge Shipping using the Search bar or looking in All Categories.
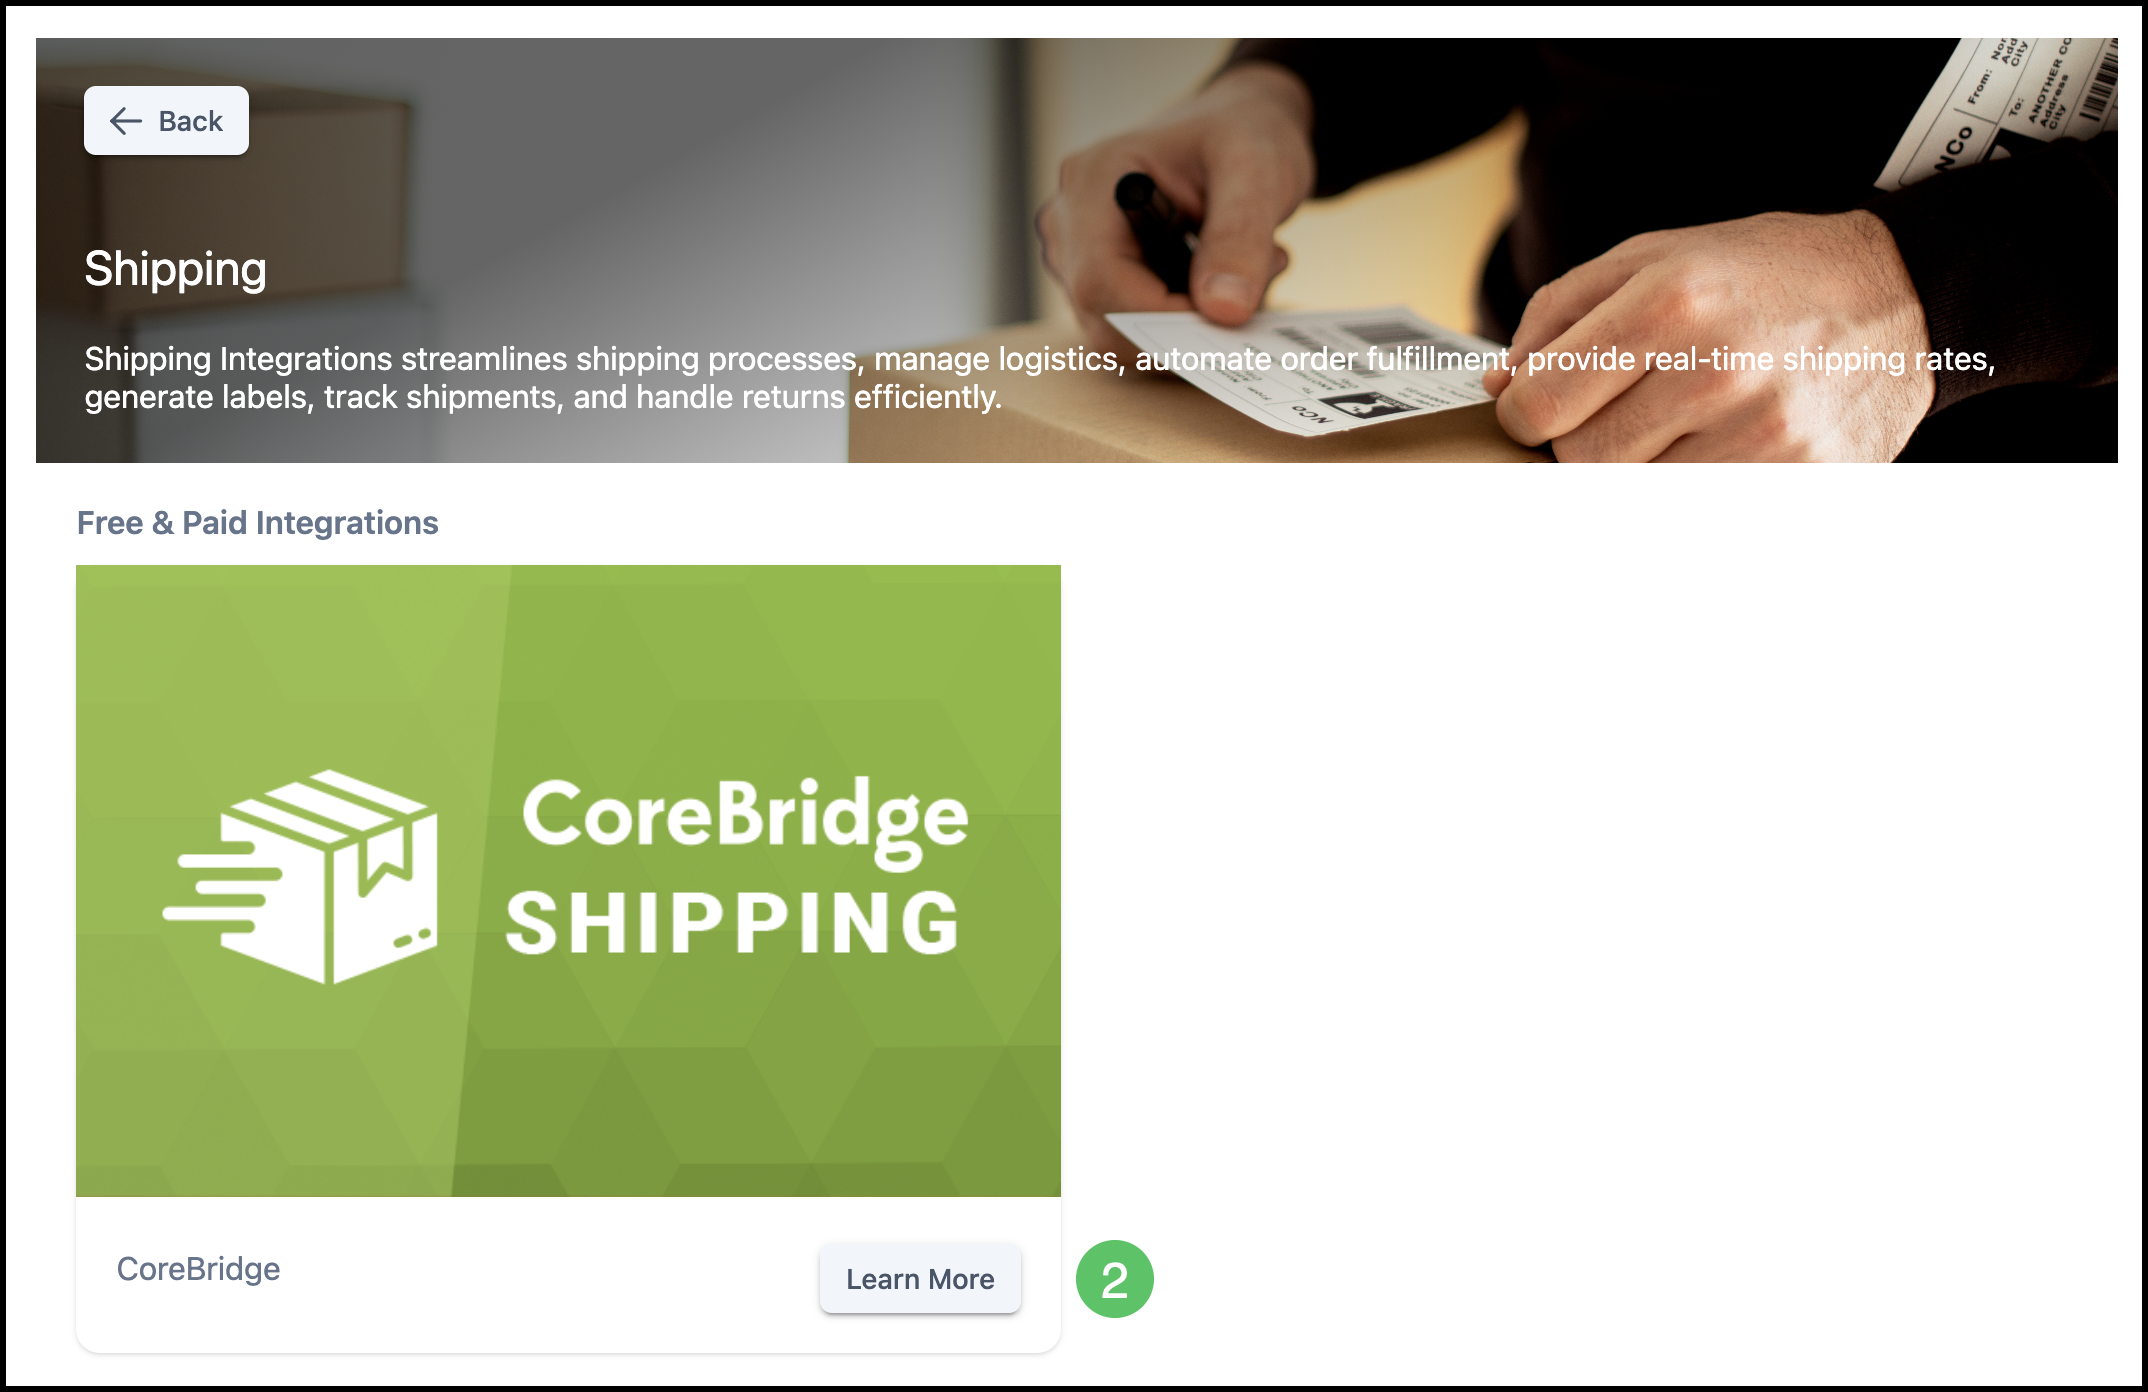
2. Click on the CoreBridge Shipping icon.
3. Click Install.
Set Up Shipping
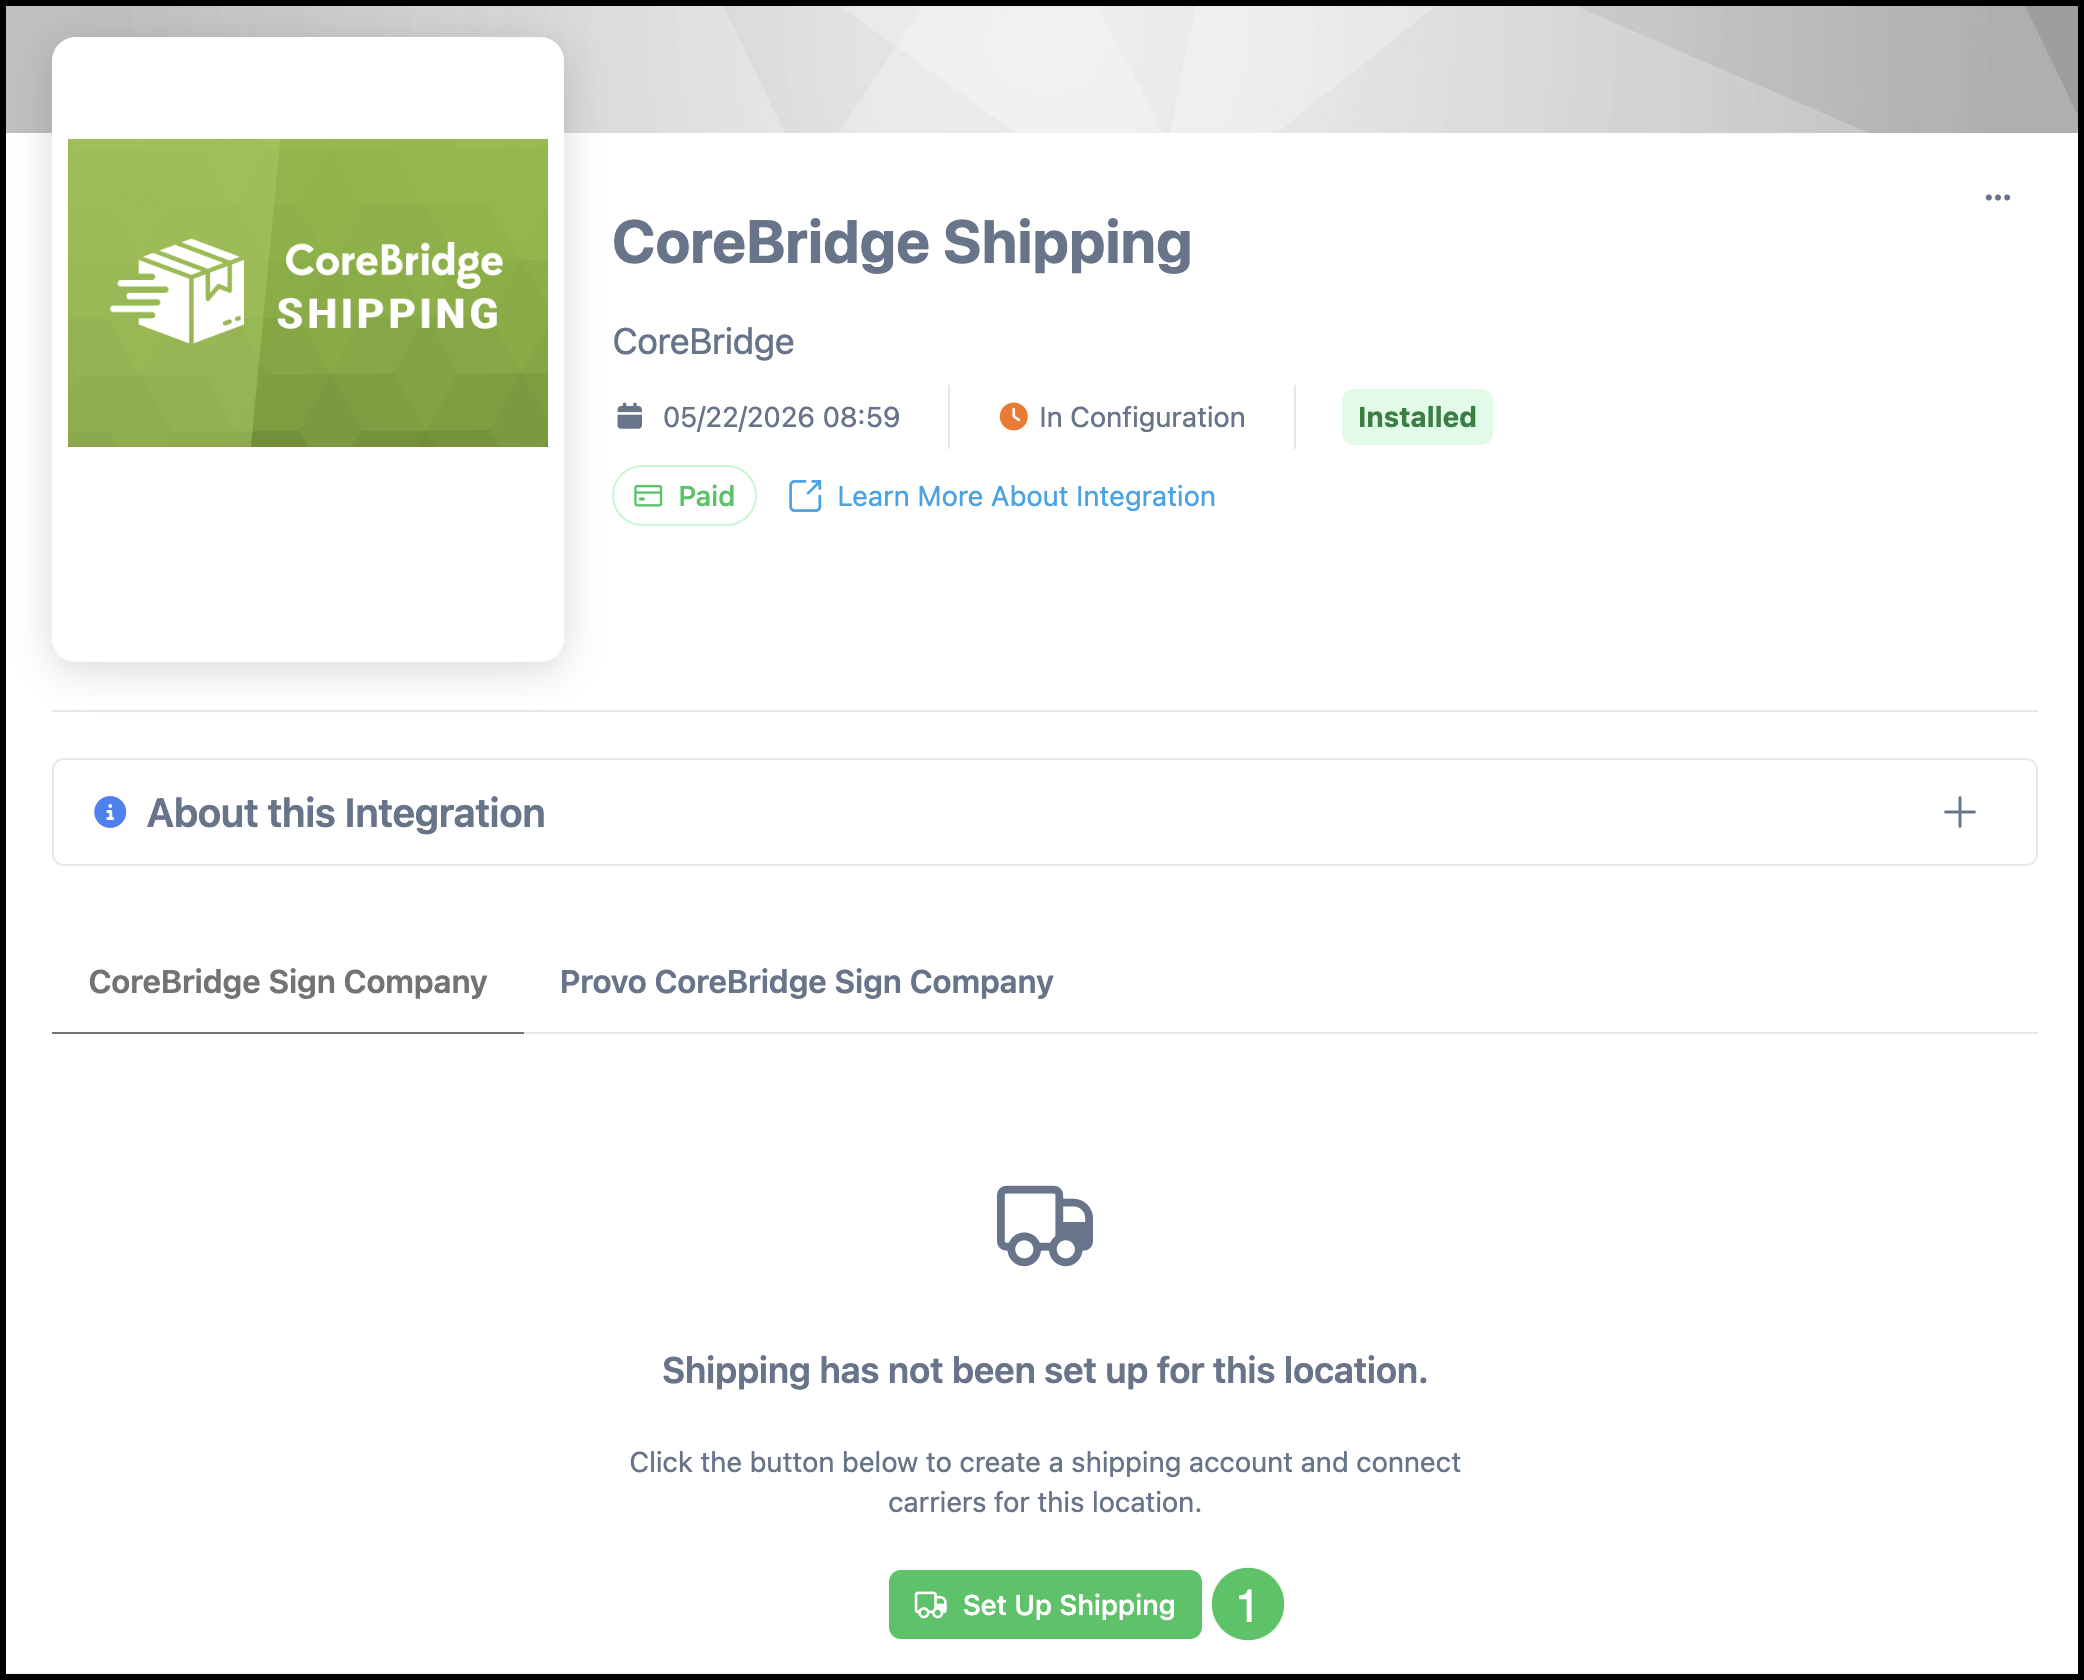
The first step in using CoreBridge Shipping is to set the shipping address of your own business. This can be done from the integration screen immediately after installing, or at any time by accessing this screen from System Settings / My Business / Integrations Marketplace.
1. Click Set Up Shipping.
Note: If you have multiple Locations, shipping must be configured separately for each Location.
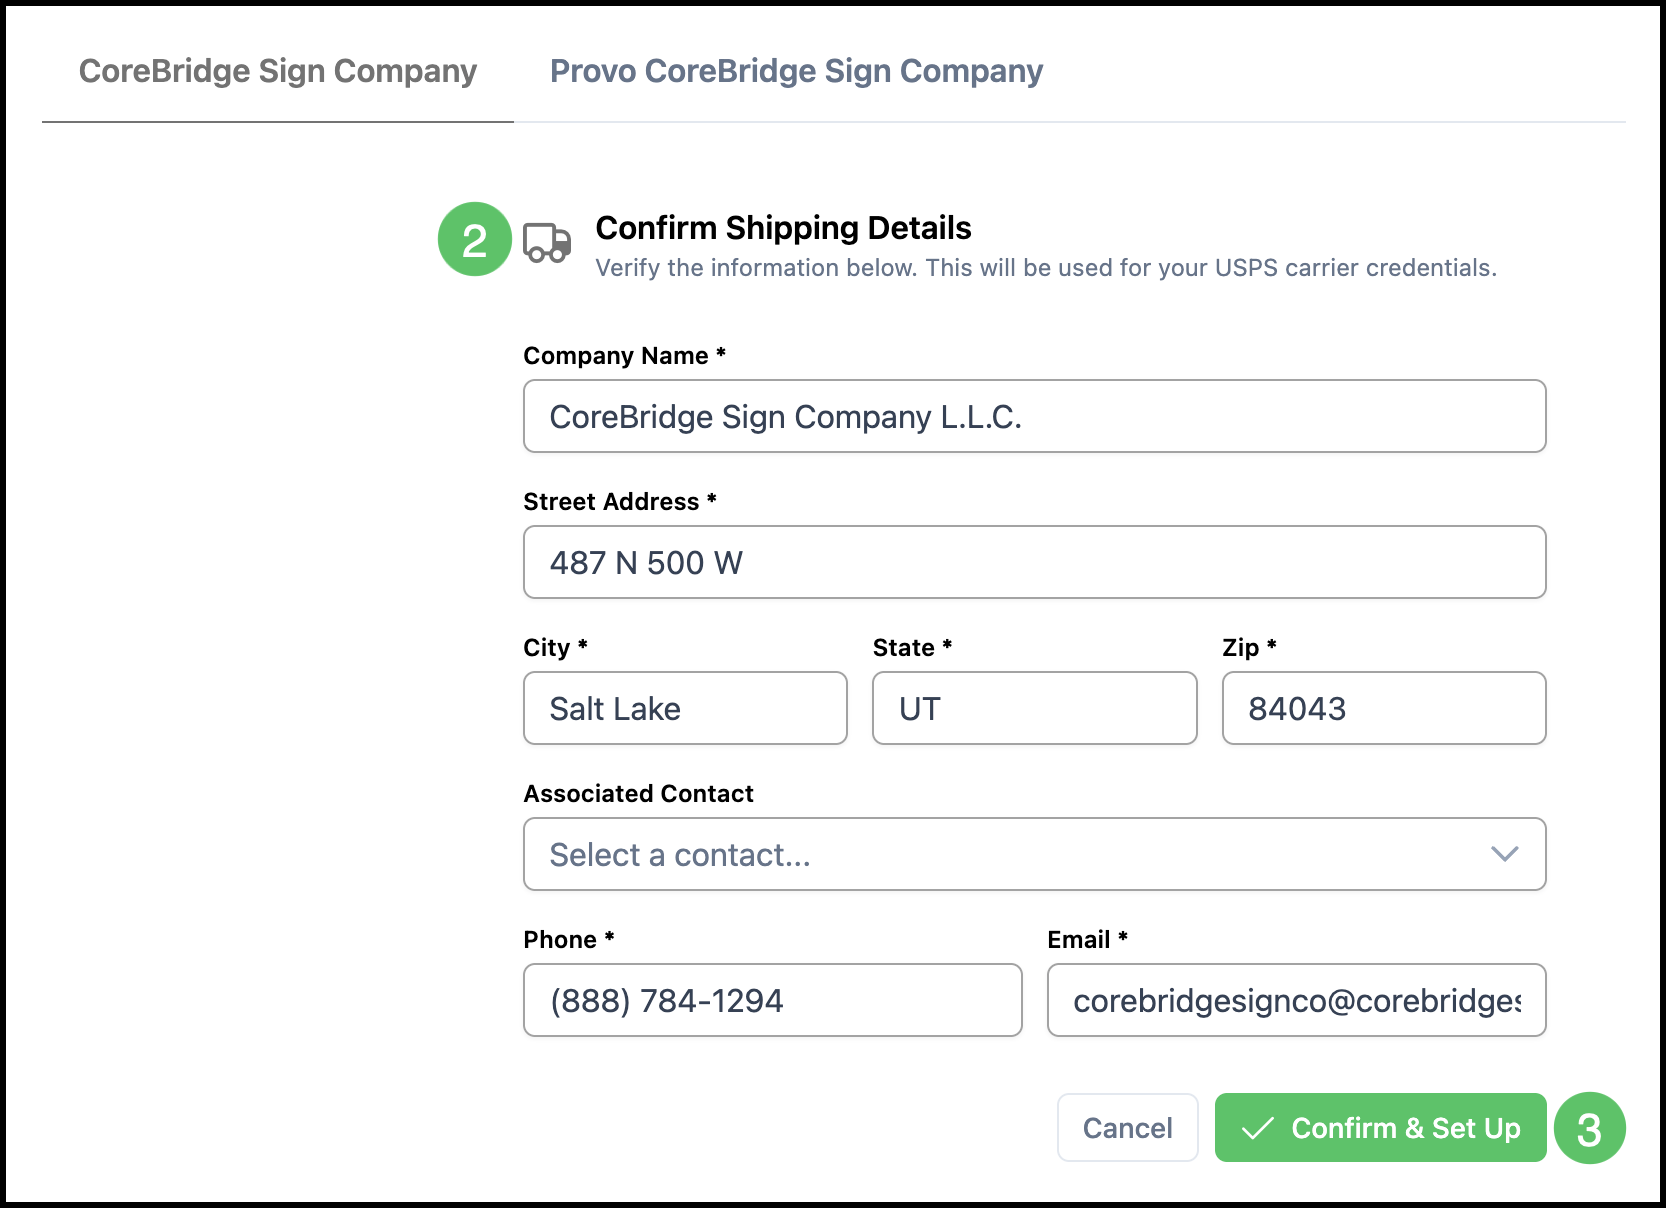
2. Enter your shipping address details.
3. Click Confirm & Set Up.
Connecting Carriers
1. Click Connect Carriers.
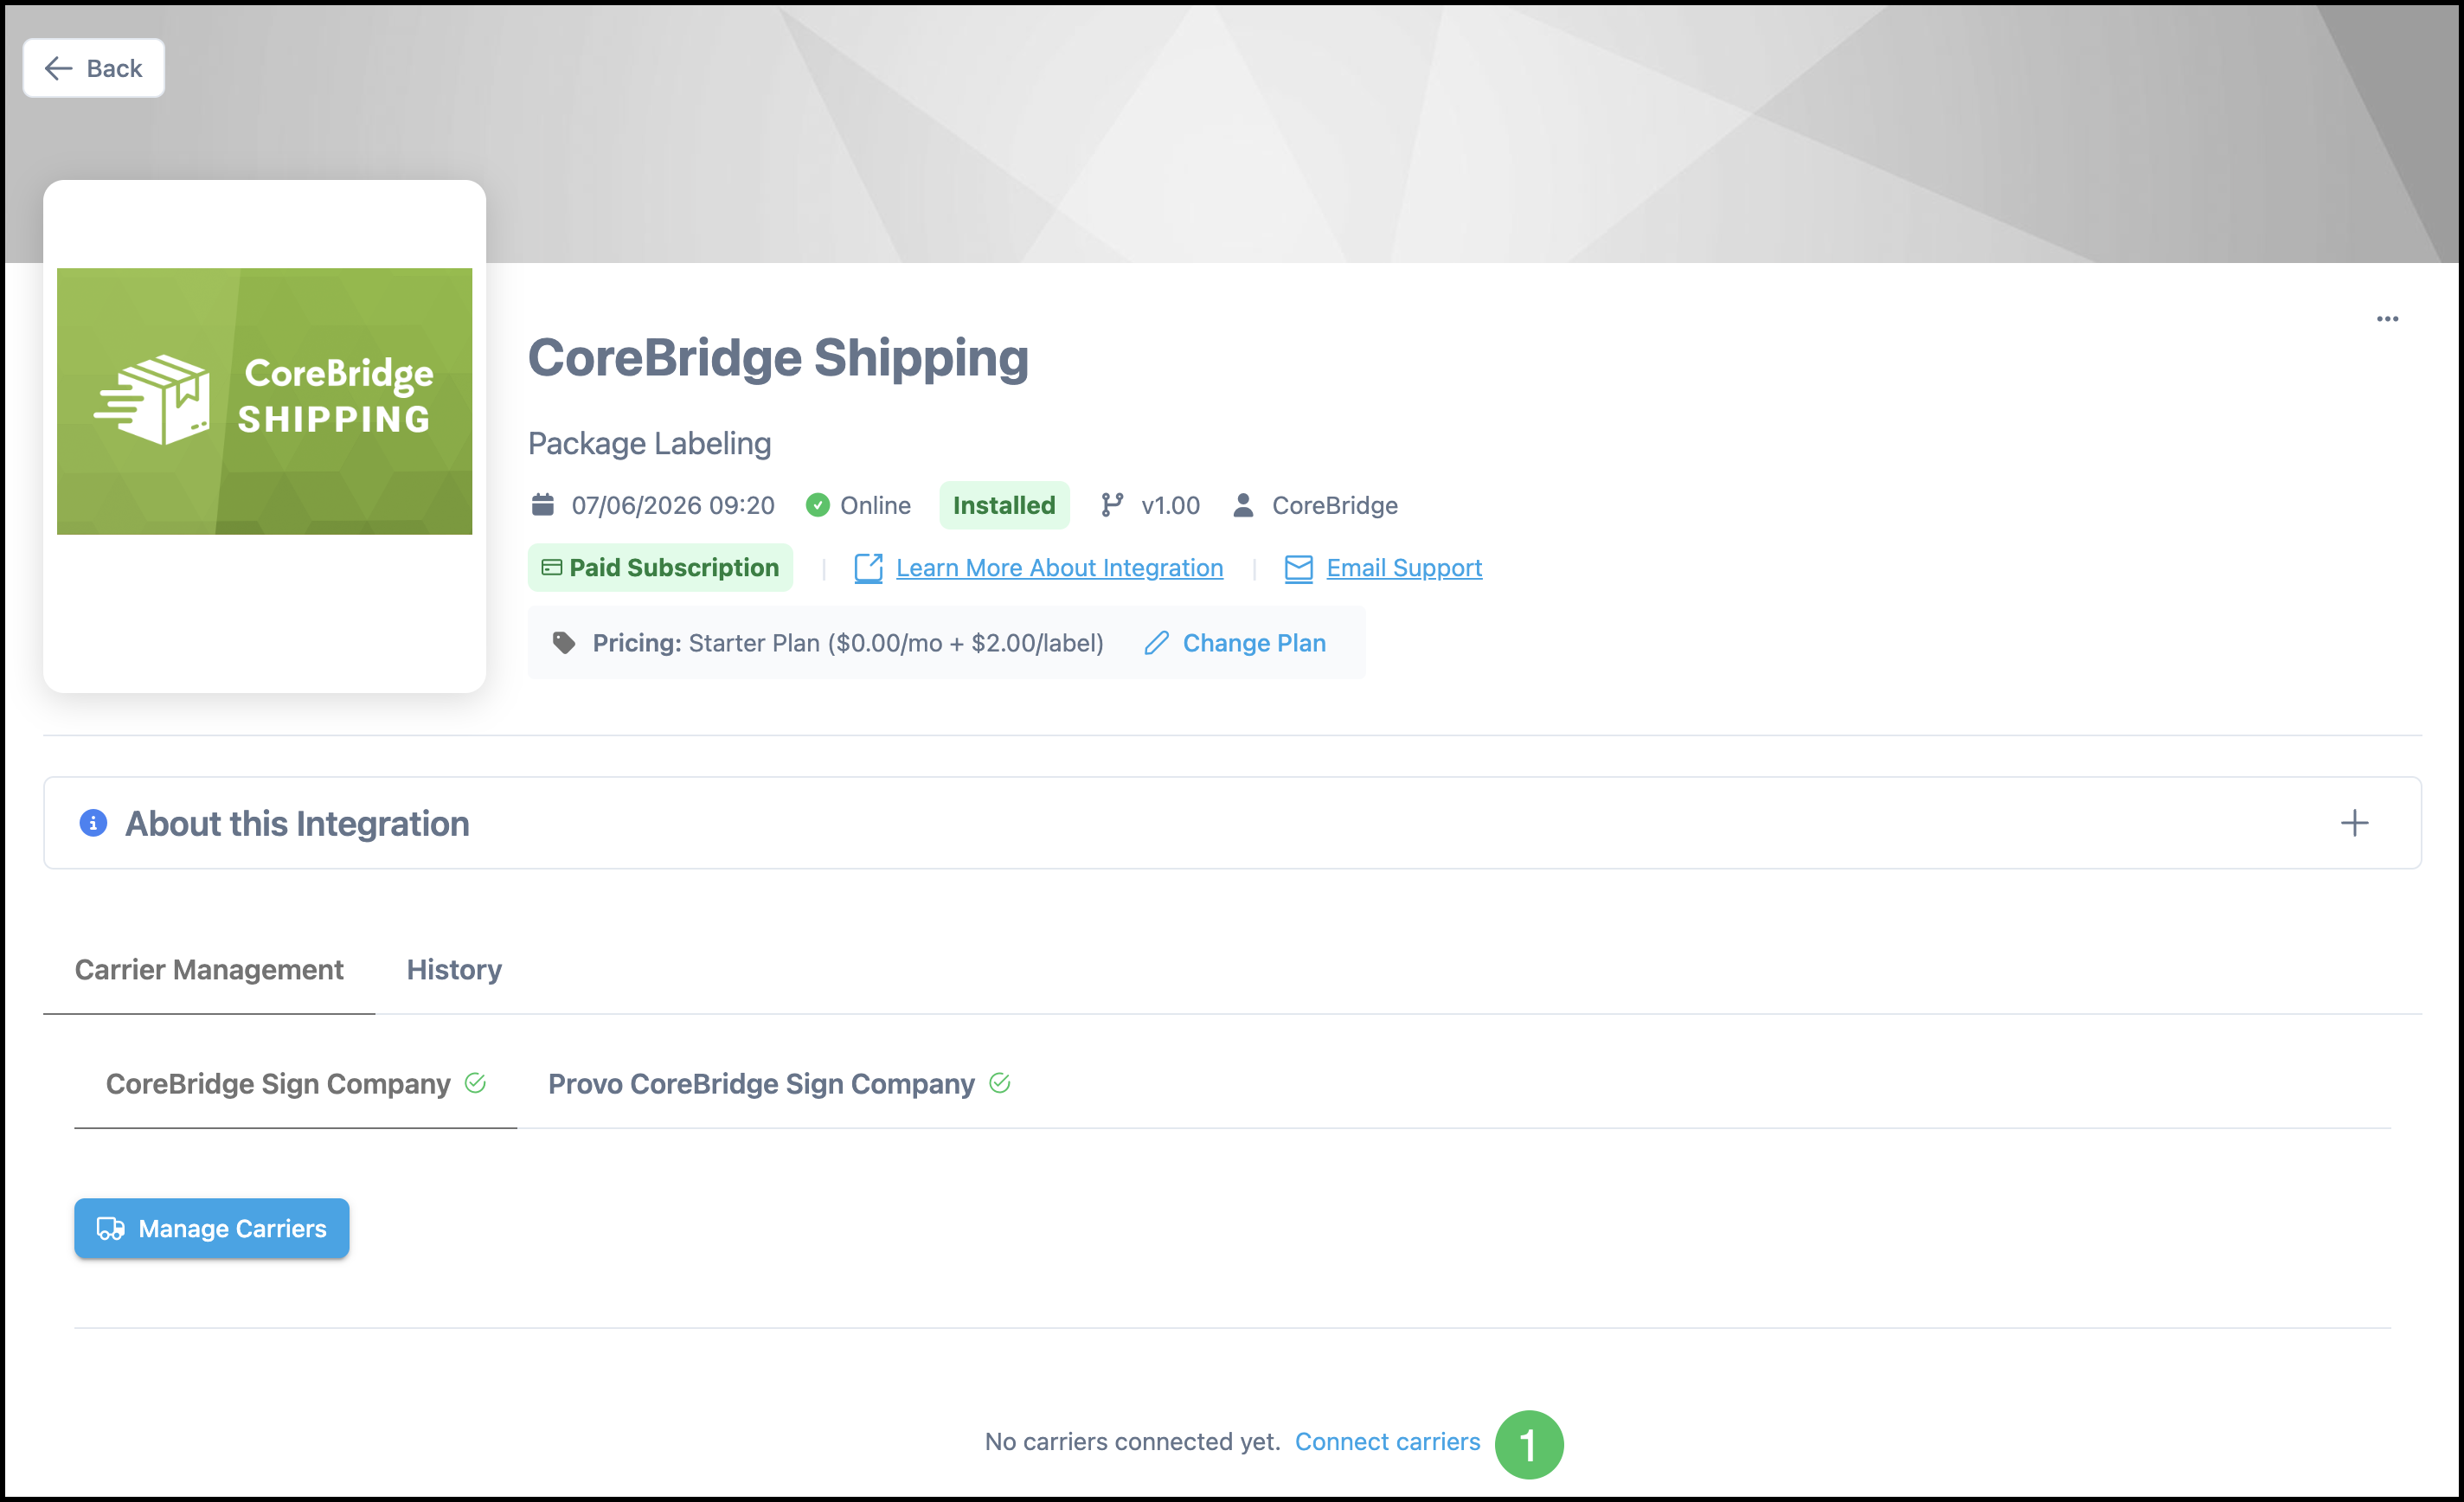
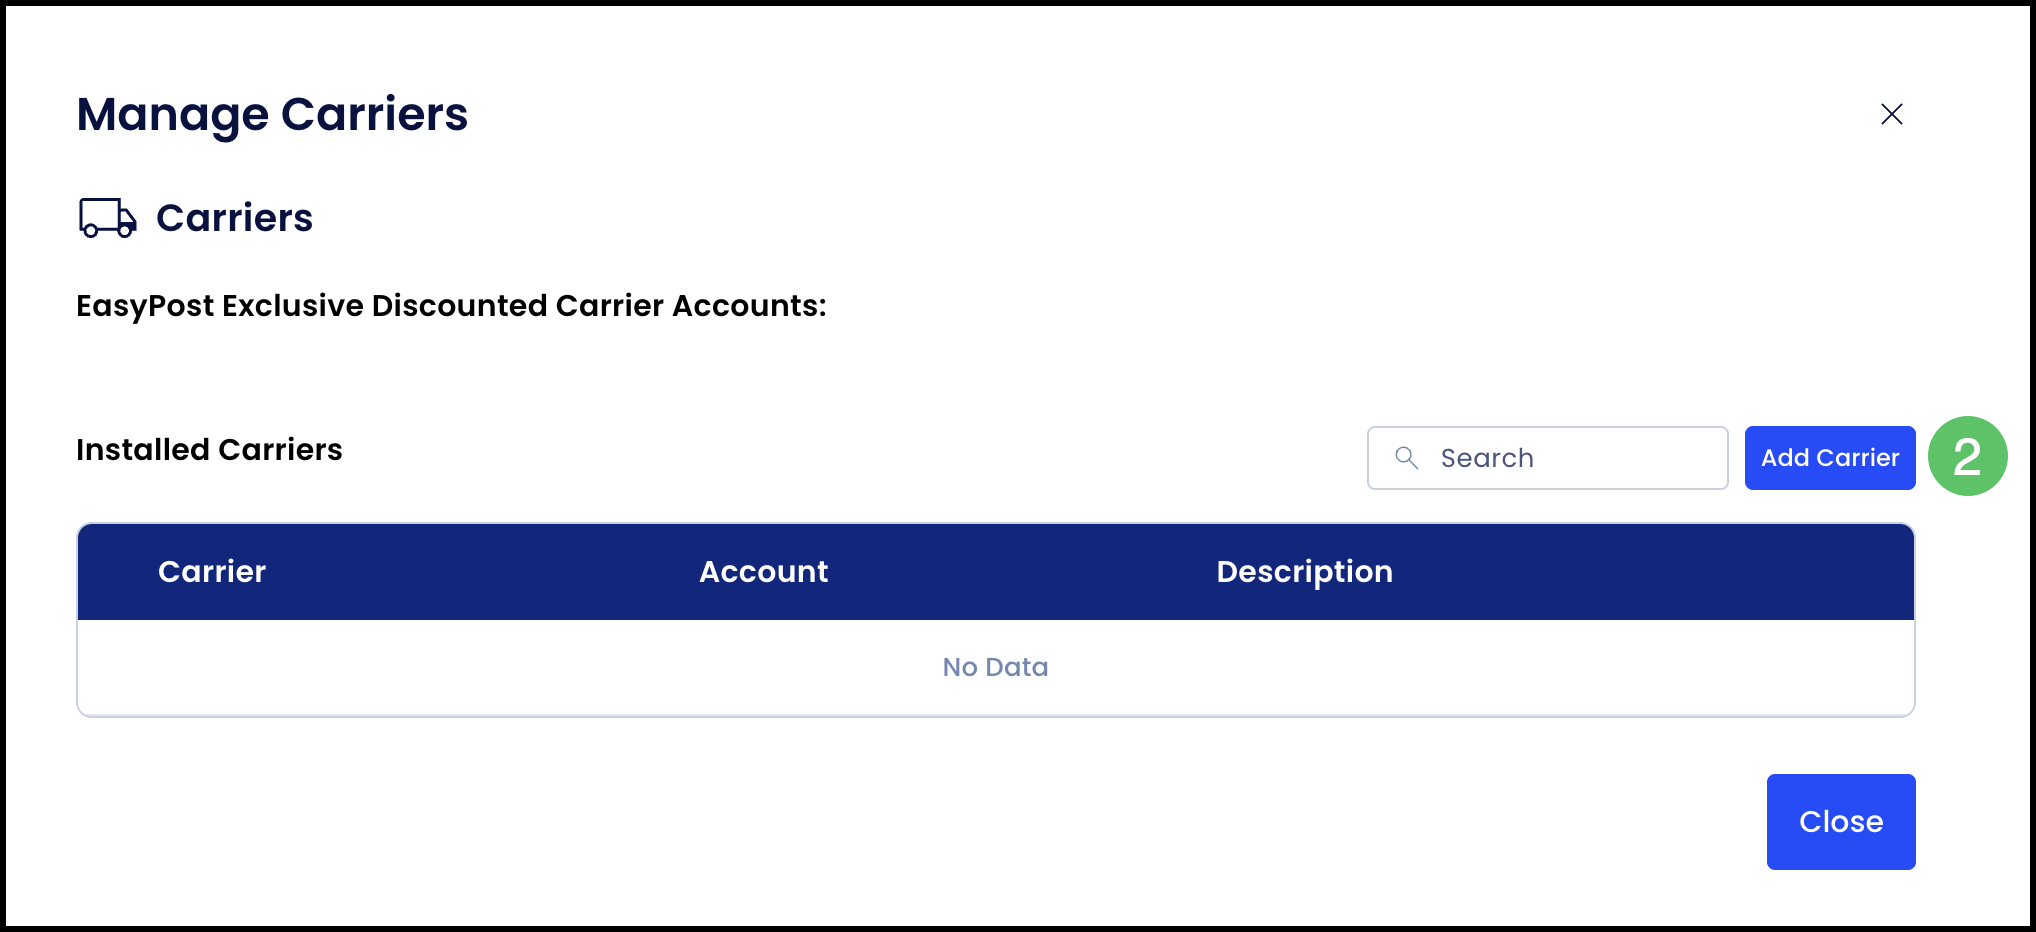
2. Click Add Carrier.
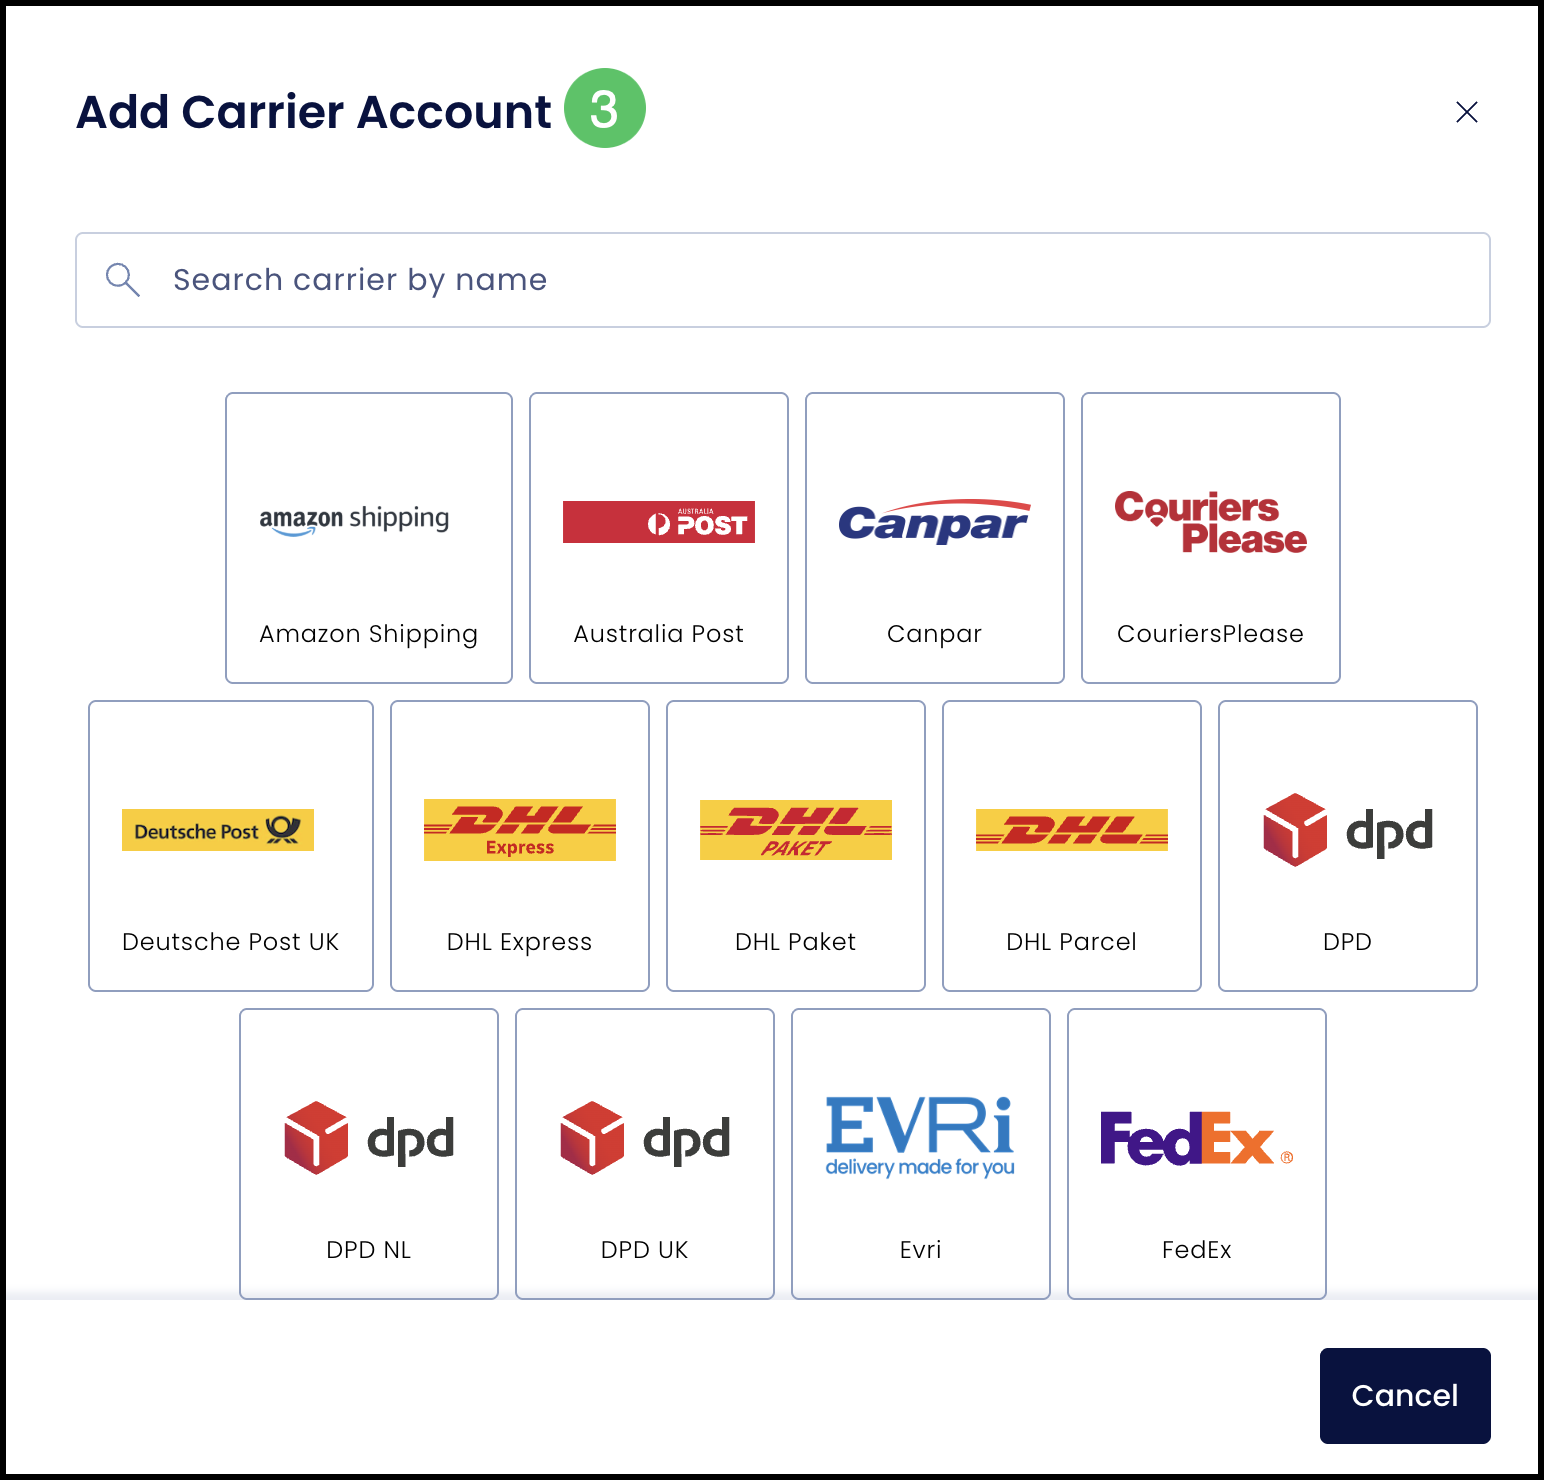
3. Select Carrier.
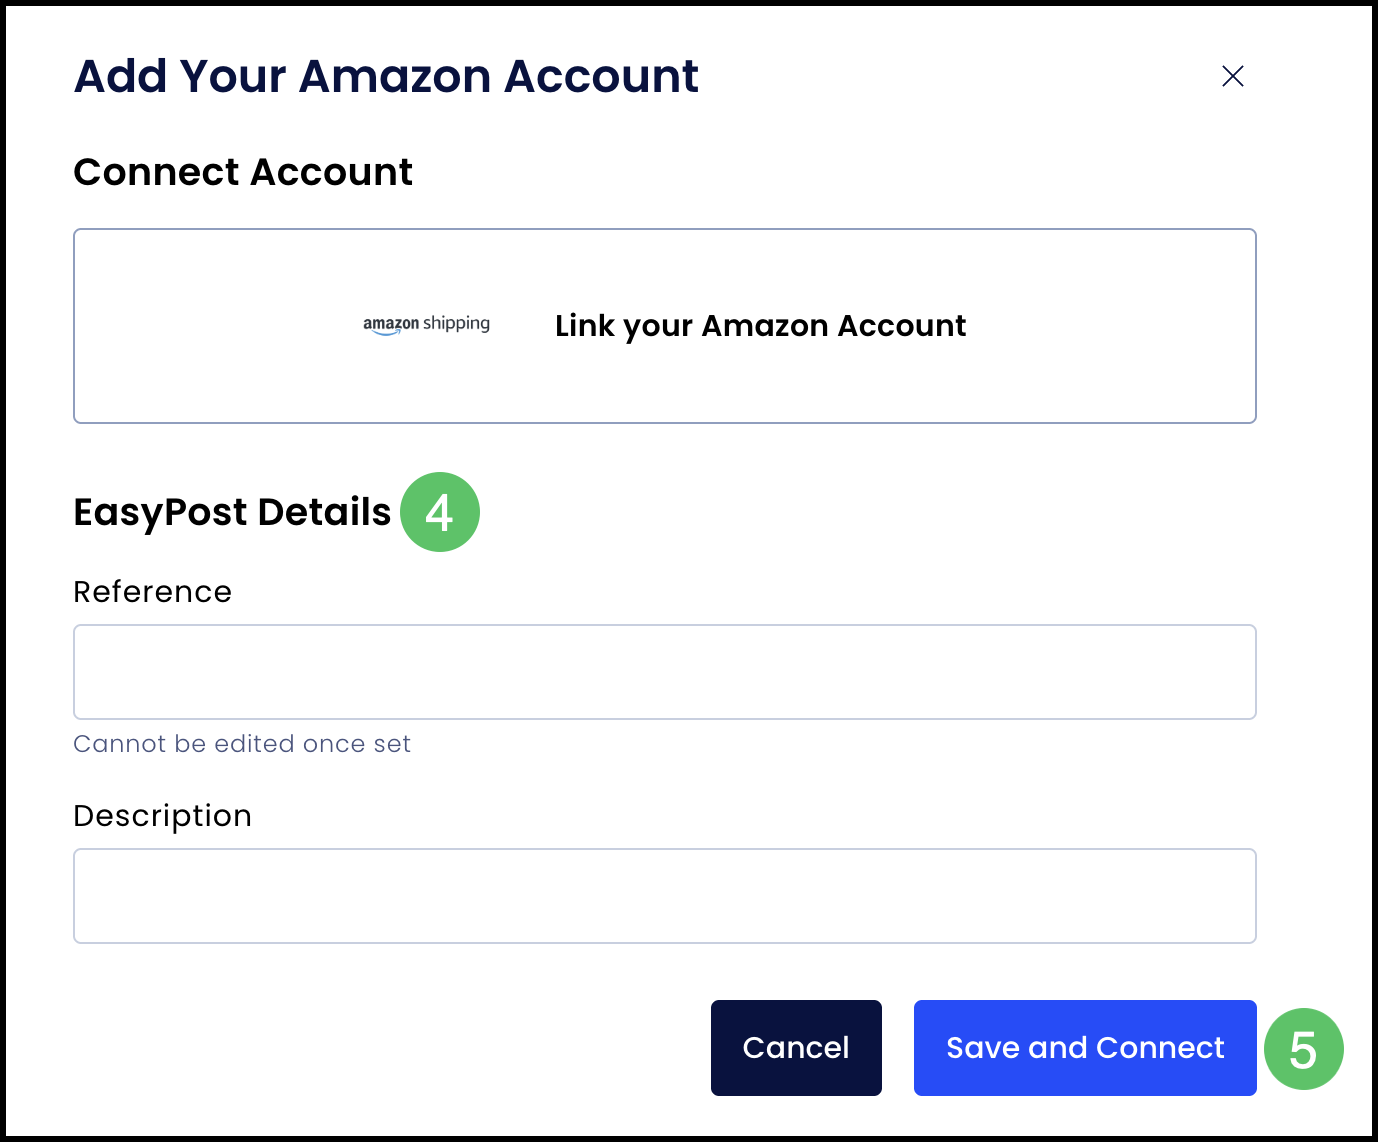
4. Enter any relevant account details.
5. Click Save and Connect.
Note: If you need a carrier that is not listed, contact CoreBridge. The integrations team can review whether that carrier can be added.
Managing Carriers
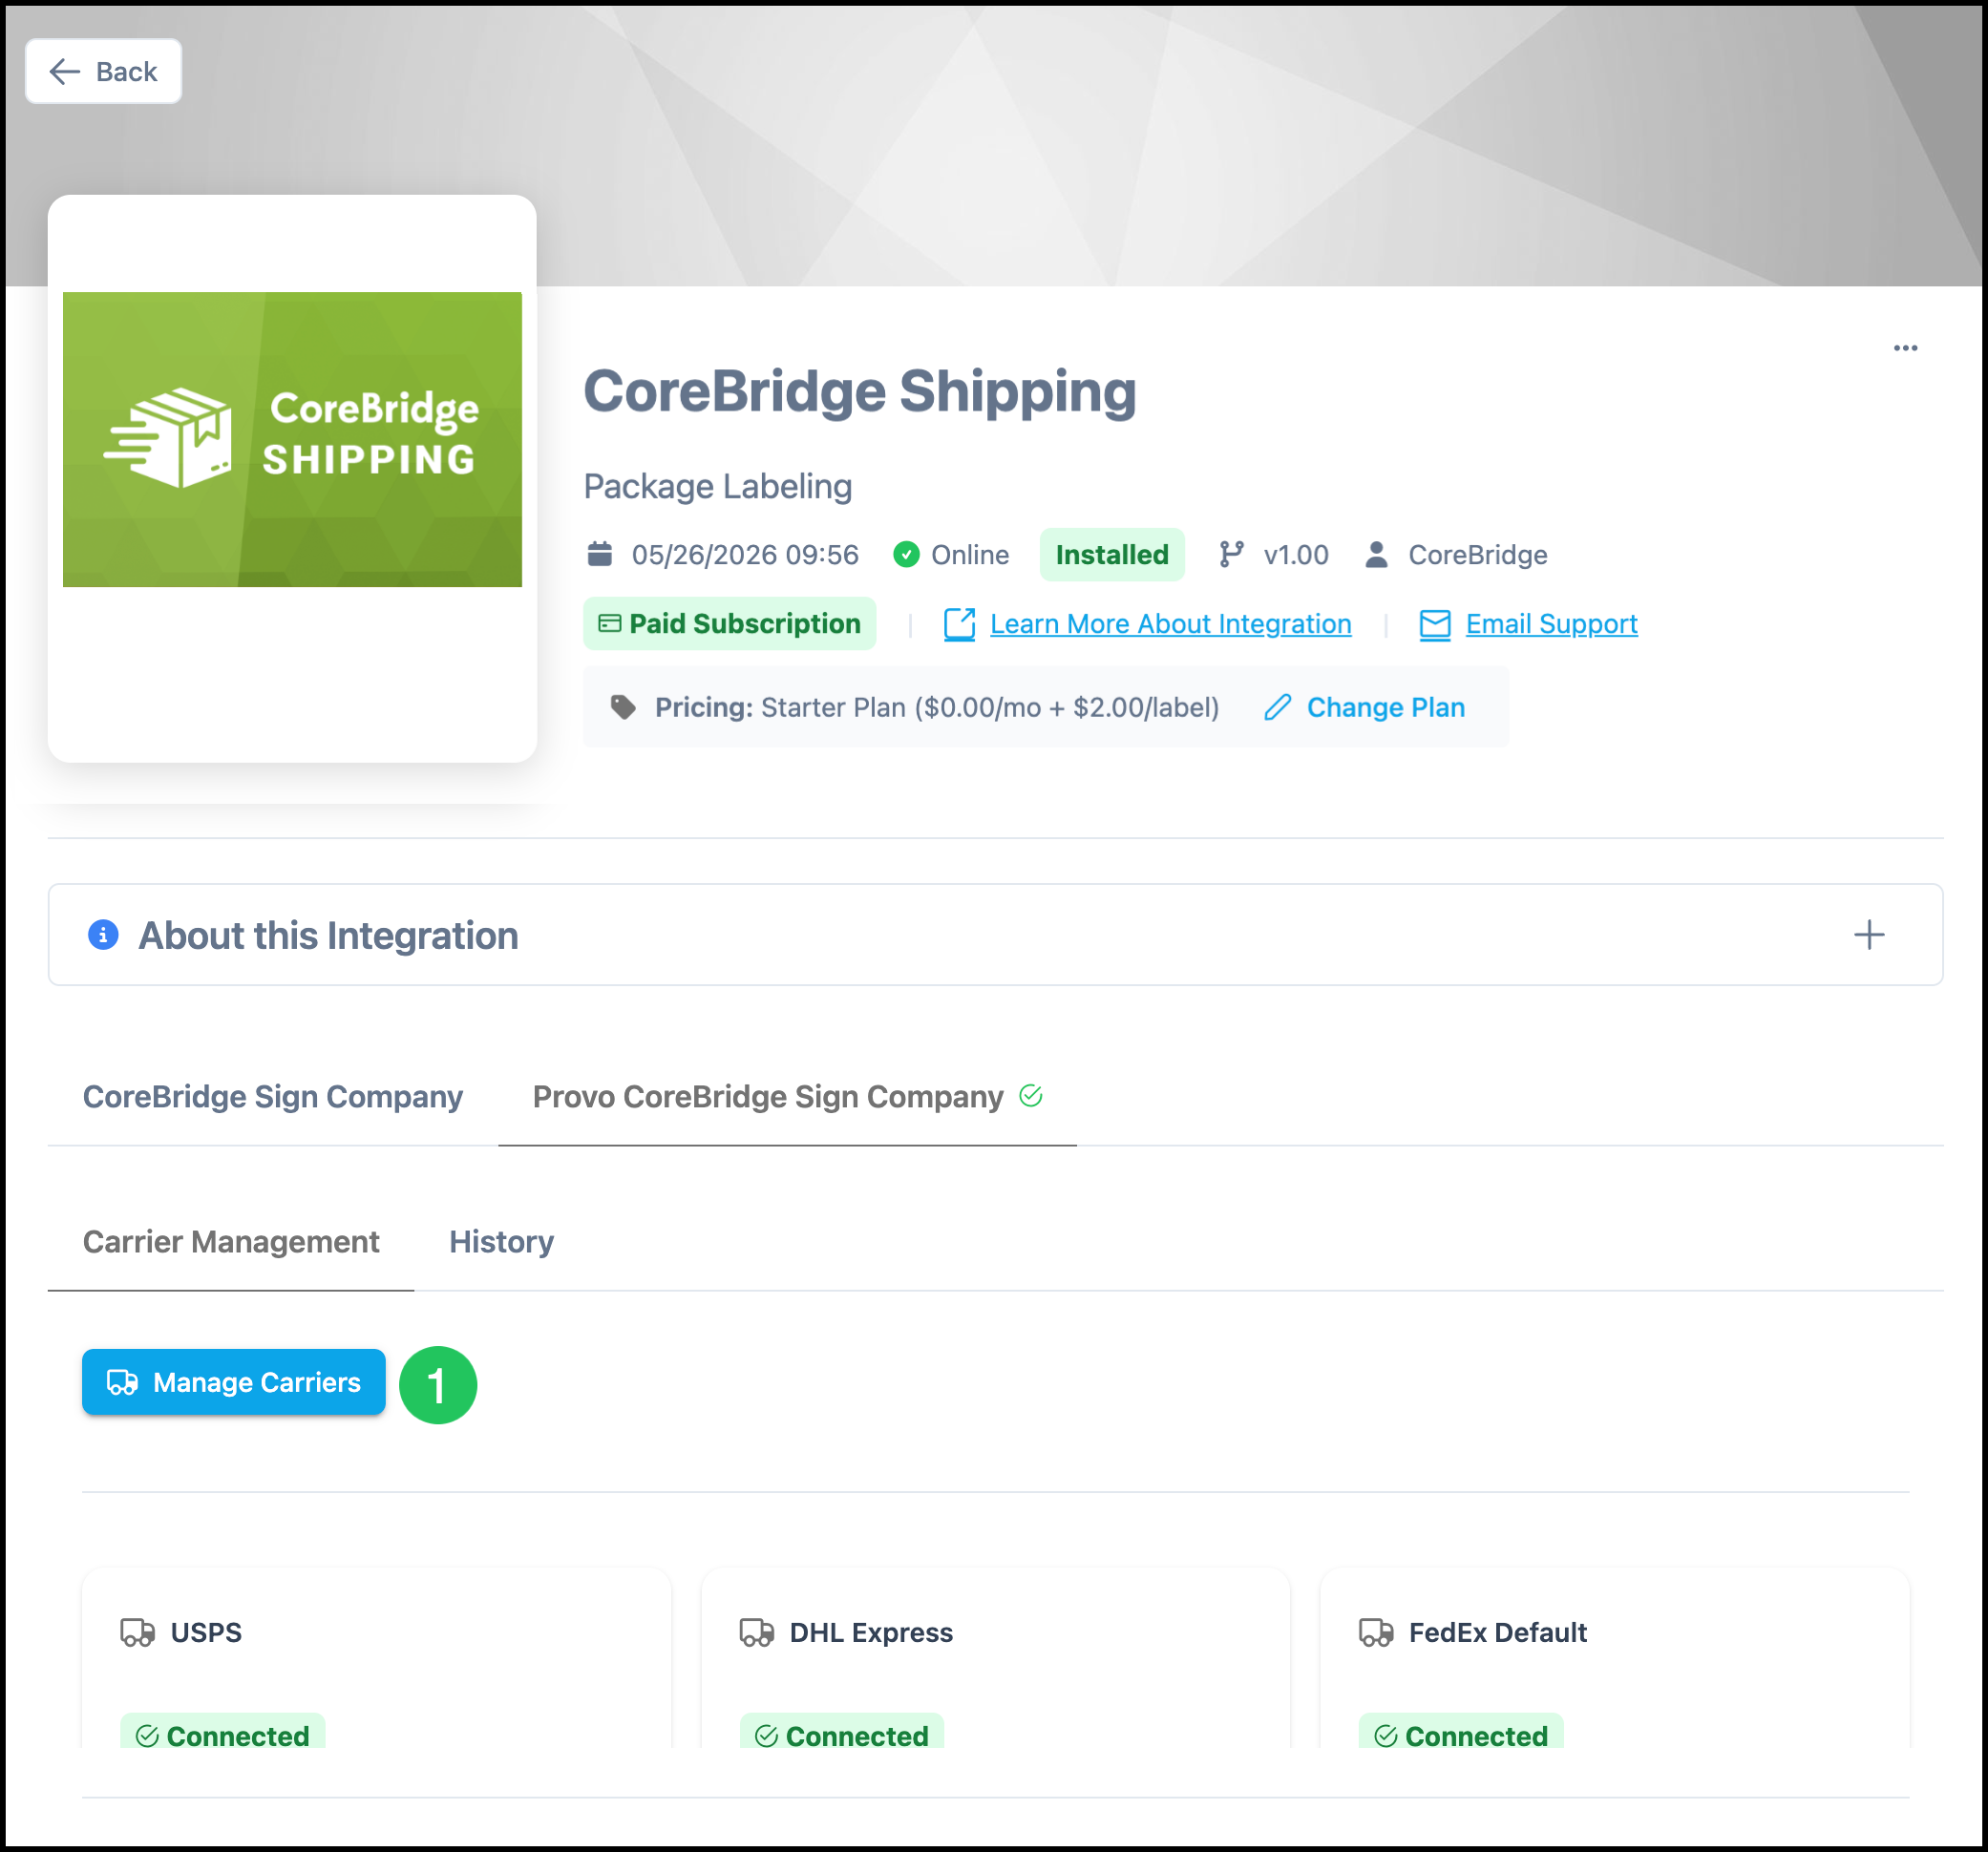
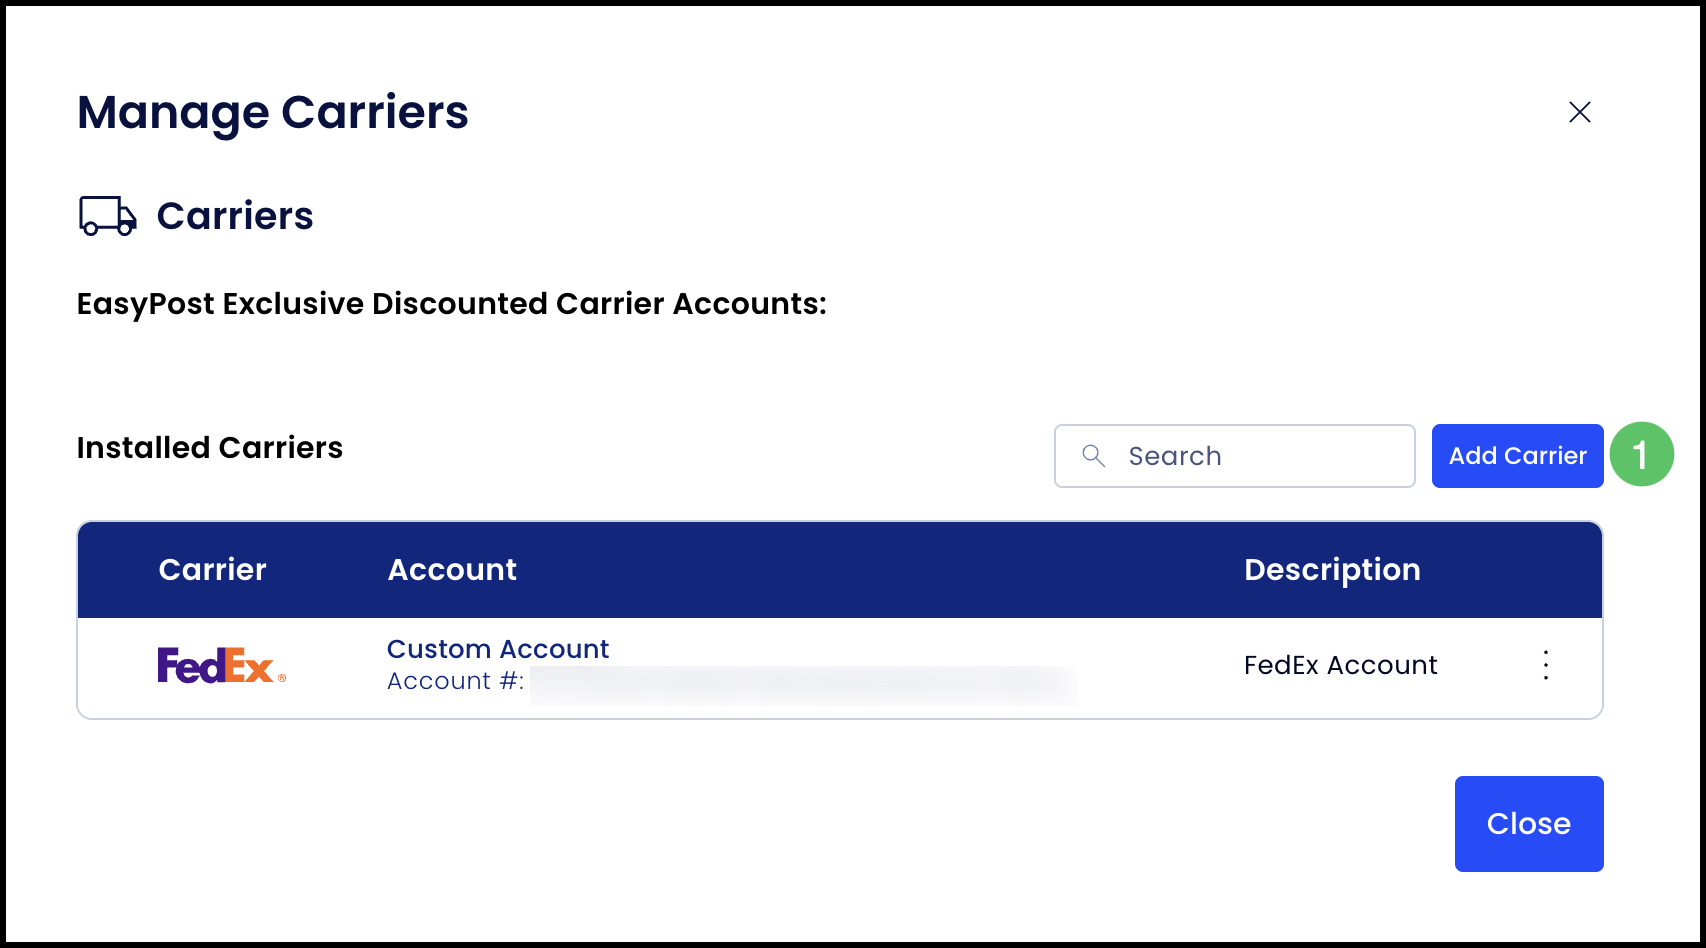
1. Click Manage Carriers. A dialog opens listing carriers your site has already connected.
2. Click Add Carrier to connect a carrier.
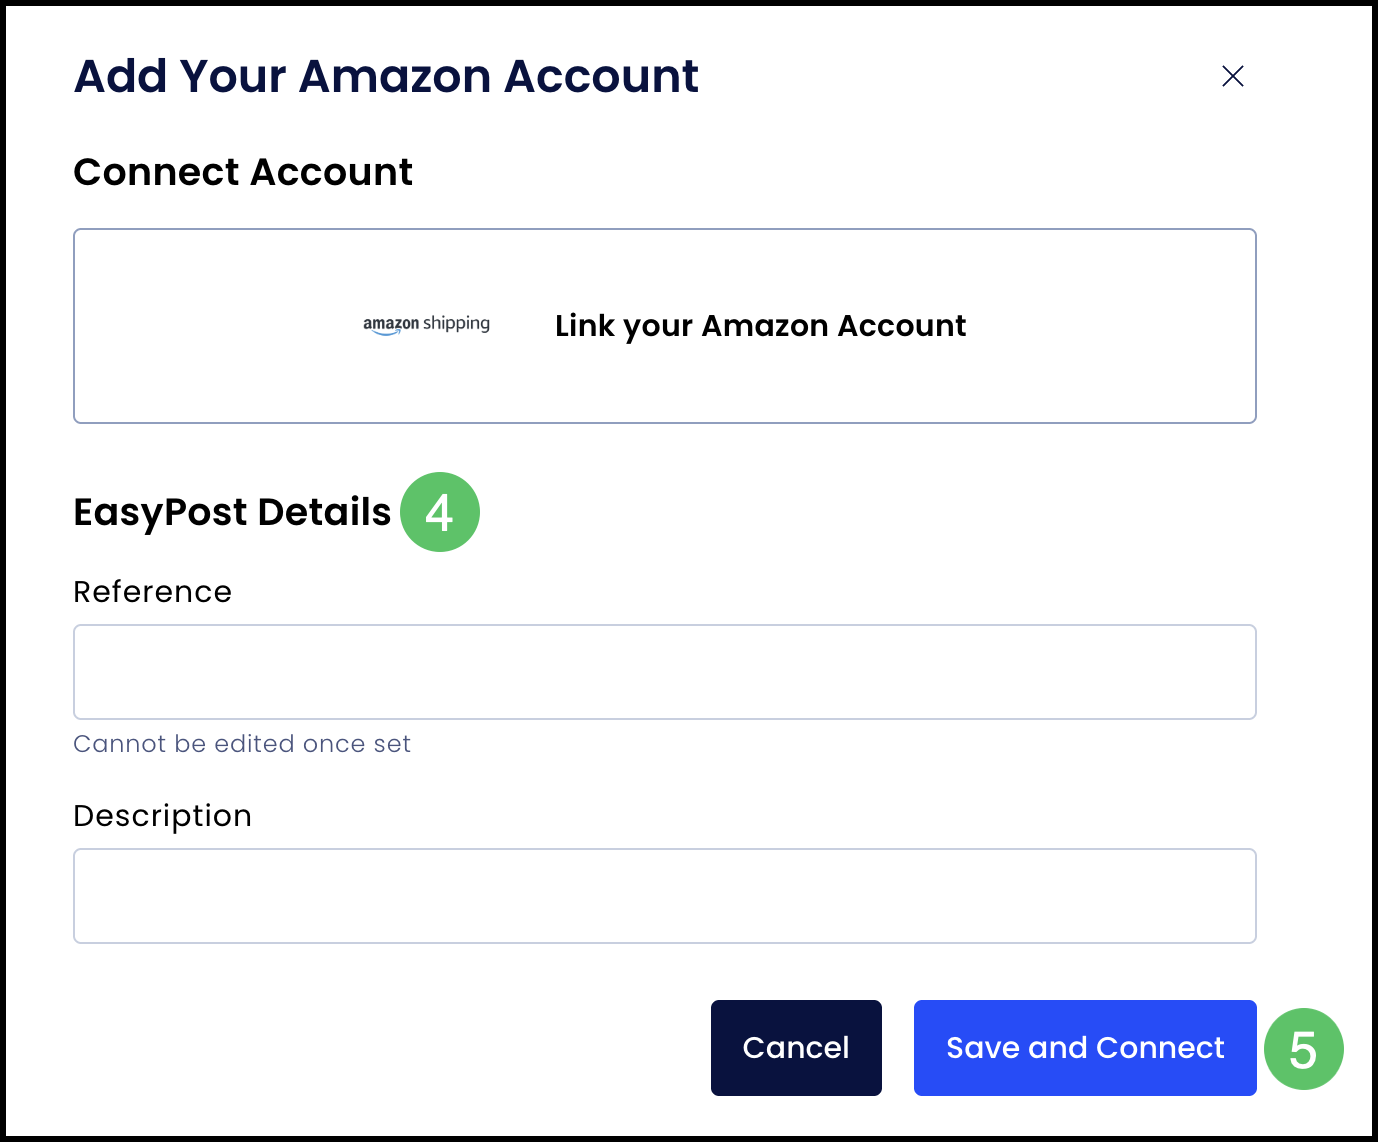
3. Select Carrier.
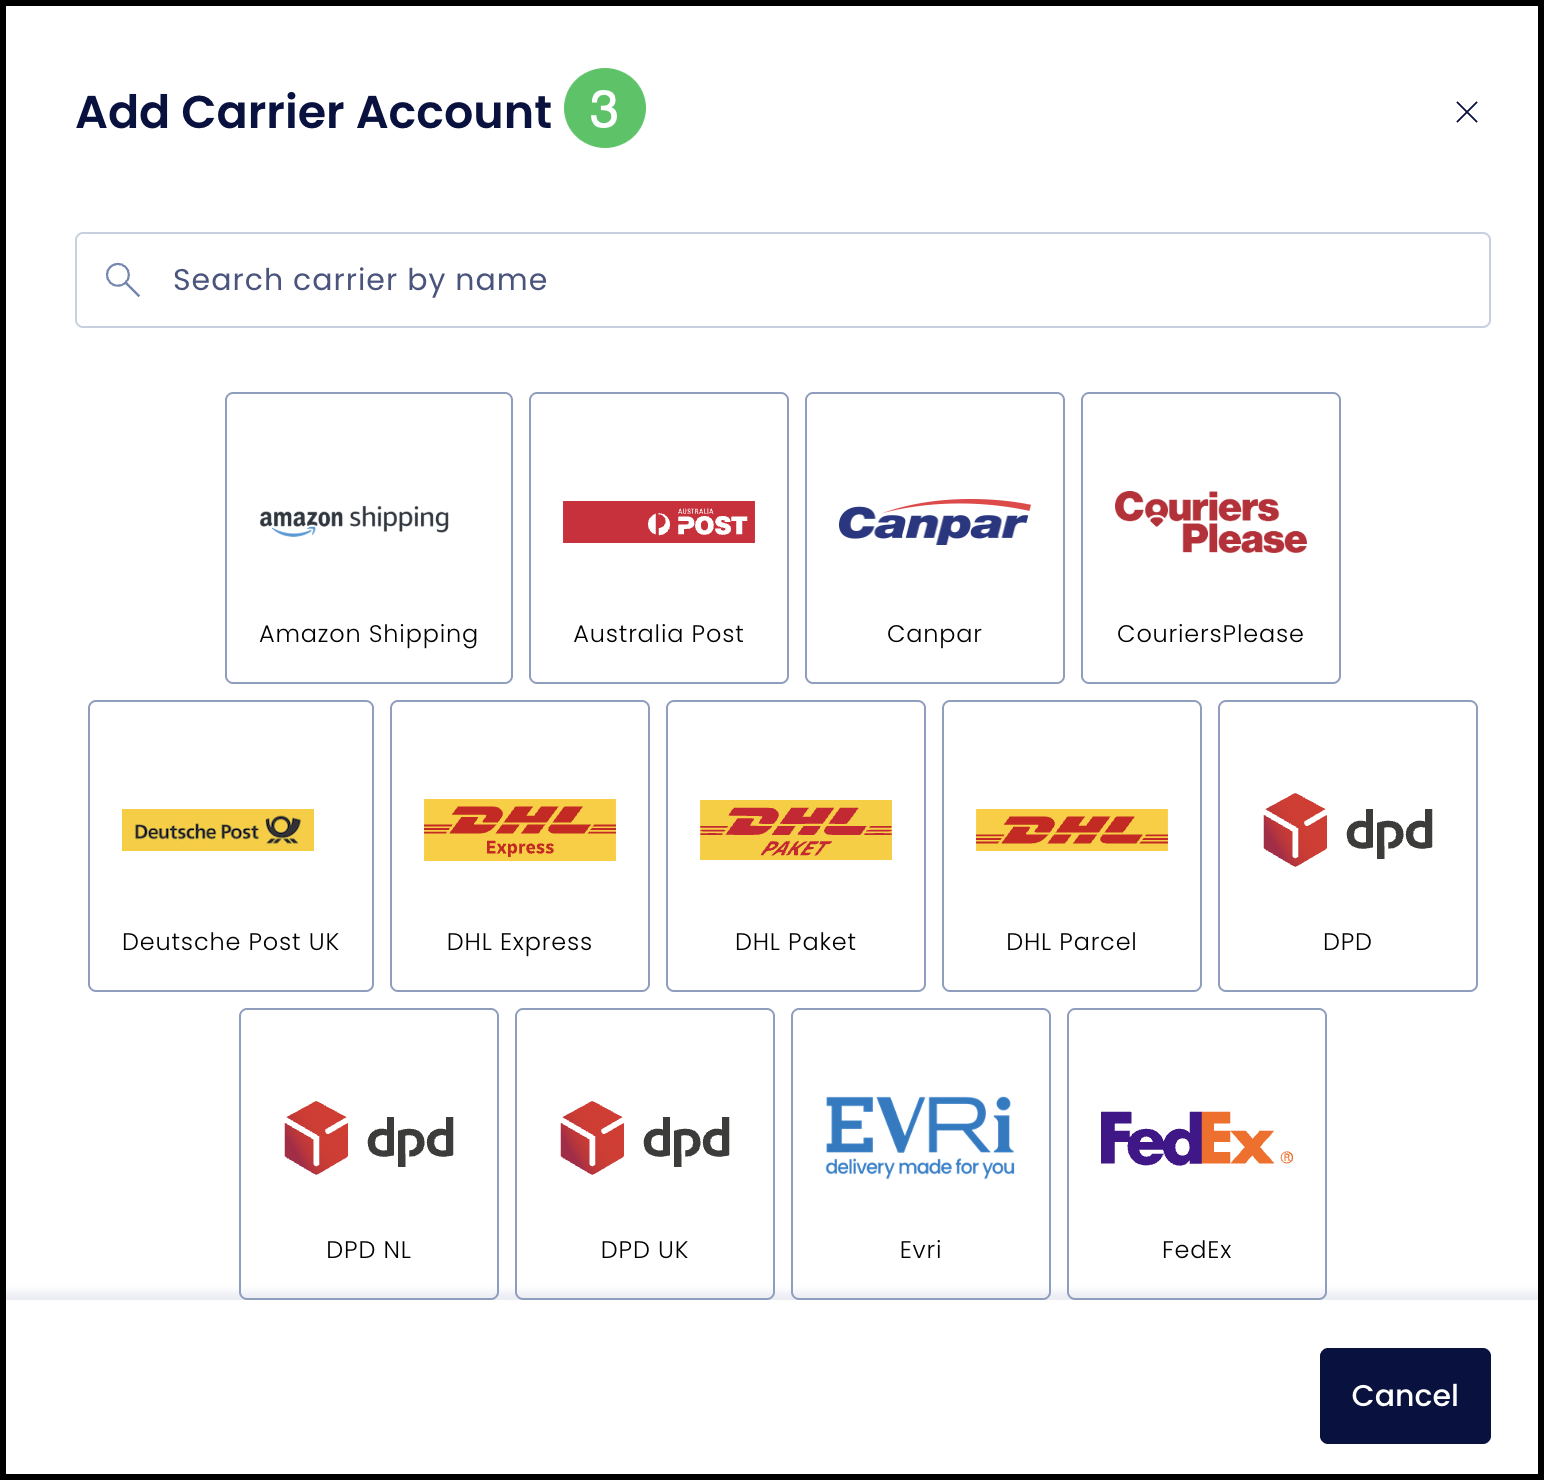
4. Enter any relevant account details.
5. Click Save and Connect.
Note: If you need a carrier that is not listed, contact CoreBridge. The integrations team can review whether that carrier can be added.
Subscription and Per-Label Fees
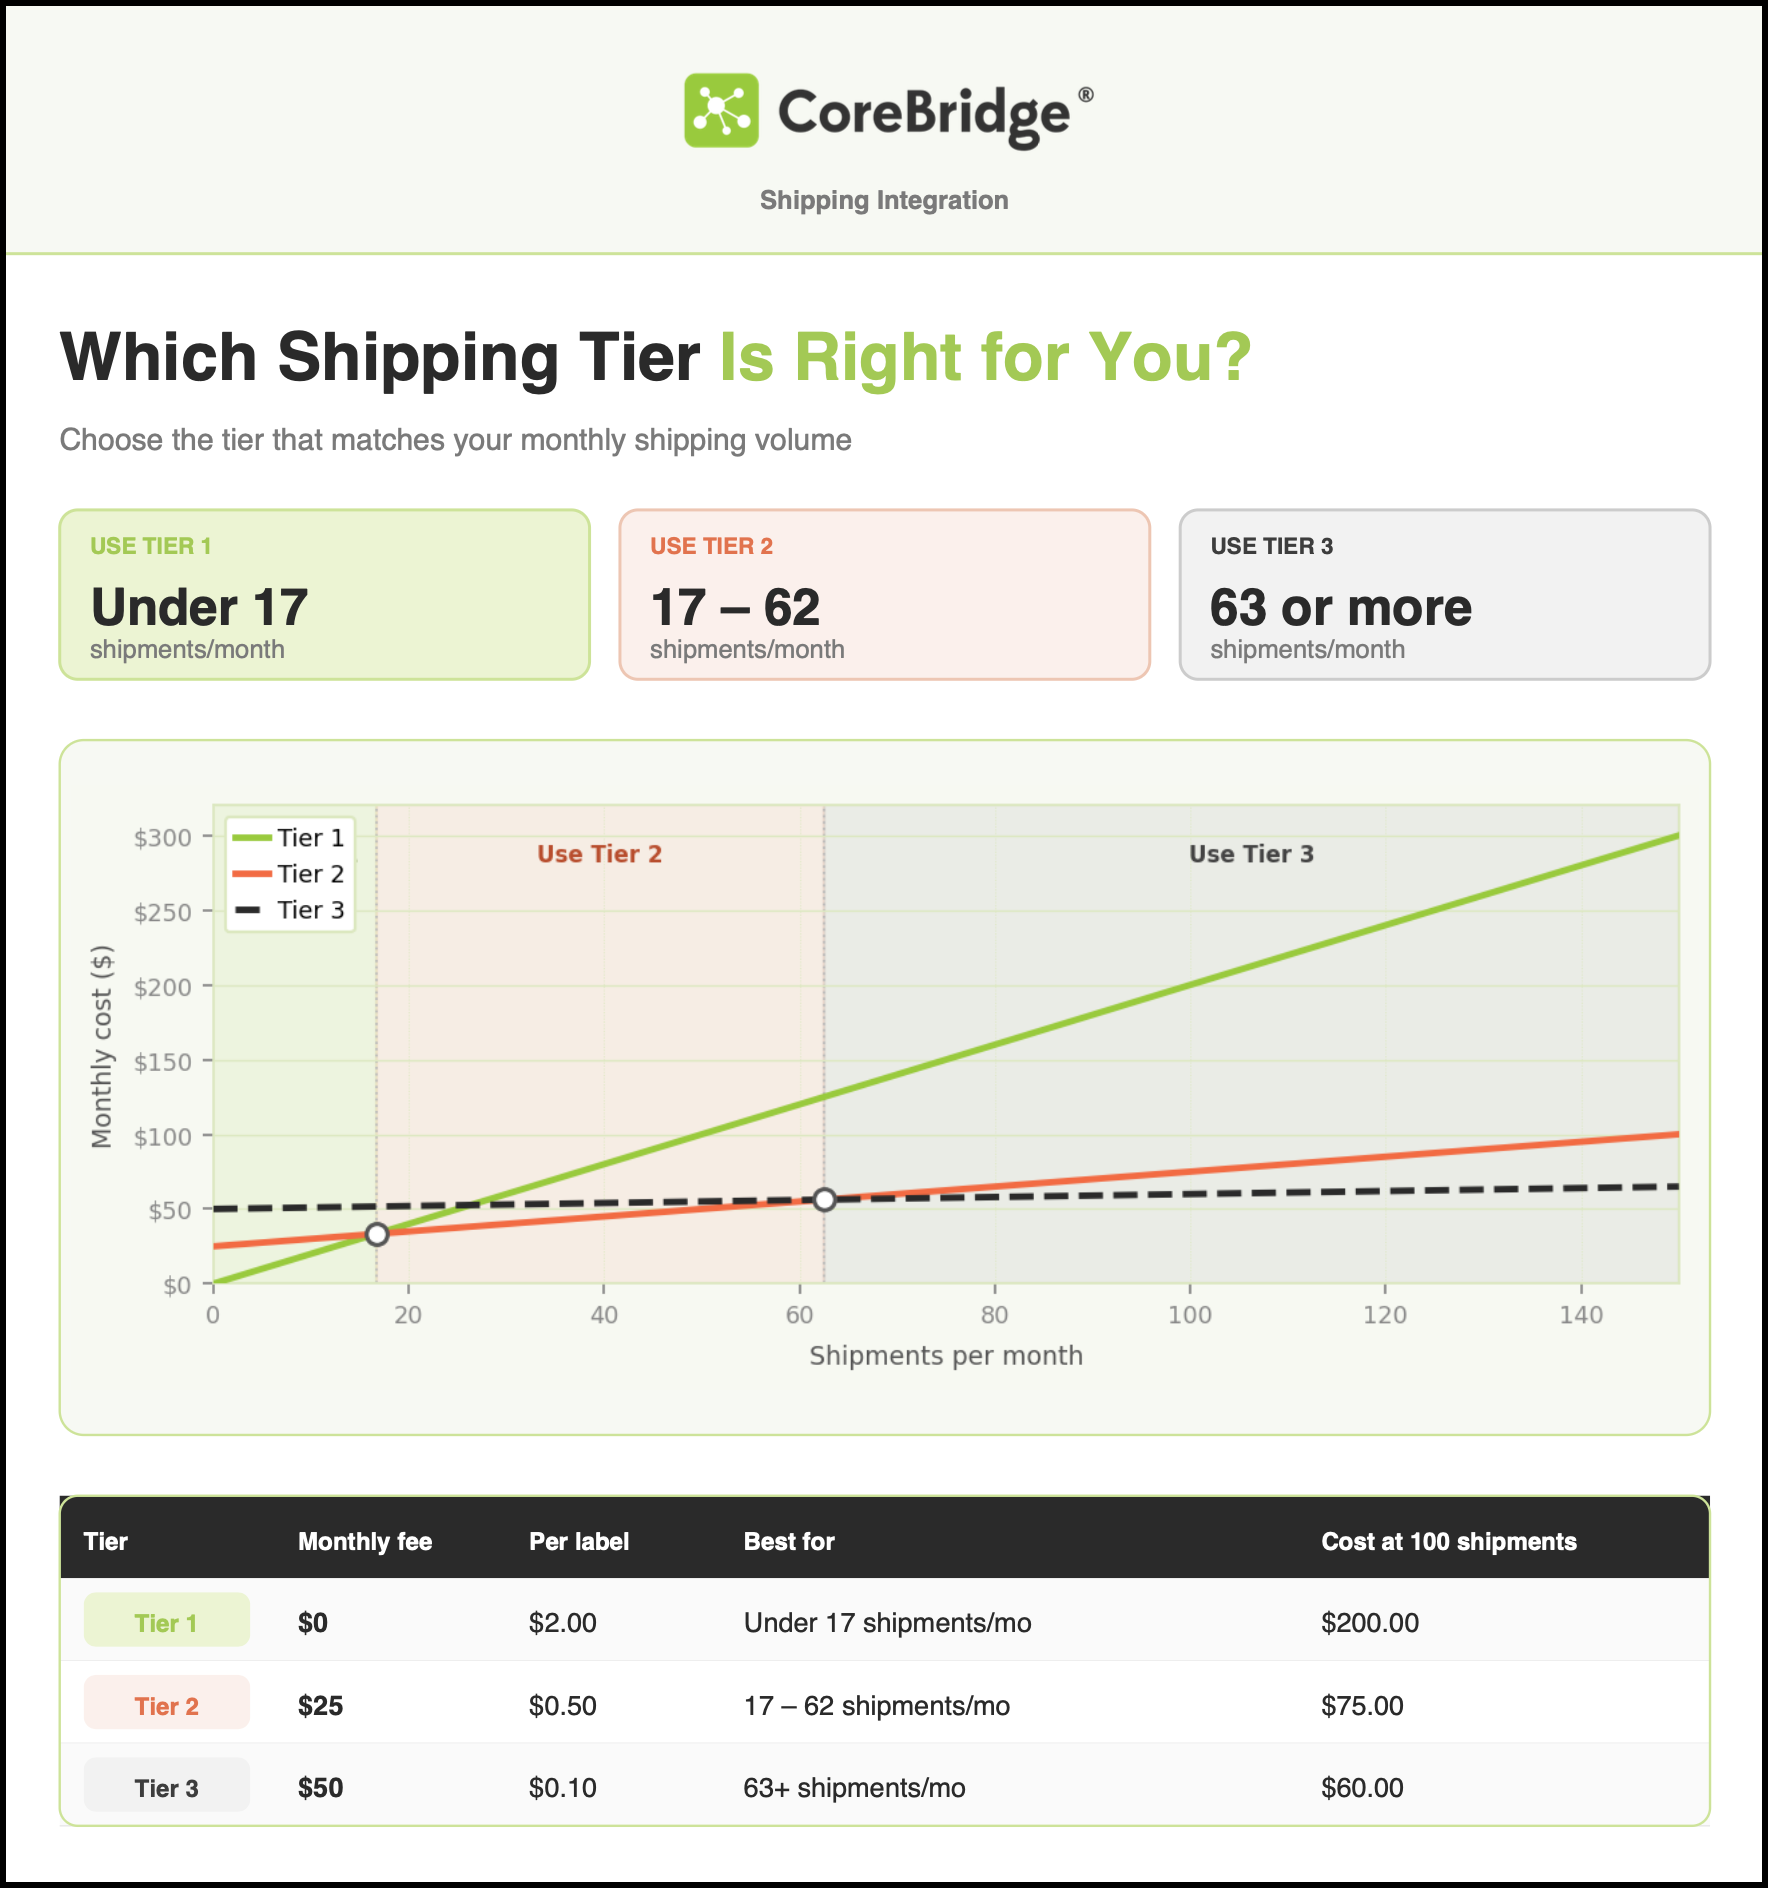
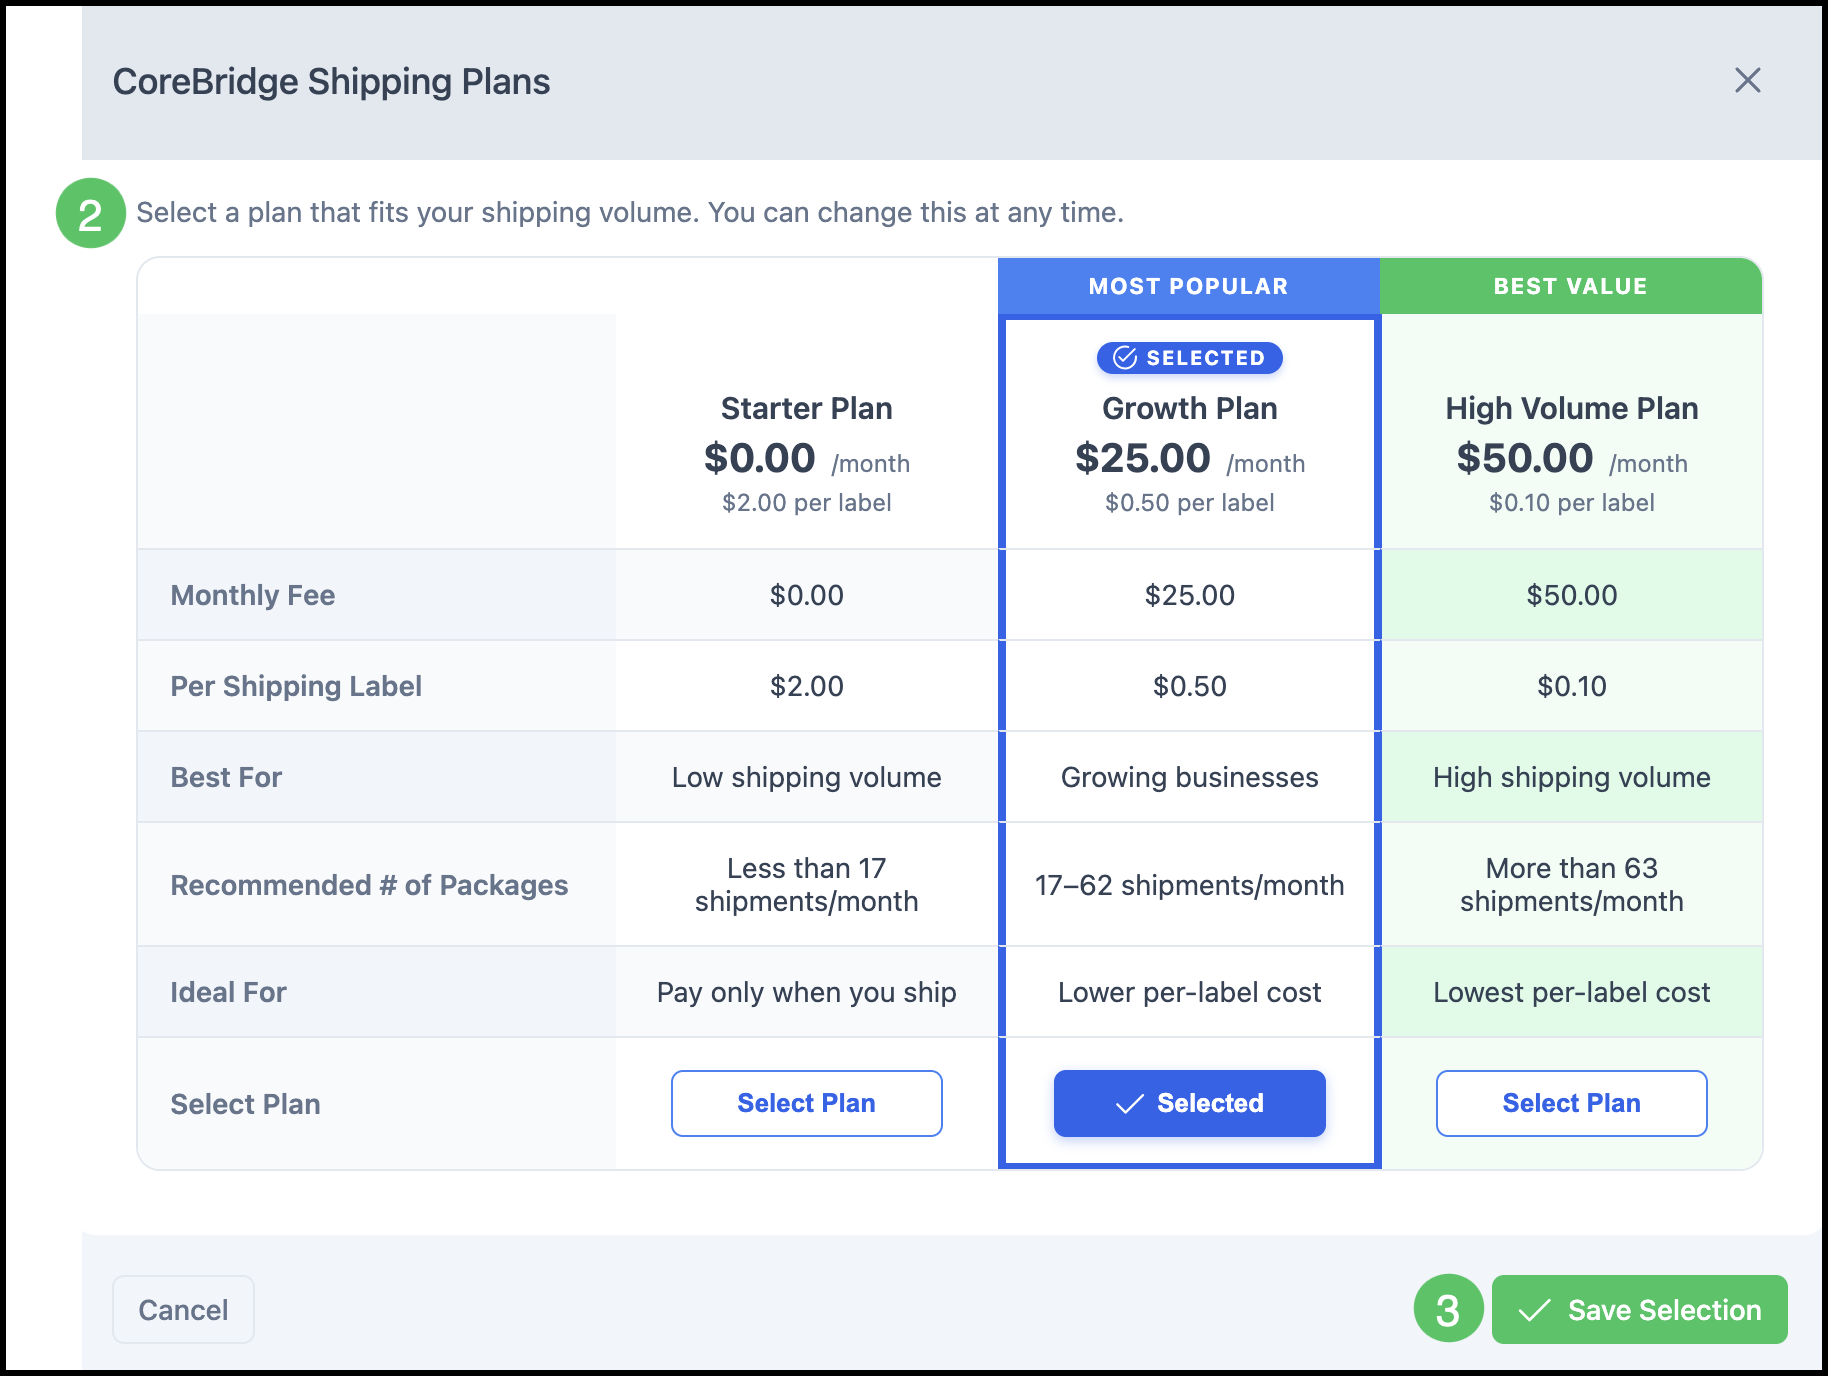
CoreBridge shipping is built around three pricing tiers, so you can match your costs to the volume your shop actually ships. You choose the tier that fits your monthly shipment count, and you can move up at any time as your business grows.
Note: The selected tier remains fixed and does not automatically change based on shipping volume, allowing you to maintain control over the pricing structure.
- Tier 1 is free each month with a $2 charge per label, which works well if you ship fewer than 17 packages a month.
- Tier 2 runs $25 a month and drops the per-label charge to $0.50 — a good fit between 17 and 62 shipments a month.
- Tier 3 is $50 a month with a $0.10 per-label charge, designed for shops shipping 63 or more packages a month.
Updating Pricing Plan
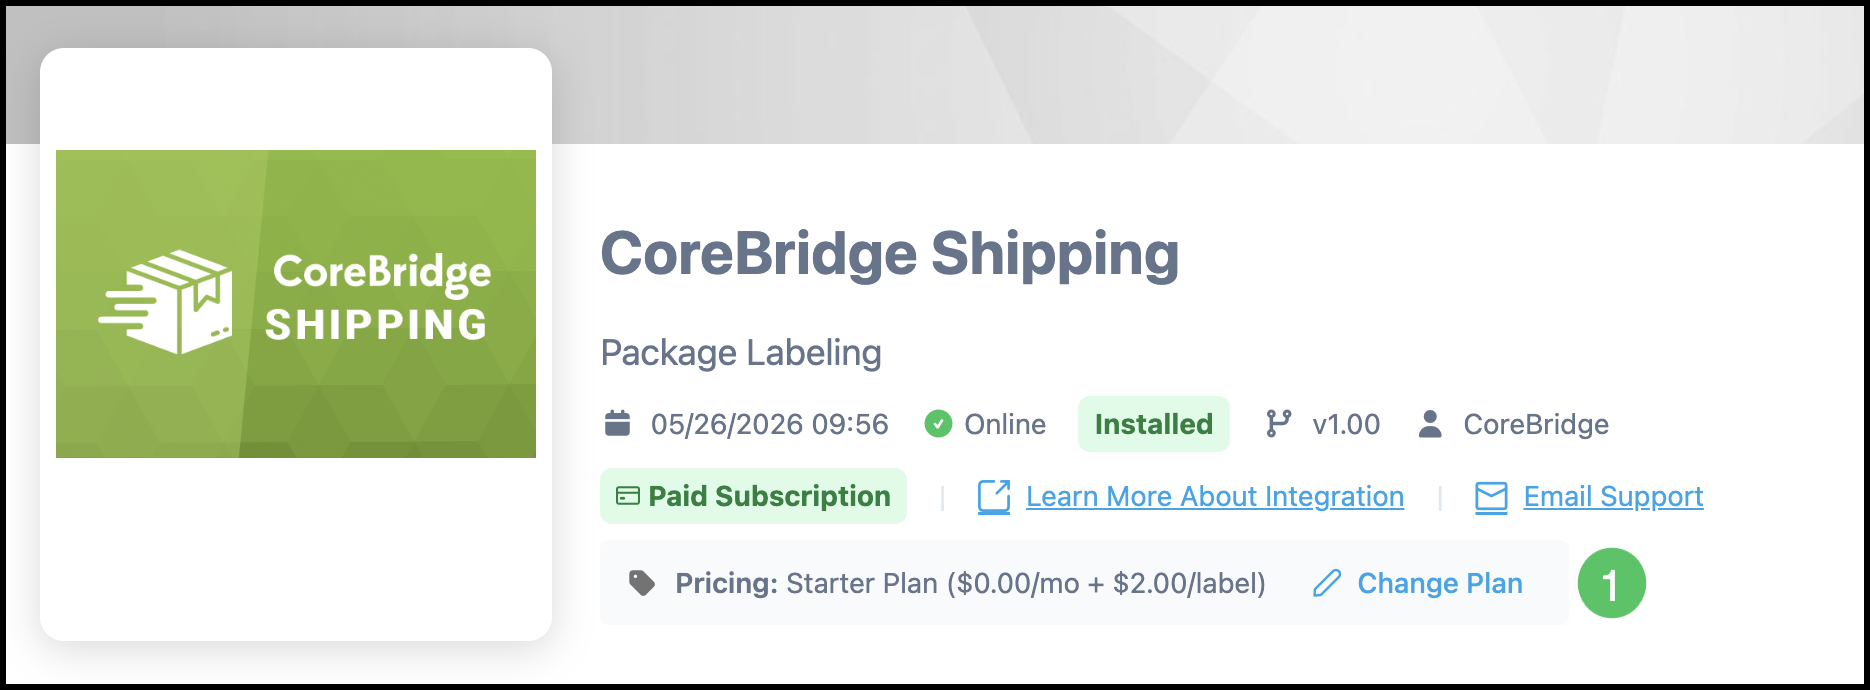
1. Click Change Plan.
2. Select your plan.
3. Click Save Selection.
Enabling CoreBridge Shipping
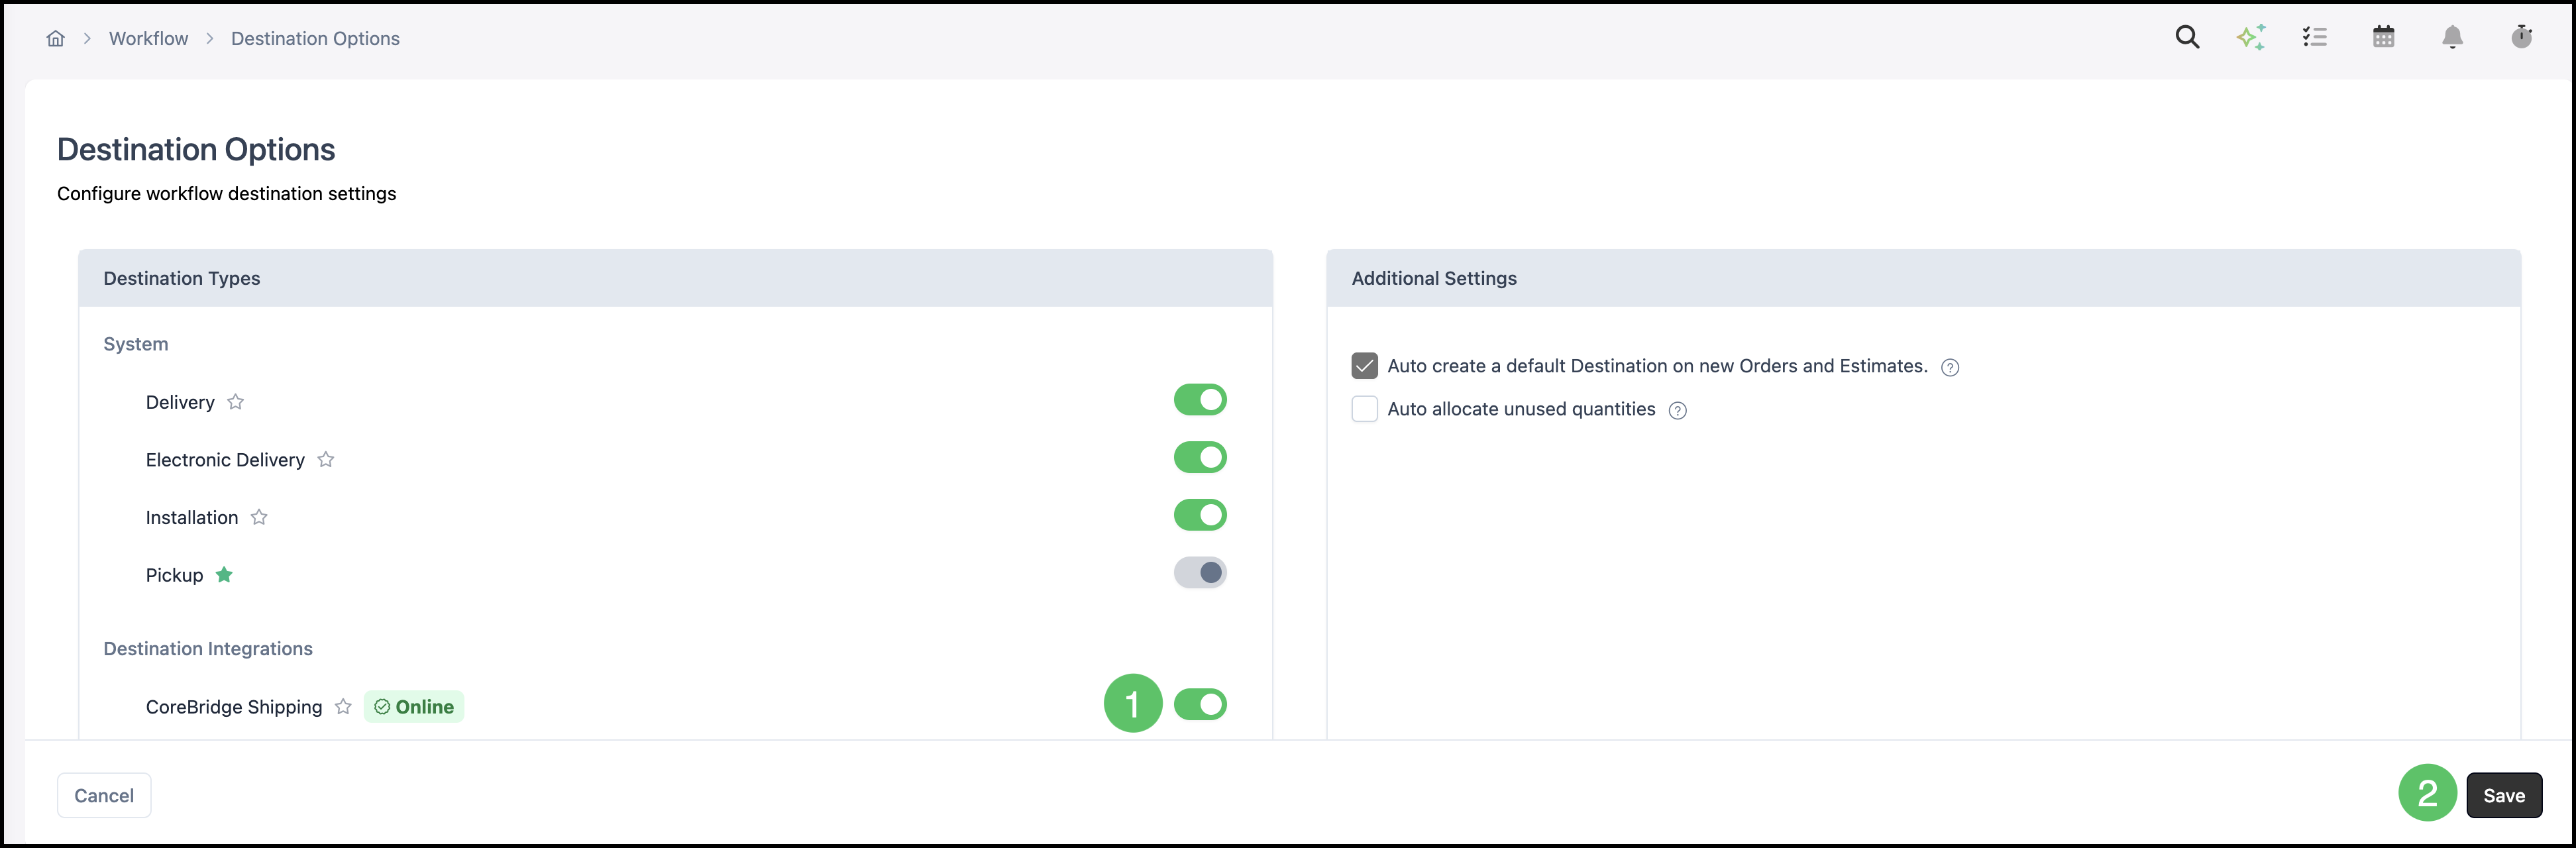
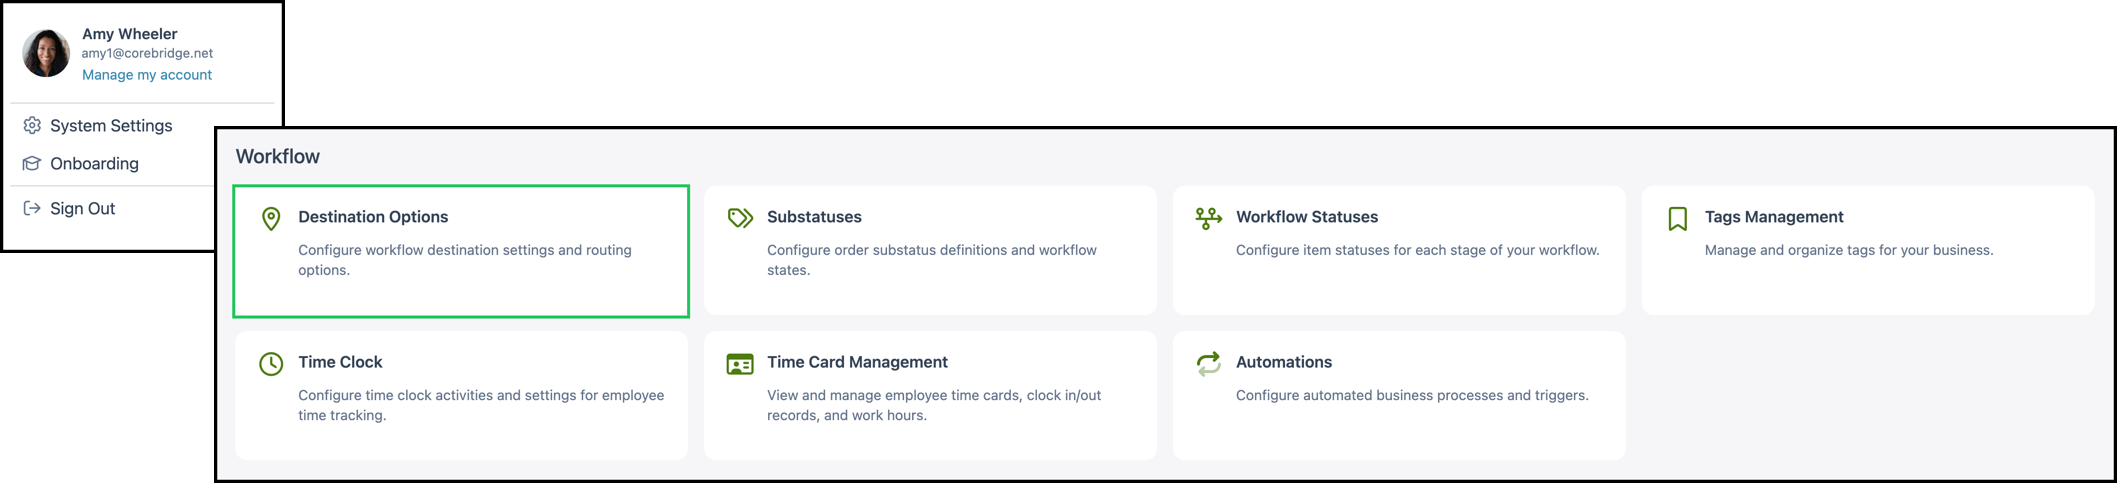
CoreBridge Shipping must be turned on in Settings before being available as a Destination.
Navigate to Settings / Workflow / Destination Options.
1. Enable CoreBridge Shipping.
2. Click Save.