Payments can be recorded internally through the Payments section of the Sales module or applied directly from an Order. This article provides an overview of each payment method.
Table of Contents
Recording Payments Through Accounting
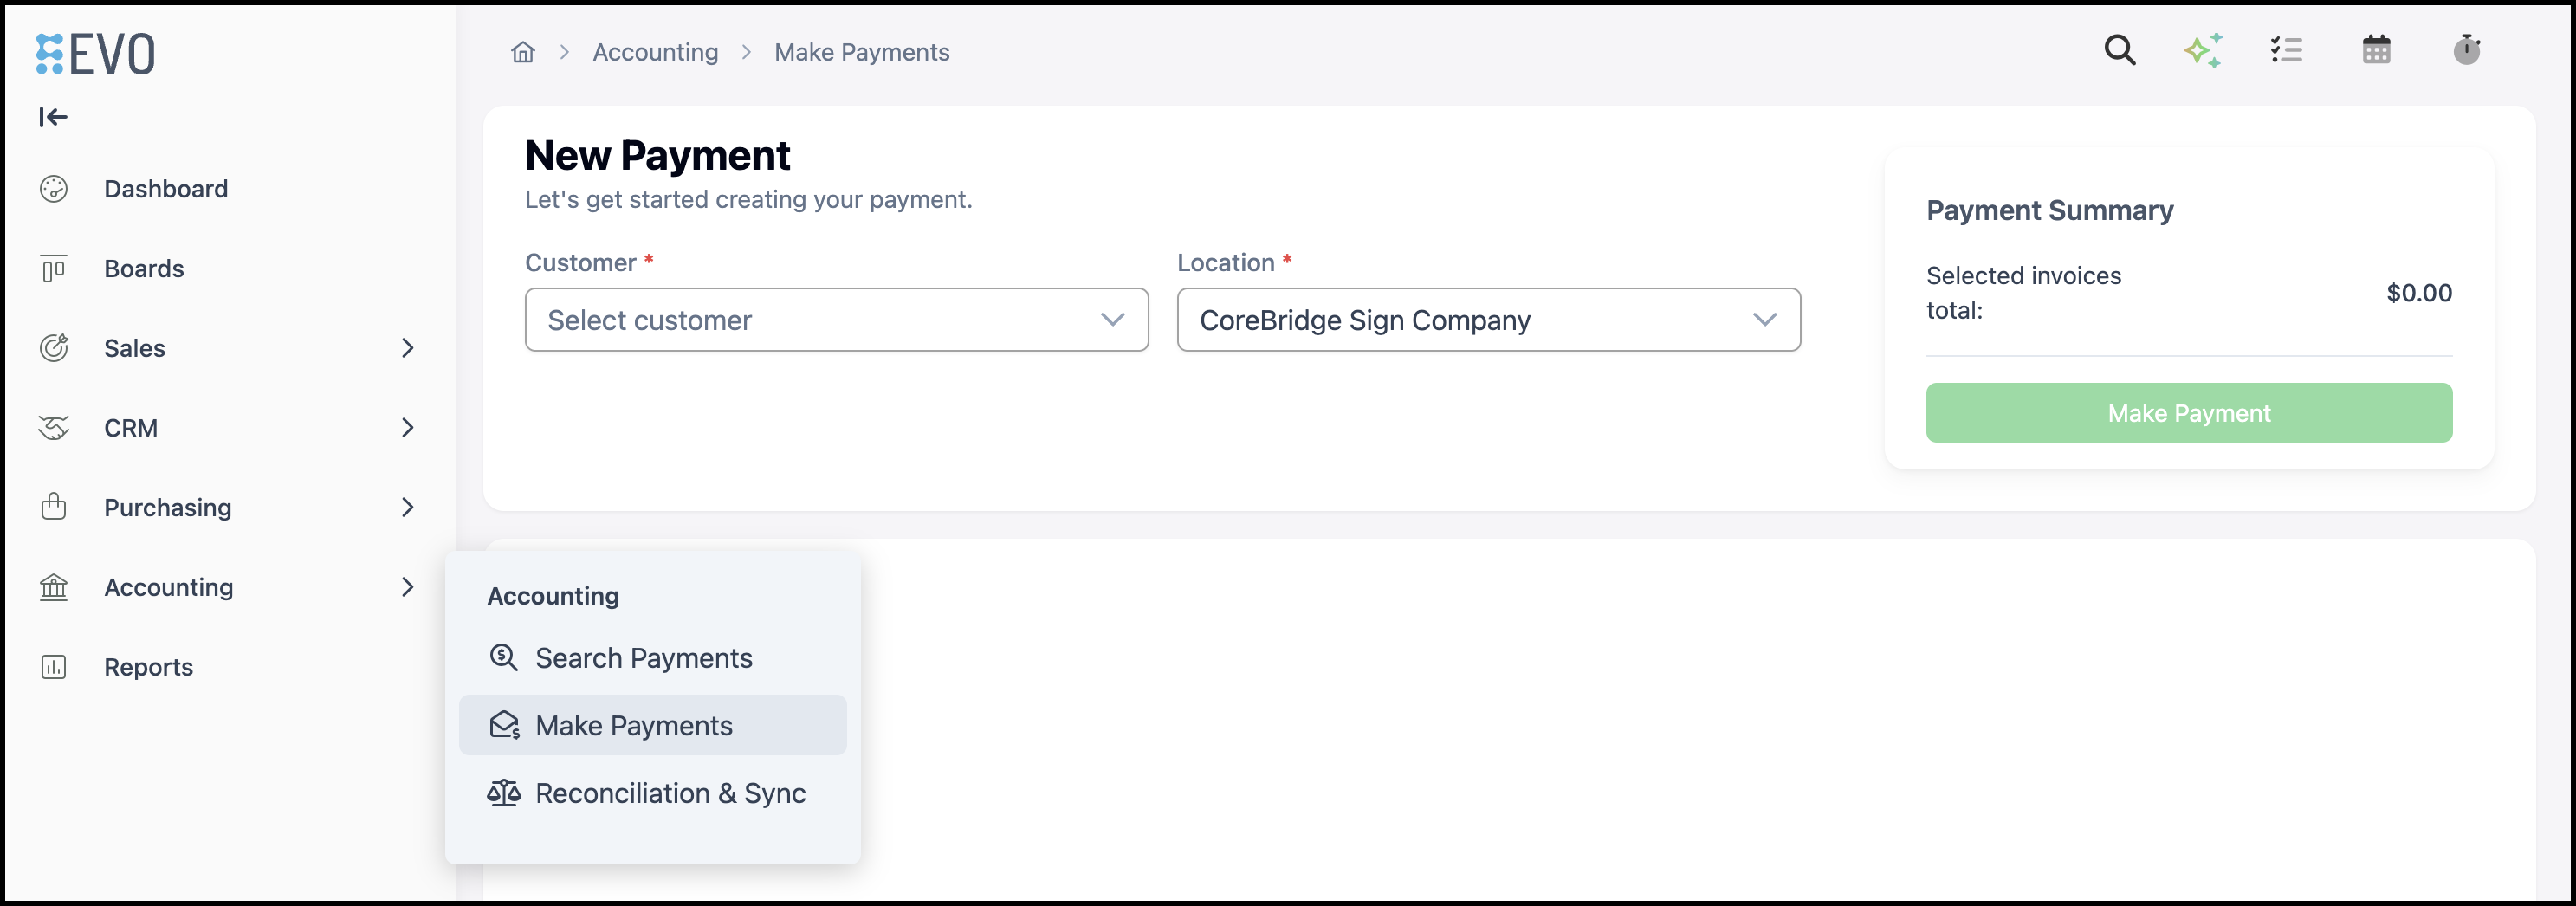
Navigate to Accounting / Make Payments.
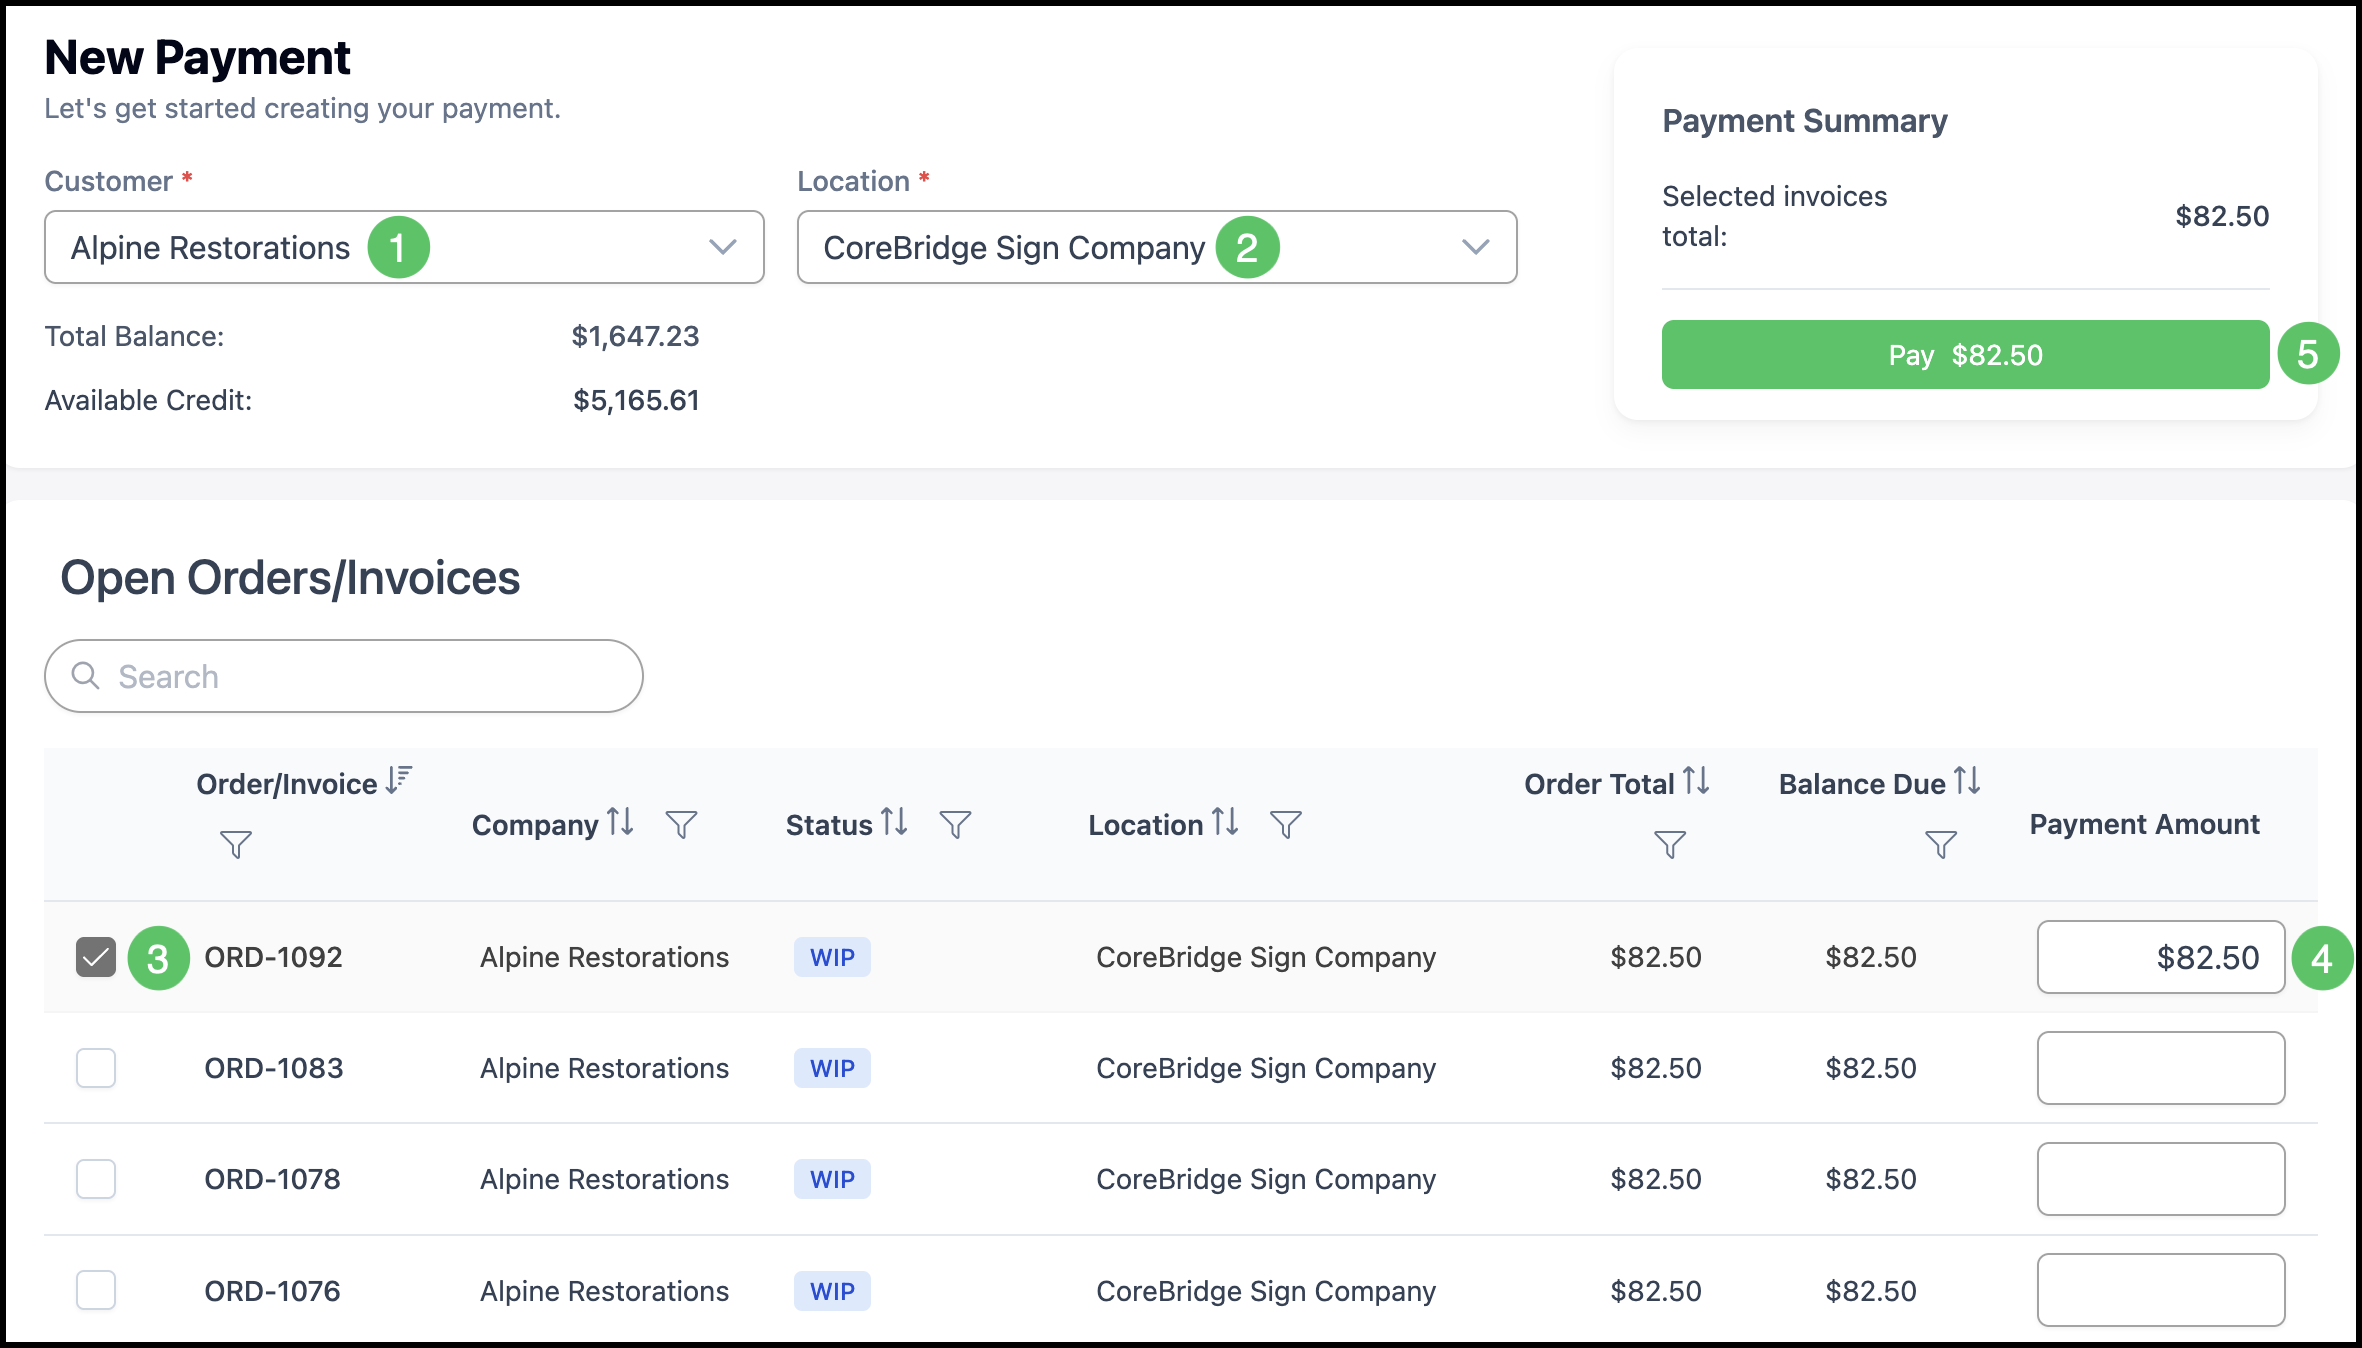
1. On the New Payment page, select the Customer (required). This identifies which company account you are paying.
2. Select the Location (required).
Note: After a customer is selected, the page loads open orders and invoices for that account.
3. Select one or more Orders.
4. Enter a Payment Amount.
Note: The Payment Amount will auto populate with the amount owed on the Order, but can be adjusted. The Payment Summary shows Selected invoices total as you make selections.
5. Click Pay.
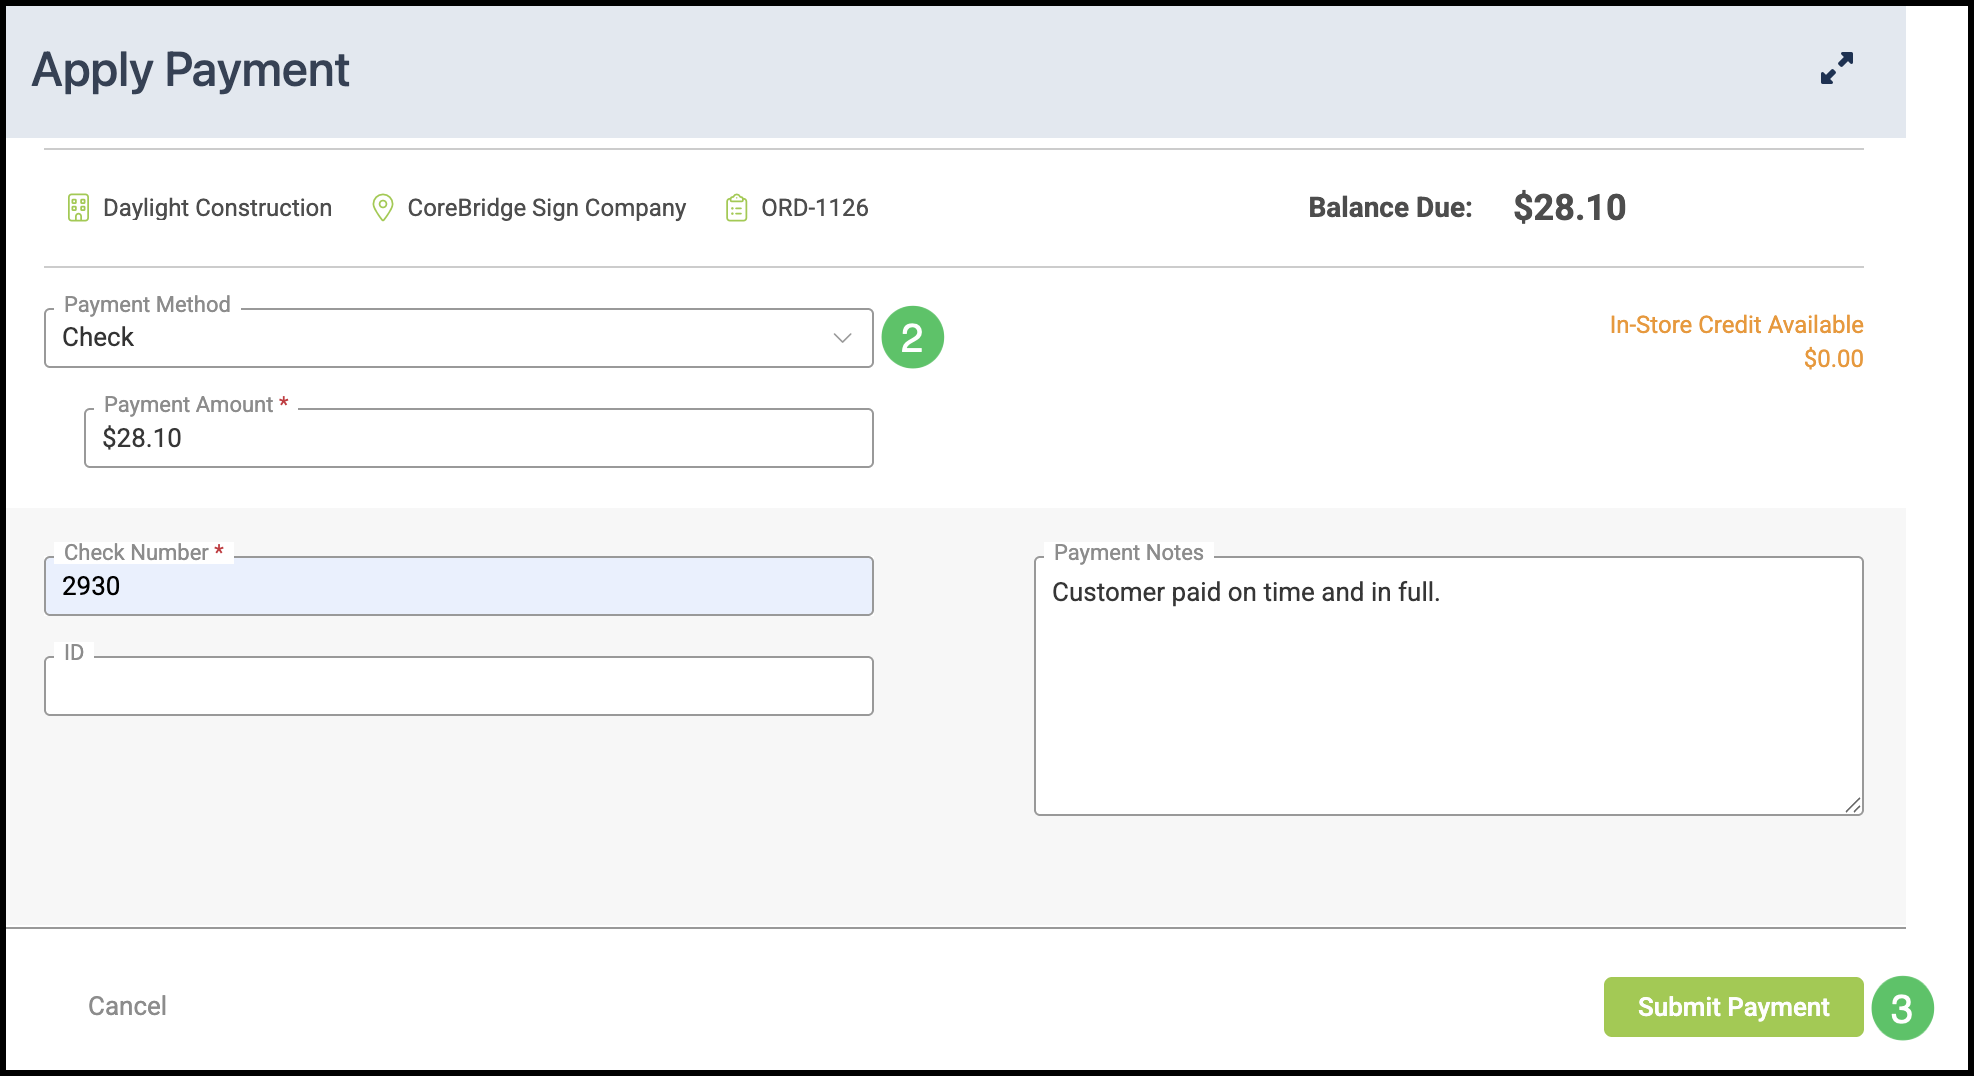
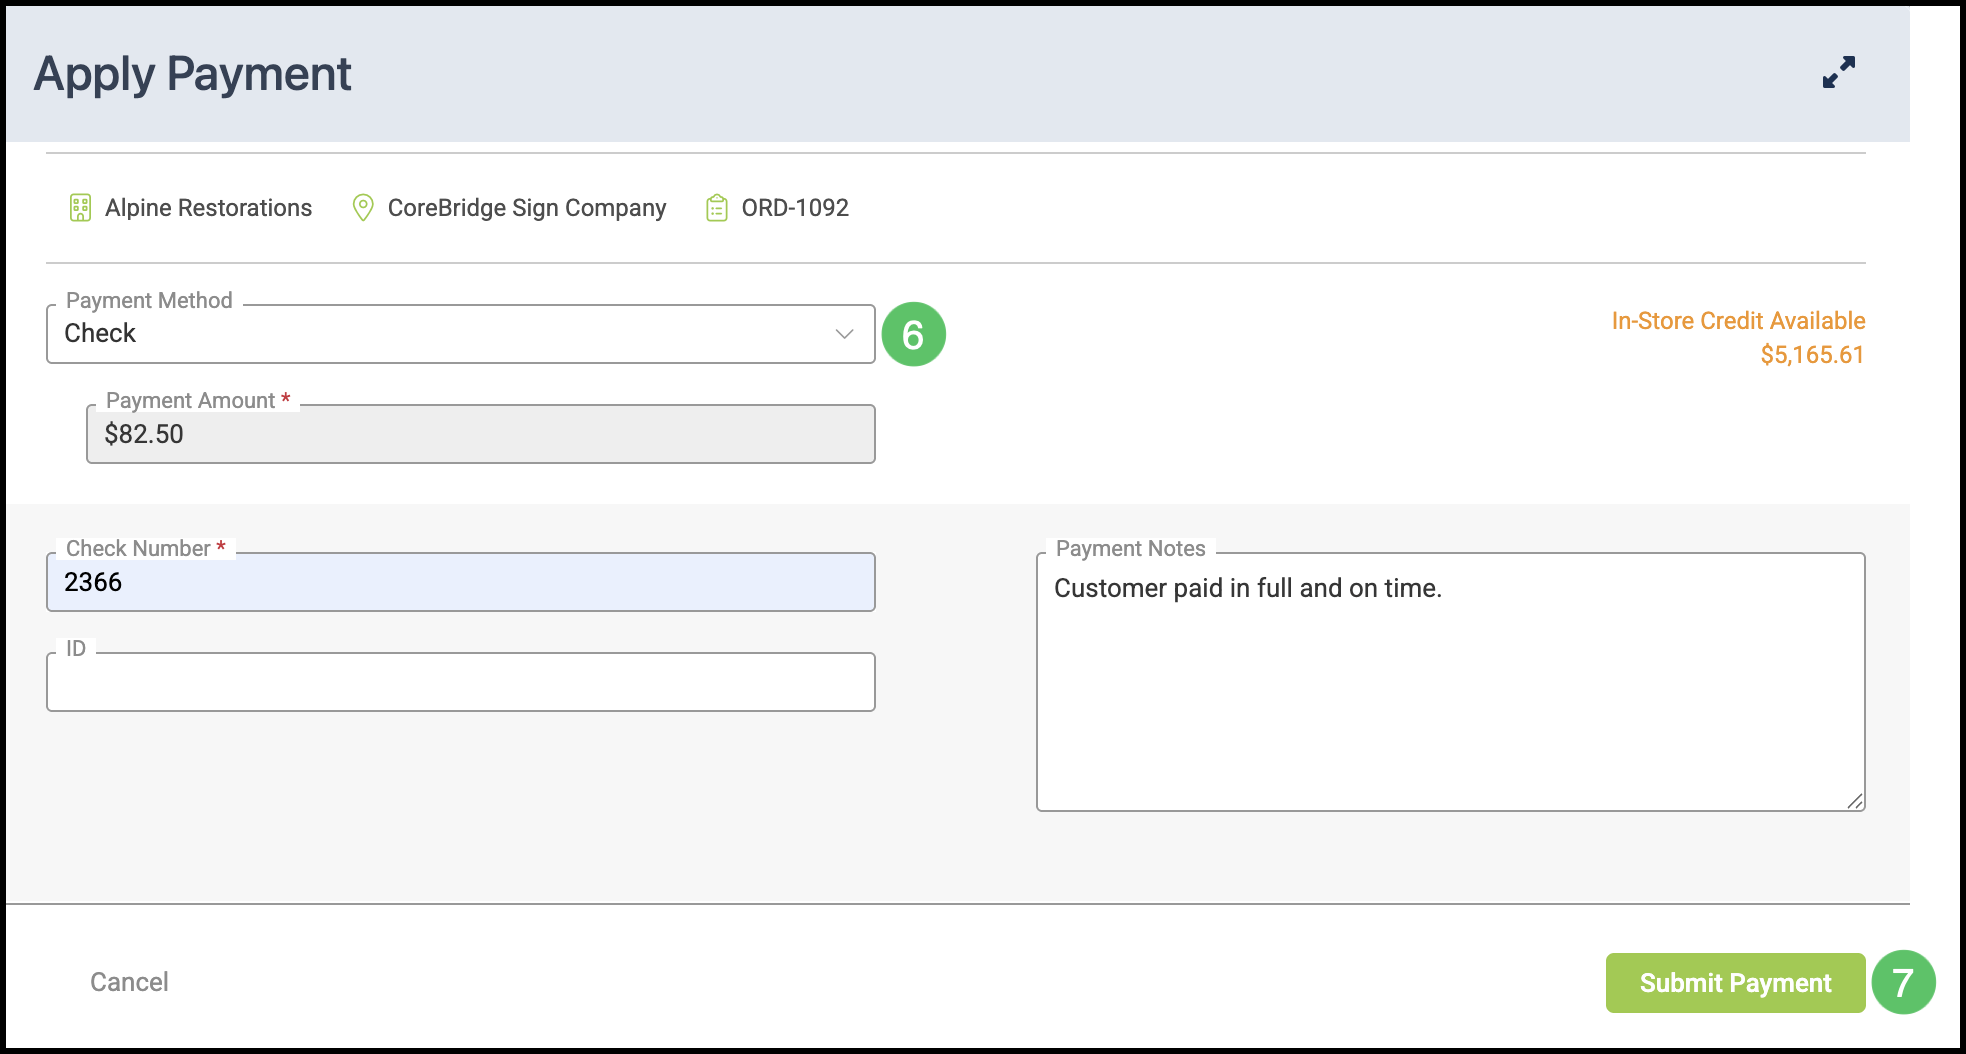
6. Select a Payment Method and complete the fields required for that method (for example card details for a non-integrated card entry). For more information, please see Payment Settings.
Note: Which methods appear depends on what your administrator has enabled under Settings / Accounting / Payment Methods.
7. Click Submit Payment to finish.
Taking Payment on an Order
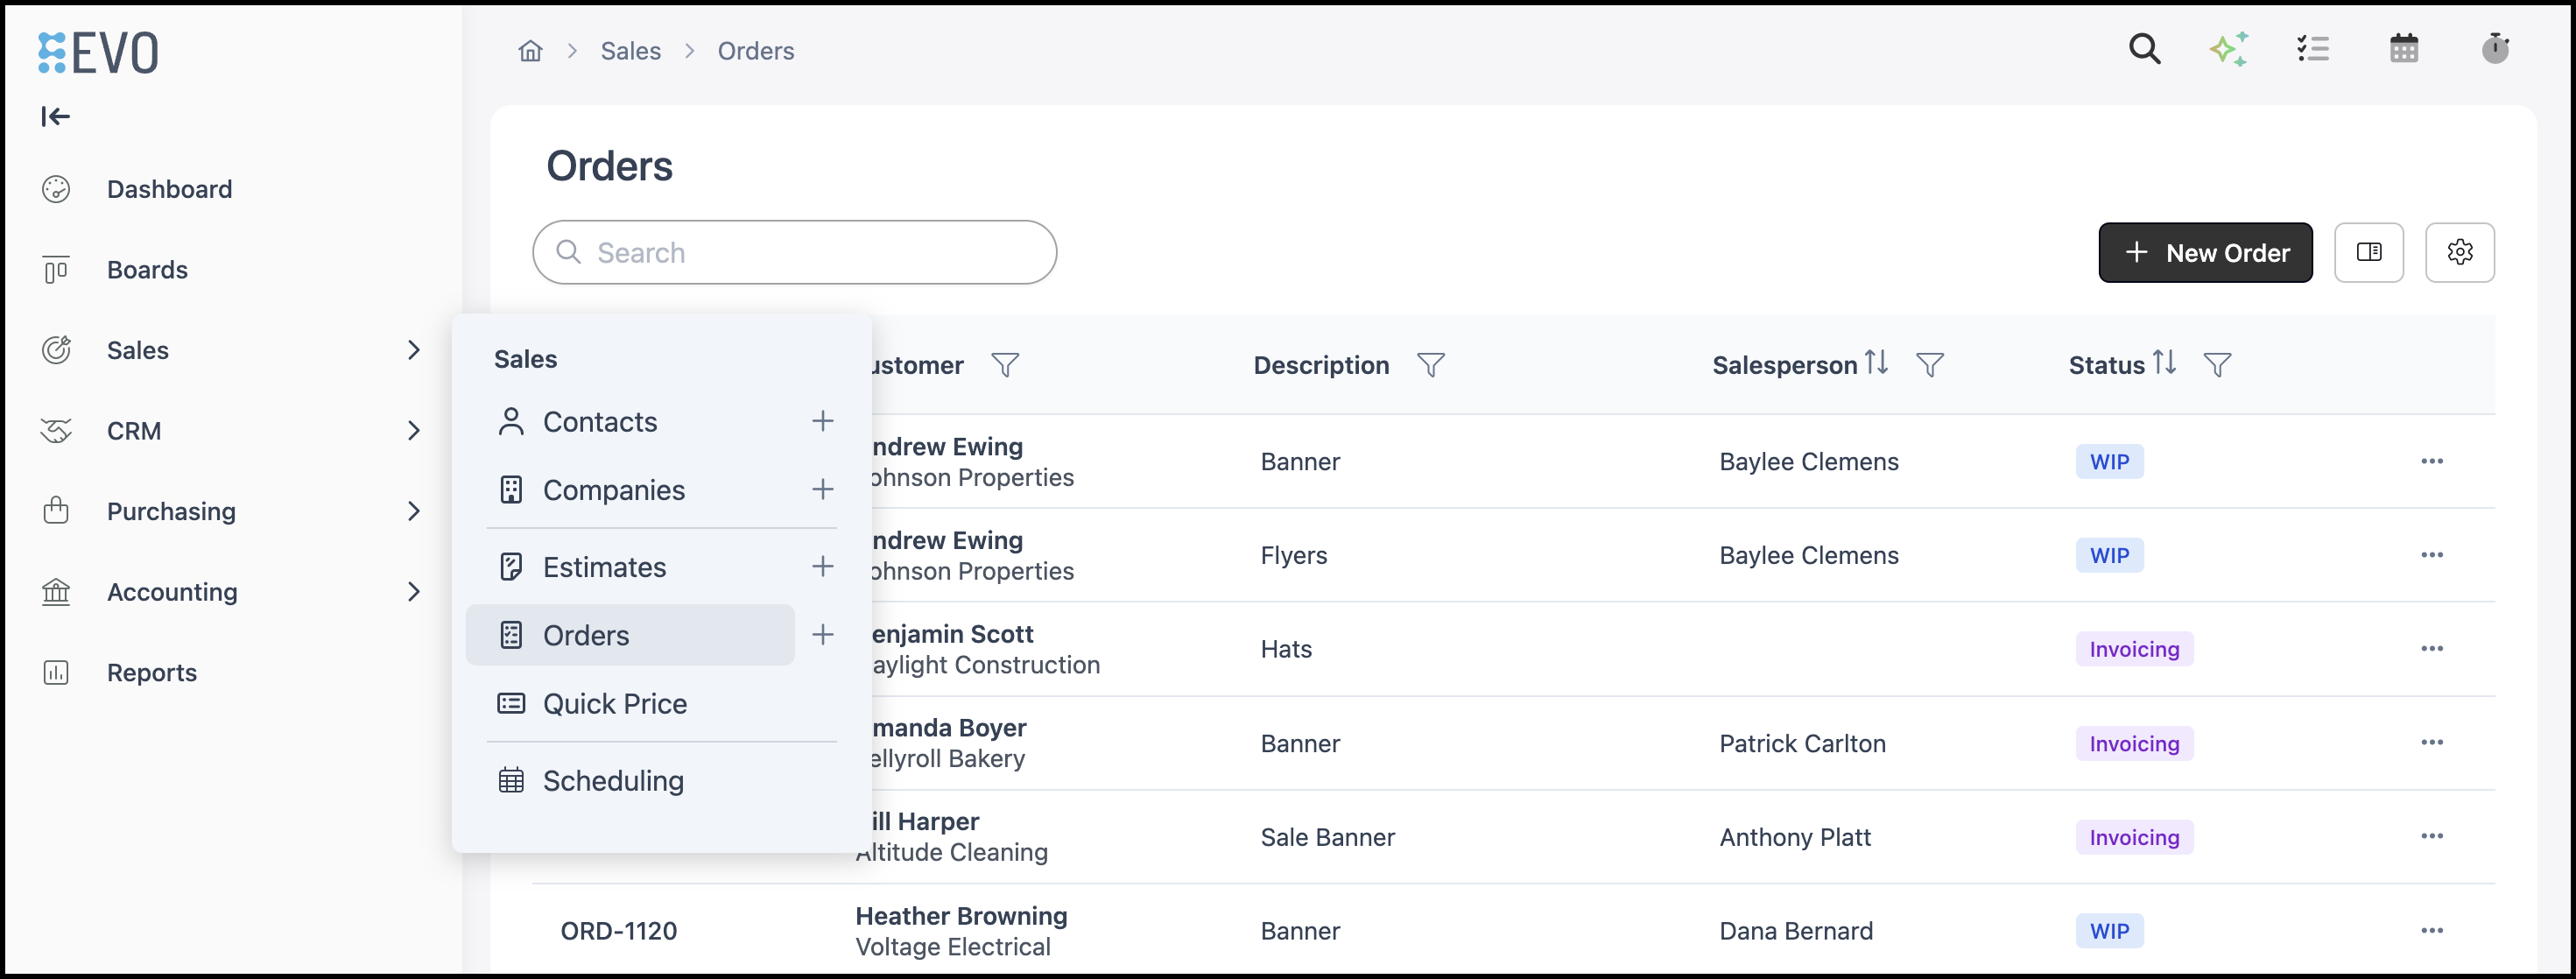
Navigate to Sales / Orders and open the Order you want to pay.
1. Click Pay.
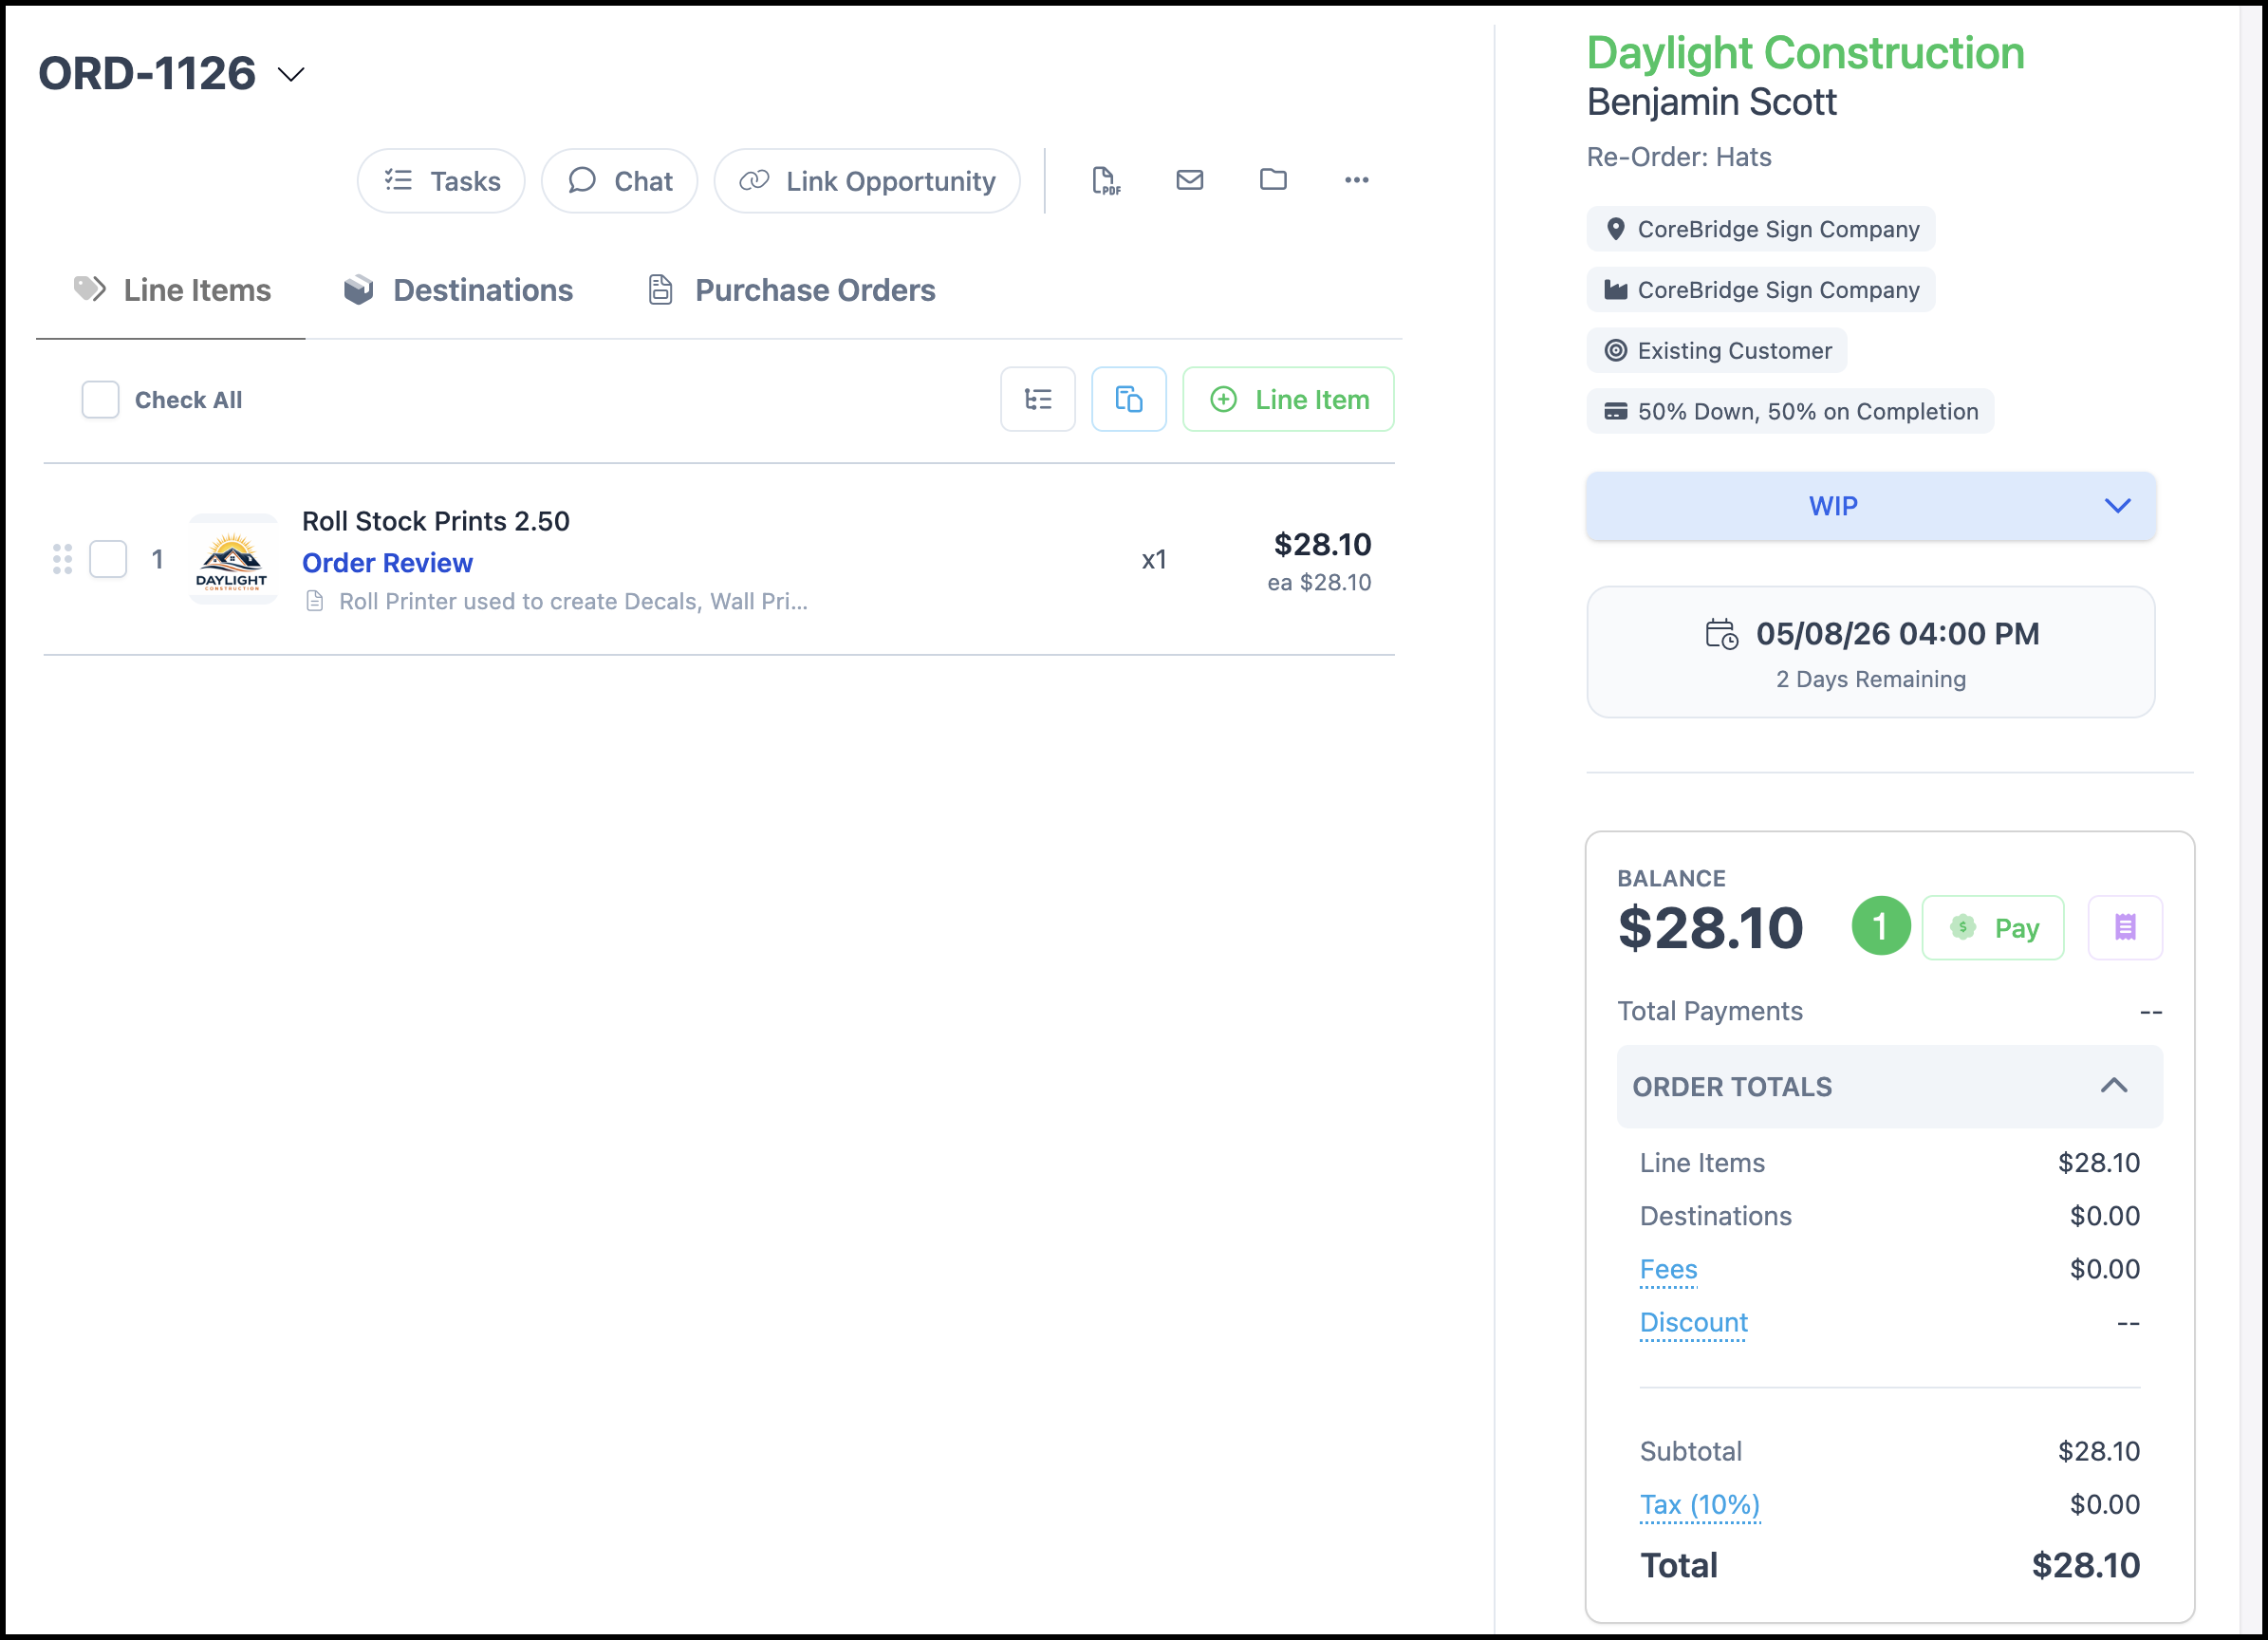
2. Select a Payment Method and complete the fields required for that method (for example card details for a non-integrated card entry). For more information, please see Payment Settings.
Note: Which methods appear depends on what your administrator has enabled under Settings / Accounting / Payment Methods.
3. Click Submit Payment to finish.