Labors are Components that help you account for the man-hours it takes to complete an Order. They can be used alone or as part of Products for design, production, installation, or any other billable procedure it takes to complete an Order. Your CoreBridge system comes preset with Labors that can be edited and customized to meet your needs, as well as the ability to create your own custom Labors.
Table of Contents
Understanding and Creating Labors
Labors can represent any billable or tracked activity your team performs, such as design time, production setup, printing supervision, installation, or finishing tasks. Creating clear, well-structured Labor entries helps ensure that your pricing and scheduling accurately reflect the work required to complete an Order.
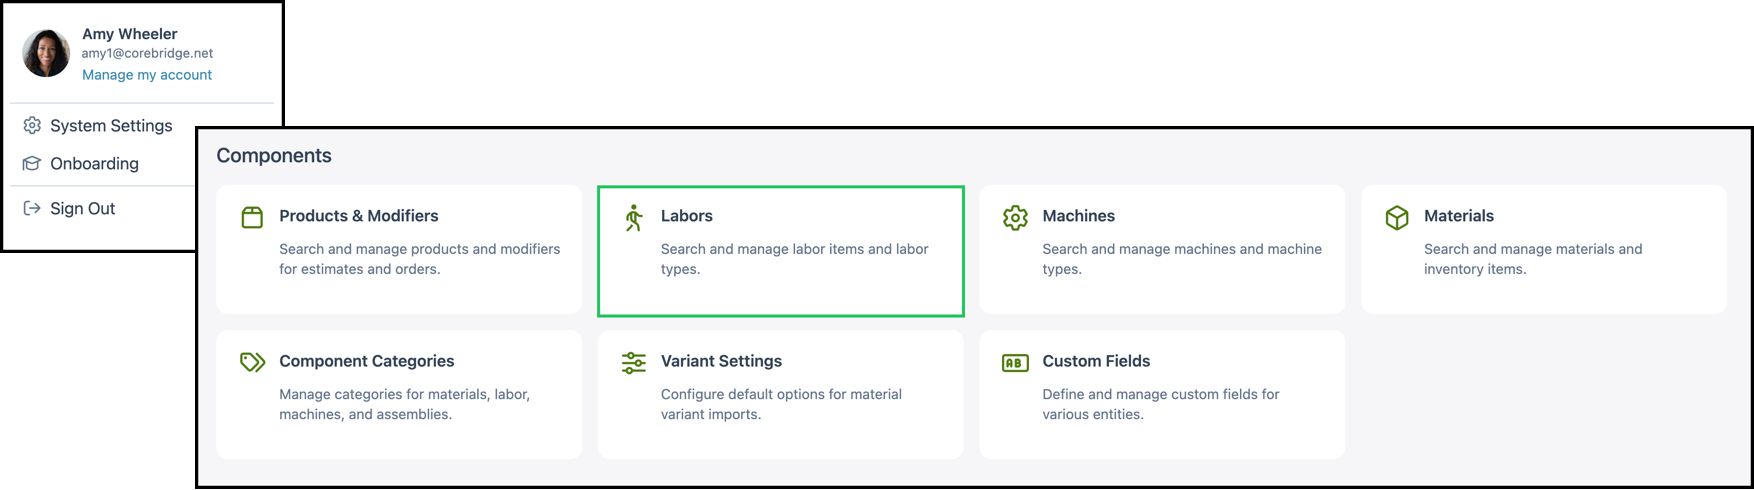
Navigate to System Settings / Components / Labors.
1. Click the Add Labor.
Note: Information in the Labor Details tab will help identify what the Labor is as well as when and how it is used. Fields marked with a red asterisk are required in order to save this Labor.

2. Fill in the Labor Details.
a. Image - Optional image to identify this Labor.
b. Name - This Name will be used internally to identify the Labor.
c. Units for Calculating Usage - Labor can be calculated using a length of time such as minutes or hours. It can also be calculated as each.
Note: Subsequent fields will automatically update to match what is selected in this field.
d. Internal SKU - This is an internal code used for your own identification purposes.
e. Name on Documents - This name is external facing and will be visible to Customers. This field will automatically populate as you type in the Name field above, but can be changed to be different, if desired.
f. Description - Giving a detailed description will help your Employees know when this Labor should be billed.
g. Labor Categories - One or more Labor Categories used to organize and sort Labors. When assigned, the Labor can be found using category-specific filters.
Note: Labors can be added to categories under Business Settings / Components / Component Categories and selecting the Labor tab. For more information, please see Managing Component Categories.
h. Default Line Item Categories - The Line Item Category used to organize this Labor.
Note: Line Item Categories can be managed at any time in Business Settings / Sales Settings / Line Item Categories.
i. Lead Time - Assign the length of time in days it will take for this Labor to be completed.
Note: The system will automatically include this number when factoring the Production and Order due dates.
j. Hide Labor - Checking this box will keep this Labor hidden during Order entry. This can be helpful if the Labor is done on the back end and is not something you would like to have reflected on an Order.

3. Enter the internal Cost information.
a. Setup Cost (Fixed) - A fixed base Cost associated with completing this Labor, if applicable.
b. Hourly Cost - This is the total amount it will cost your business per hour to complete this Labor. This includes hourly rate for the Employee completing the Labor as well as overhead.
Note: This number will automatically update when the Business-Wide Labor Cost Worksheet is completed.
c. Worksheet - Selecting this hyperlink will open a modal to help you calculate the total cost of overhead, or indirect expenses. Once all applicable fields have been filled in, select Save or Save & Apply to Current Labor.
Note: This worksheet is not unique to each Labor, but rather is a global, business-wide worksheet to calculate cost. You may wish to have your accountant help with this. For more information, please see Labor Cost Worksheet.
d. COGS / Expense Account - Select the appropriate account for Cost of Goods Sold or Expenses from the dropdown.

4. In the Retail Billing Rate section, define the billable rate or rates that will be used when this Labor is applied to Estimates and Orders.
a. Setup Price (Fixed) - A fixed base Price associated with completing this Labor, if applicable.
b. Hourly Price - This is the hourly amount that will be charged for this Labor, in addition to the Setup Price.
c. Minimum Billable Time - This represents the minimum amount of time a Customer will be charged for this Labor.
Example: If your Minimum Billable Time is 60 minutes, but it only takes 30 minutes to complete the task, the Customer will be charged for 60 minutes.
d. Billing Increment - This will allow you to round up to the next nearest increment of time.
Example: If your Billing Increment is 5 minutes, and 37 minutes of time were used, the Labor would be billed at 40 minutes.
e. Income Account - All income for Labor will be accounted for in an Income Account. Use the dropdown to select the one you would like to use.
Note: Income Accounts can be managed in Business Settings / Accounting / Chart of Accounts.
f. Taxability Code - Use the dropdown to set which Taxability Code you would like to apply for this Labor. This will depend on whether the Labor is taxable, tax exempt, or taxable with exceptions.
Note: Taxability Codes can be managed in Business Settings / Accounting / Taxability Codes.

5. Fill in Custom Fields, if applicable.
Note: Custom Fields can be managed in Business Settings / Components / Custom Fields.
6. Click Save.
