Materials are the physical items used during production and service delivery. Along with Labor and Machines, Materials are added to Products to help calculate costs, pricing, and production requirements. CoreBridge includes several standard Materials out of the box, and additional Materials can be created to match your business needs.
Note: When creating a new Material, it is often best to clone a similar existing Material and then update the necessary details.
For more information on Materials, please see Materials Overview.
Table of Contents
Creating New Materials
Use this process when you need to add a brand-new Material that does not closely match an existing one.
Navigate to System Settings / Components / Materials.
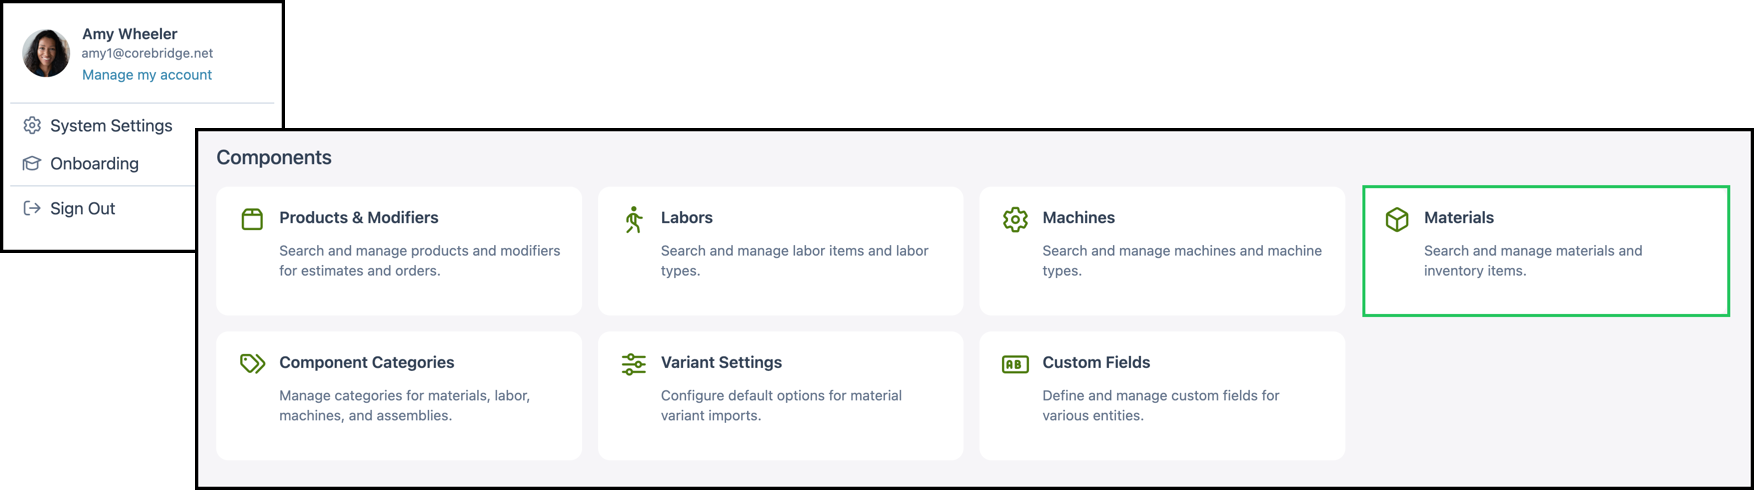
1. Click Add Material button.
2. On the format selection screen, choose Material.
Note: The steps below are for a single Material with one set of values. Material with Variants is for a parent Material that supports multiple variations.

3. On the Material Details tab, enter the information about the Material in the Details section.
Note: All fields with a red asterisk are required in order to save the material. Additional information will be needed for the Material to be used in Assemblies.
a. Upload Images of the Material, if desired.
b. This is the Part Name. It is recommended to begin with the Material type, followed by key attributes such as thickness, color, or size, since this name will appear in your Material list.
c. Name on Documents pertains to how this Material will display on Customer facing documents such as Estimates and Invoices.
d. Internal SKU is a unique Stock Keeping Unit used for internal inventory and tracking purposes if available.
e. A Global Trade Item Number (GTIN) is a universal identifier used to recognize the same Product across different brands and suppliers. Vendors may use their own item numbers, but the GTIN remains consistent.
f. This is a broader Description of this Material for internal purposes.

4. Enter the information about the Material in the Settings section.
a. This setting controls whether the Material can be selected when adding Line Items during Order entry.
b. Material Categories help organize and sort Materials. After a Material is assigned to one or more categories, it can be located using category filters, and if a category is linked to an Assembly, the Material will be available during Order entry when that Assembly is added.
c. A Default Line Item Category determines which category is automatically applied when this Material is added to an Estimate or Order.

5. Enter the Attributes where applicable. These are the physical attributes of the Material used for layout, stocking units, and calculations.
a. The dropdown allows you to select the Material Type such as Roll, Sheet, or Other.
b. Qty in Set shows how many of this Material are sold in a set.
Example: A box of 500 business cards has a quantity of 500 in one set.

6. Enter the Consumption information. This defines how the Material is consumed, rounded for usage, and used in scrap calculations.
a. This dropdown allows you to select the Unit Type used to measure this material such as Length, Volume, and Weight.
b. This field will automatically populate depending on the Consumption Unit Type chosen above, but can be changed manually.
c. This setting enables your system to automatically round up to the next unit.
d. Minimum Consumption in Each reflects the lowest amount of this Material that can be used in calculations.
Note: Best practice is to set this to a 0 unless a minimum amount of this Material is used regardless of what the assembly calls for.
Example: If the Minimum Consumption is set to 1 sheet and a Customer has requested 0.5 sheets, the minimum of 1 sheet will automatically be used in all calculations.

7. In the Cost & Price section, enter the cost of the Material and how it will be accounted for.
a. The Costing Method determines how the system calculates the cost of a Material.
b. Cost Per is the unit cost of a single item of this Material. This value is used in job costing and pricing whenever the Material is measured or sold per individual piece.
c. Lead Time indicates the amount of time required to complete the Order from the point it is created.

8. Enter Accounting Details. These define how this Material is categorized for billing, income, and tax purposes.
a. COGS / Expense Account reflects the account the Material will be billed to.
b. The Income Account that will be credited when this Material is sold.
c. The Taxability Code for a Material is set dependent on if the Material taxable, tax exempt, or taxable with exceptions.
9. When you have finished configuring the Material, click Save at the bottom of the page.

Optionally, use the Custom Fields tab to add Custom Fields for the Material. Custom fields can be configured under Settings / Components / Custom Fields.
Note: Files and Notes can be added on the main Material screen using the tabs next to the Material Details tab.
For more information, please see Materials Overview.