
You can create a notification that alerts employees when a customer approves an individual line item on an Estimate or Order, even when other line items are still unapproved. This is different from Estimate Converted to Order notifications, which only fire after every line item is approved and the Estimate converts.
Table of Contents
Before You Begin
You need access to Settings / Notifications / Notifications. There is no Notification Library template named for partial line-item approval. You start from Blank, then set the trigger to Order Estimate Item and Approved.
Note:
The library template Estimate Converted to Order only notifies when the full Estimate is approved (including all items approved through the Customer Portal) and converts to an Order. Use the steps below when you need an alert for each individual line-item approval.
Create the Notification
1. Navigate to Settings / Notifications / Notifications.
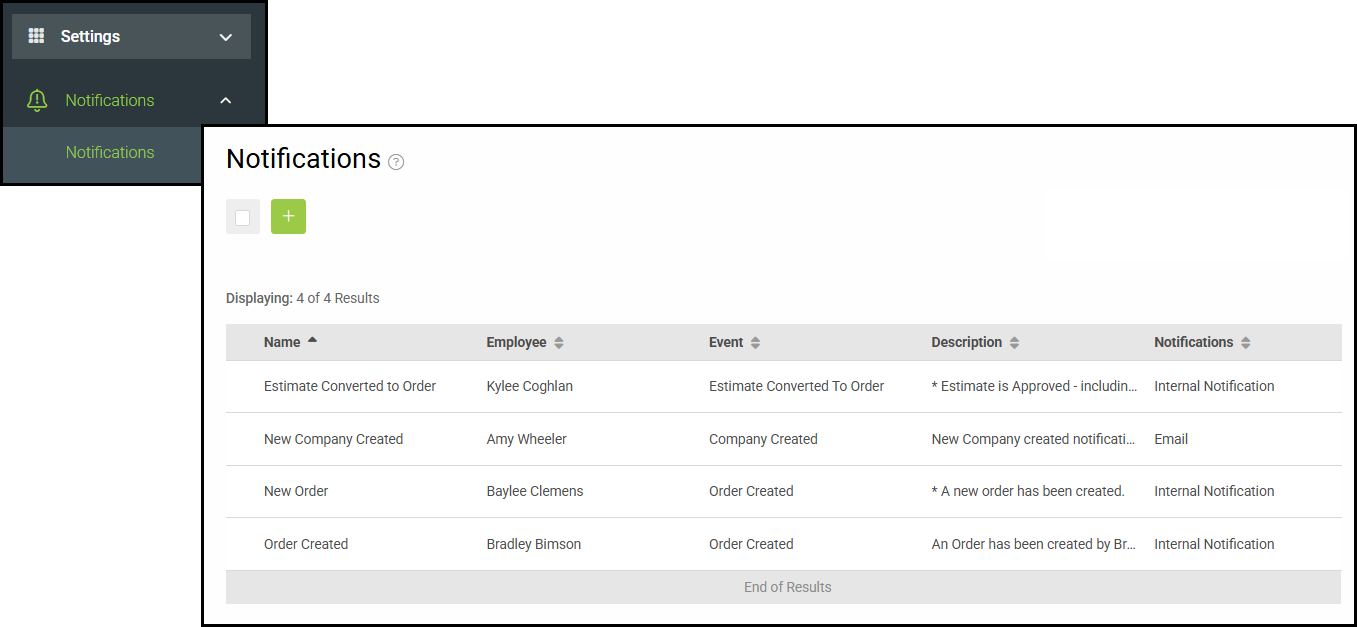
2. Click the green + button.
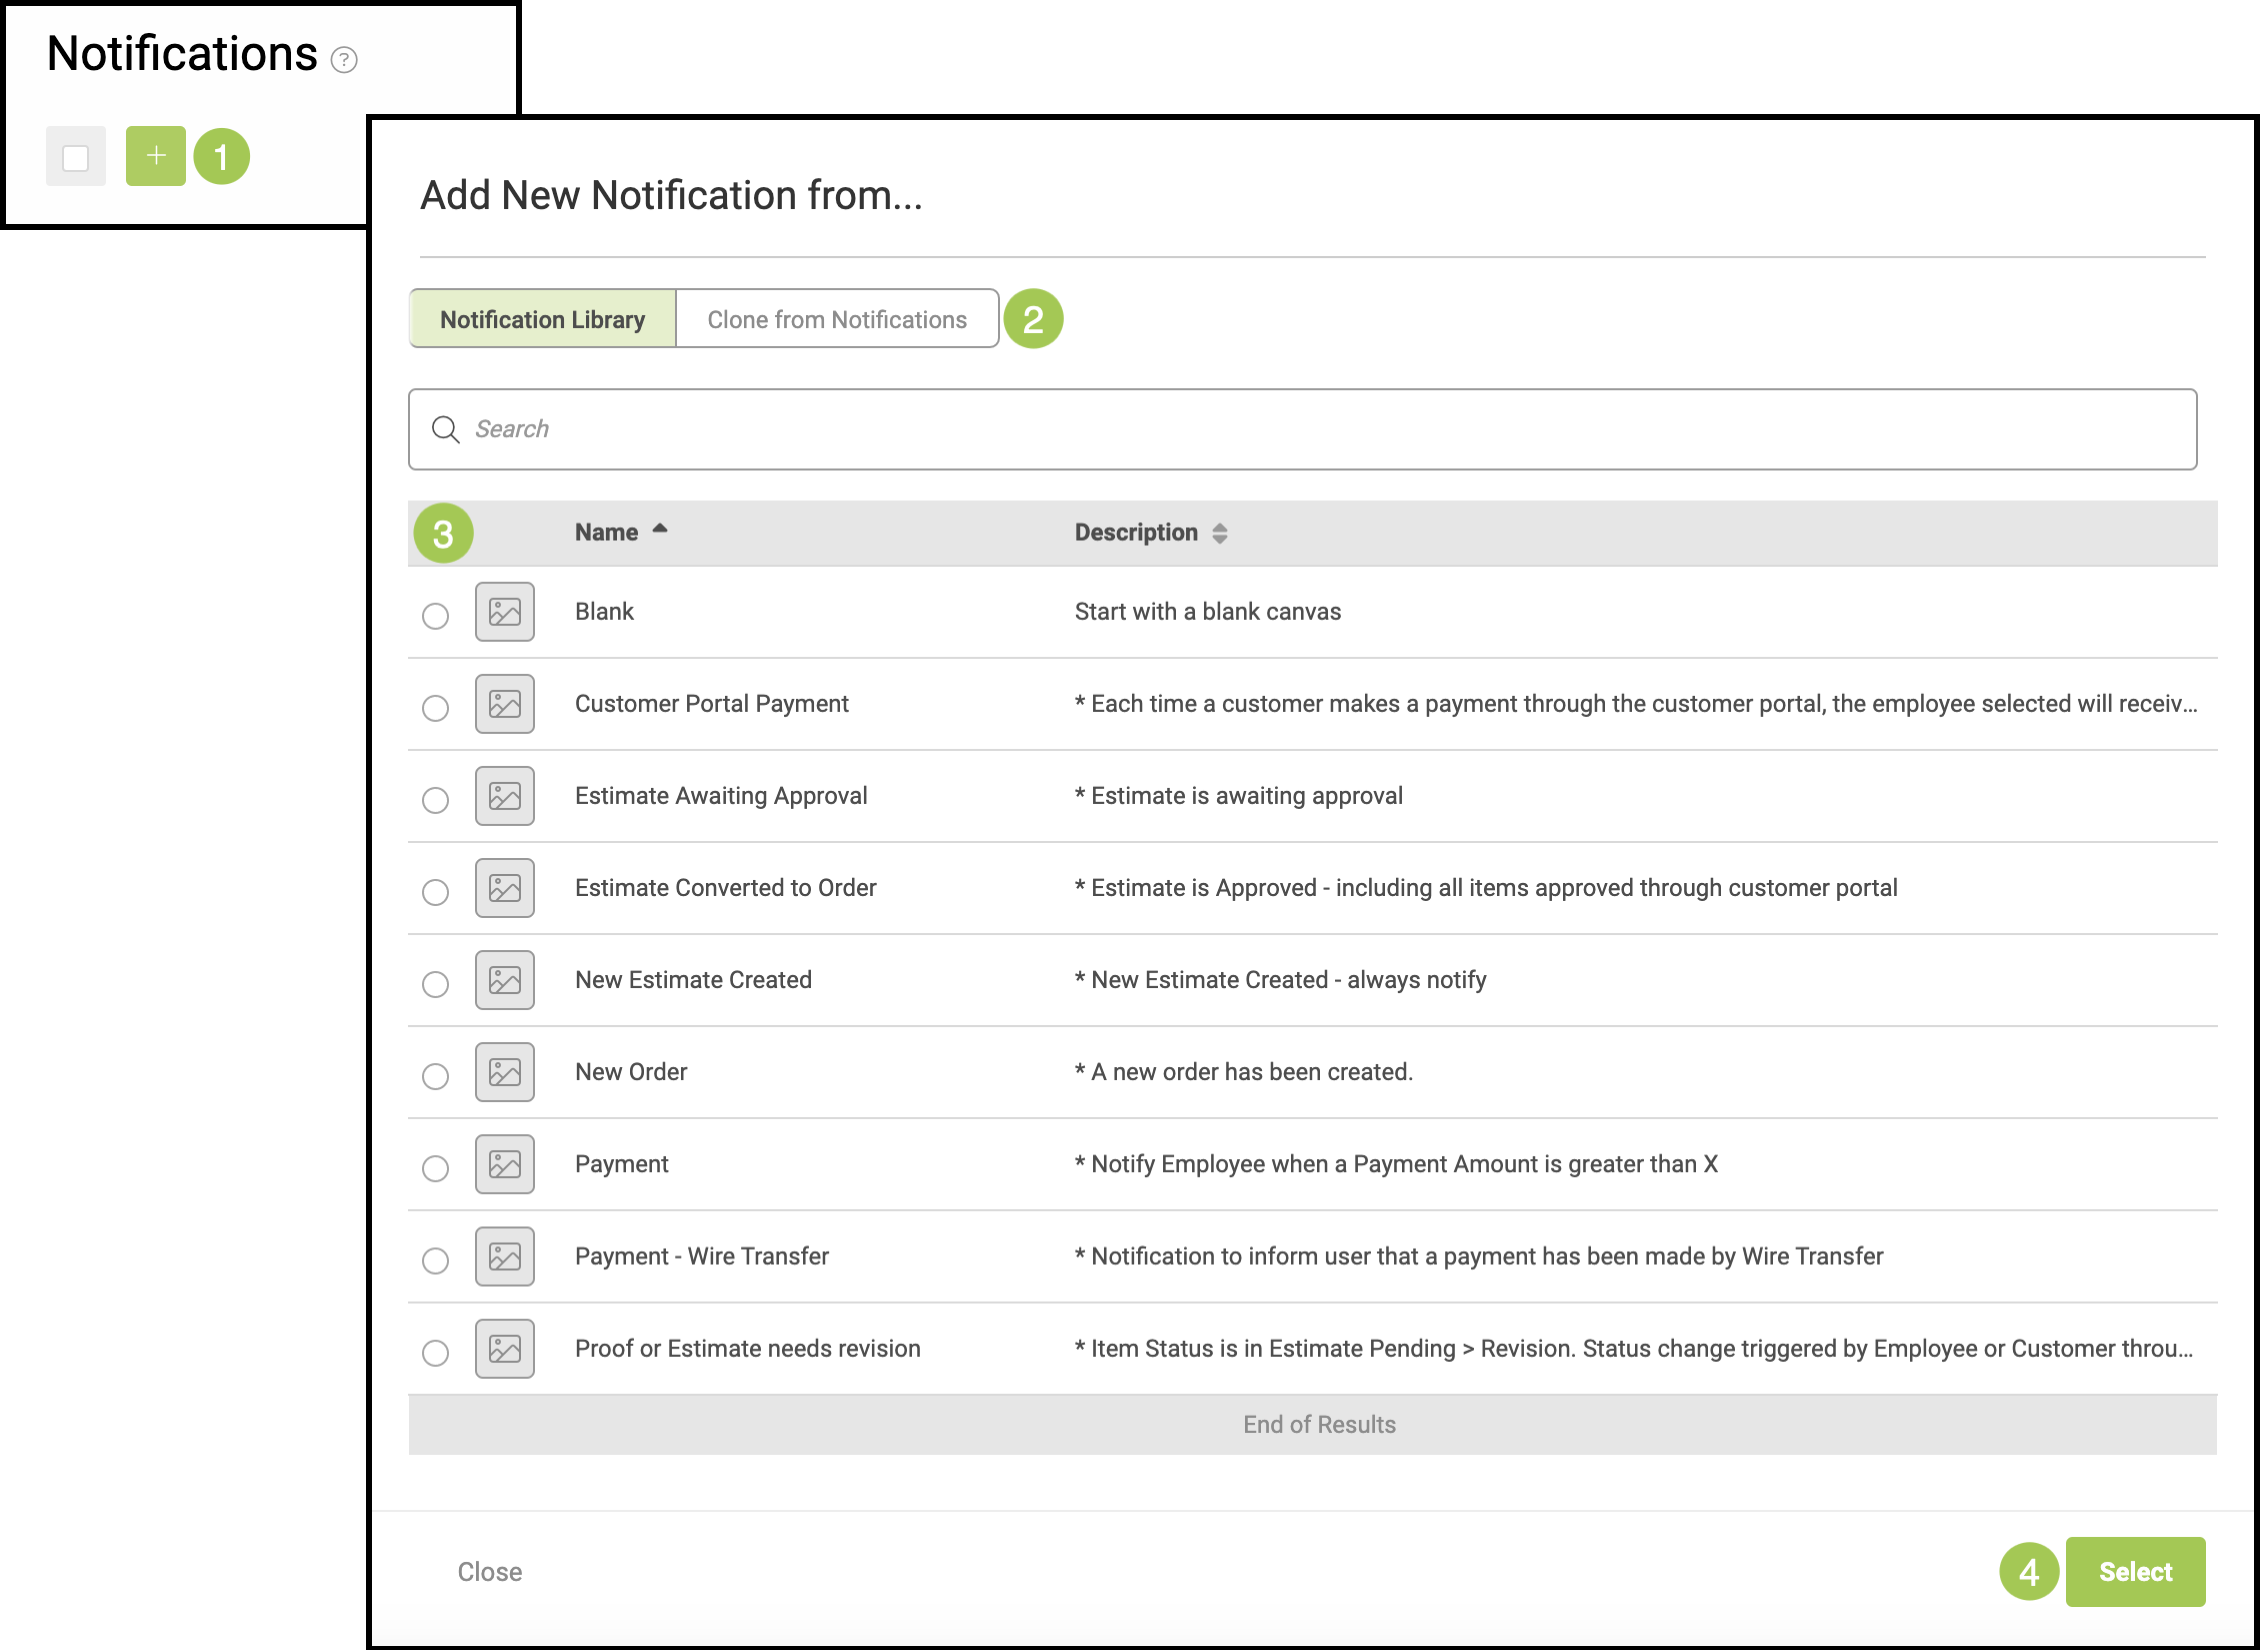
3. On the Notification Library tab, select Blank (Start with a blank canvas).
Note:
Order Estimate Item / Approved is not listed as a ready-made library name. Templates such as Estimate Converted to Order or Proof Approved are different events and do not replace this setup.
4. Click Select.
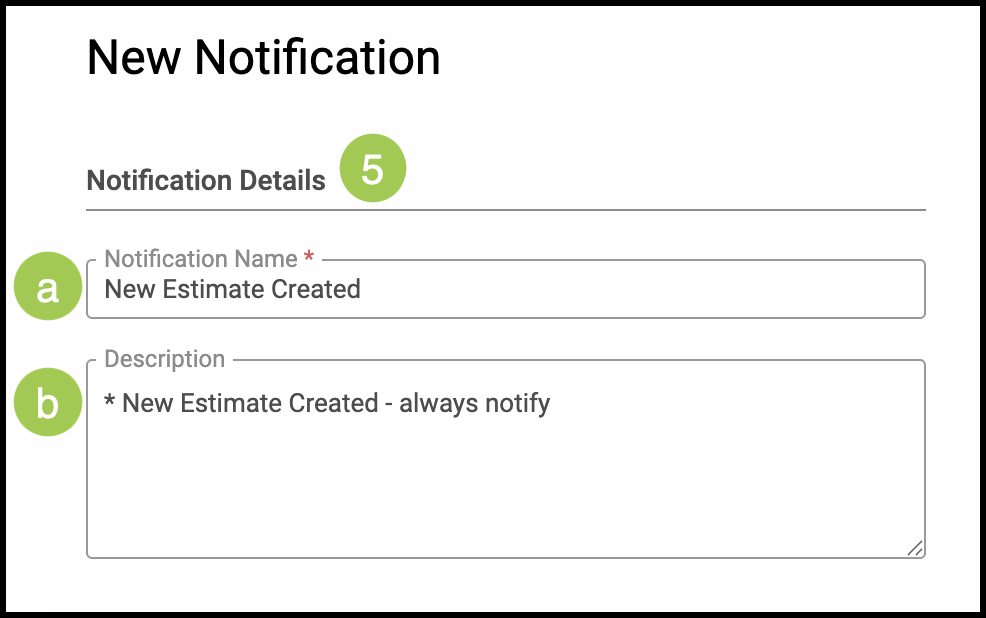
5. Under Notification Details, enter a Notification Name (for example, Line Item Approved) and an optional Description.
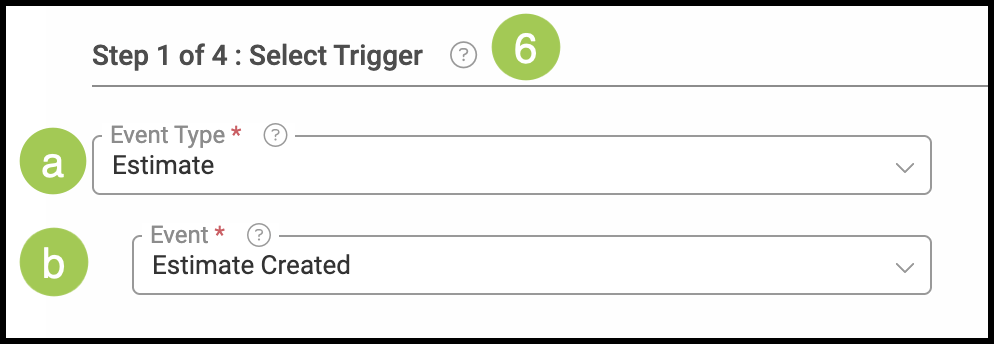
6. Under Step 1 of 4 : Select Trigger, select Event Type Order Estimate Item.
7. Select Event Approved.
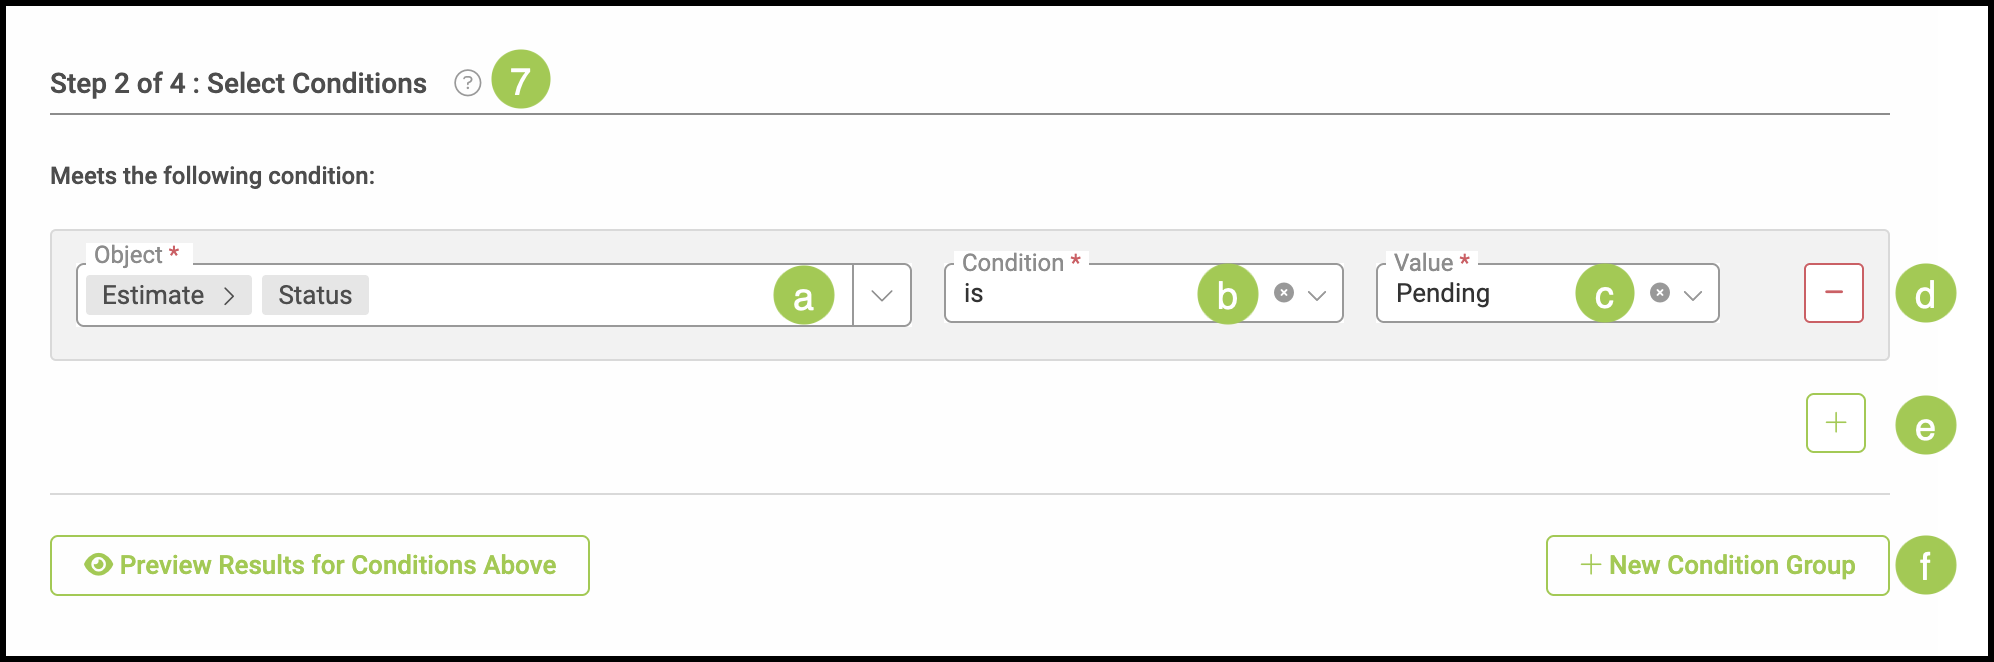
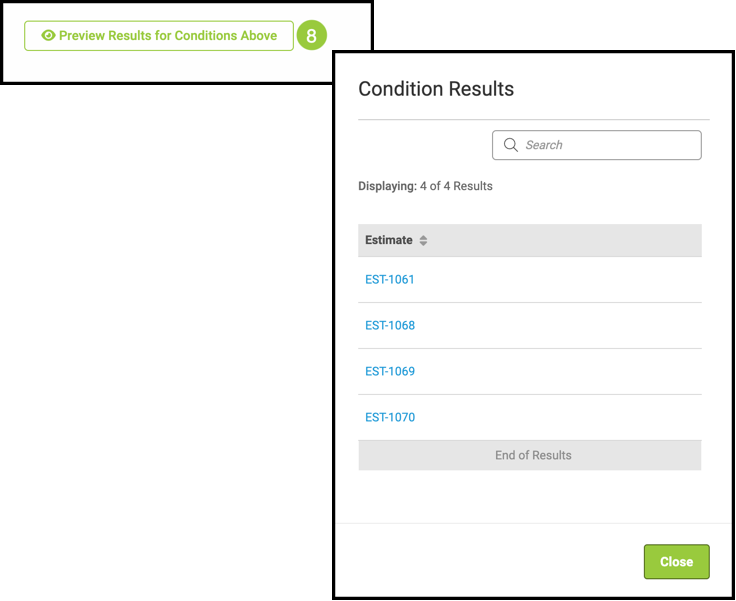
8. Under Step 2 of 4 : Select Conditions, leave conditions empty to notify on every line-item approval, or add conditions if you only want alerts that match specific criteria.
Note:
If an empty condition row appears, click the minus icon to remove it so the notification is not blocked by an incomplete Object.
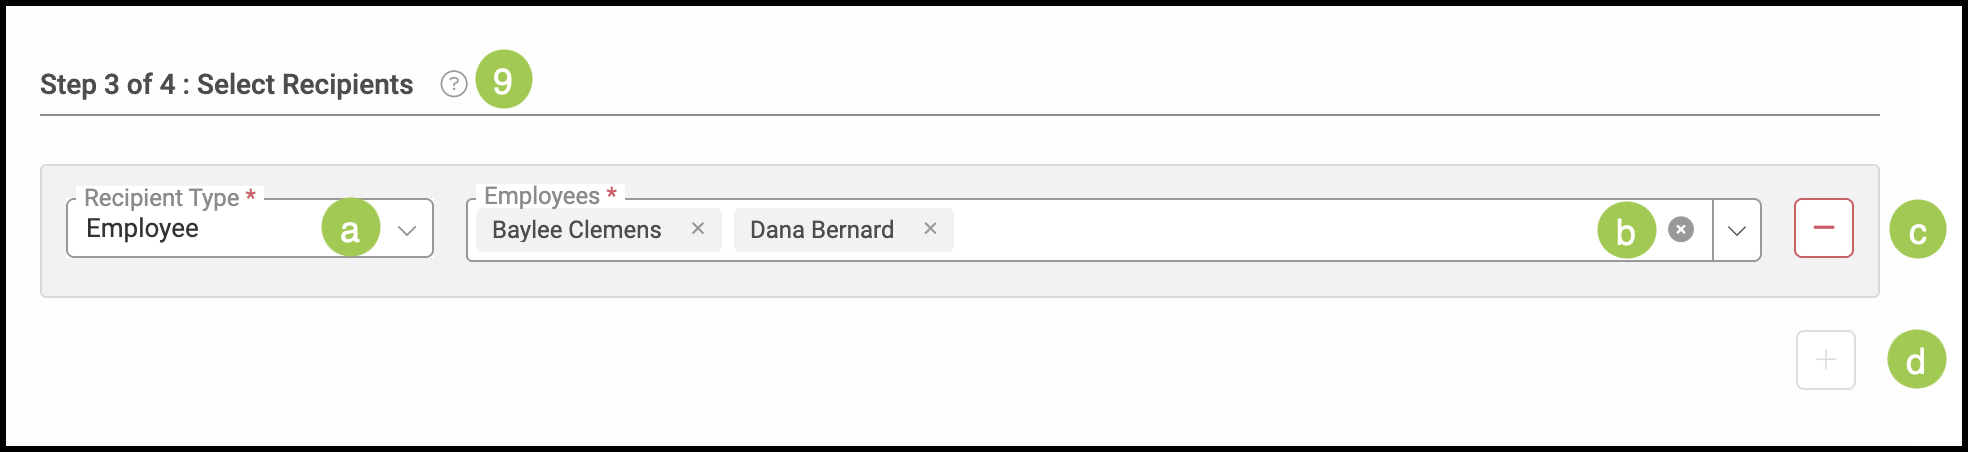
9. Under Step 3 of 4 : Select Recipients, set Recipient Type to Employee (in most cases) and select the employees who should receive the alert.
10. Under Step 4 of 4: Configure notifications to be sent, choose Internal Notification, Send Email, or both. Enter a Subject and Body. Use merge fields where helpful.
11. Click Save.
Where Alerts Appear
Internal notifications appear under My Profile / Messages & Notifications. The mail icon in the top menu is a shortcut to received notifications. Emails are delivered to each recipient's email address outside CoreBridge.
Related Articles