
Vendor Items are the supplier-specific catalog records you buy. Each Vendor Item links a Material (or a Variant) to a Vendor, including the Vendor Item name, Vendor Item number, purchase unit, package price, and delivery days used in purchasing and costing.
A Material can have more than one Vendor Item. Add and edit Vendor Items on the Material, then review recently changed items from the Vendor screen.
Note: For the Vendor screen, see Additional Vendor Features. For Materials, see Materials Overview.
Table of Contents
- Adding Vendor Items to a Material
- Vendor Item Details
- Viewing Vendor Items from a Vendor
- Frequently Asked Questions
- Related Articles
Adding Vendor Items to a Material
Navigate to System Settings / Components / Materials.
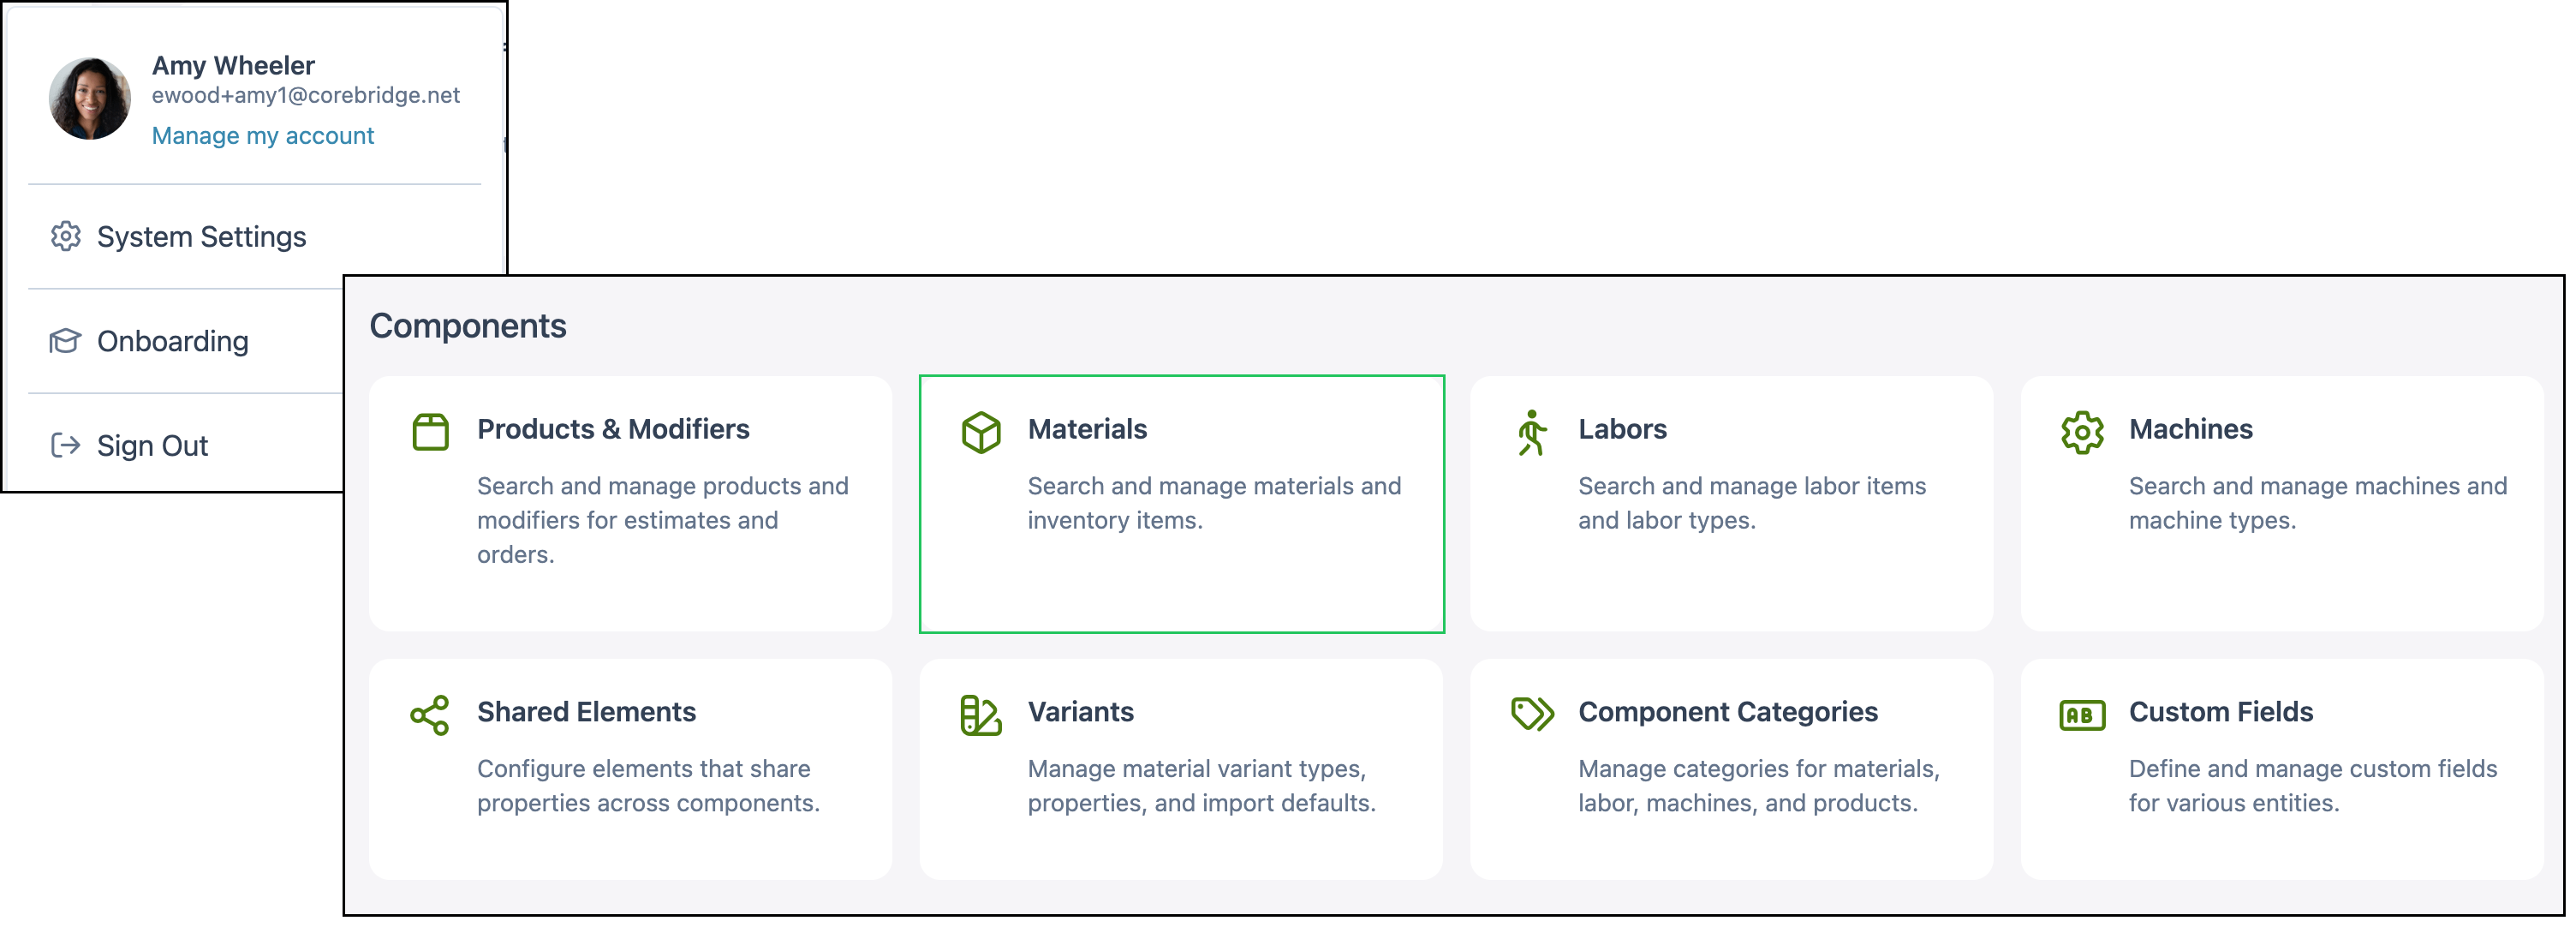
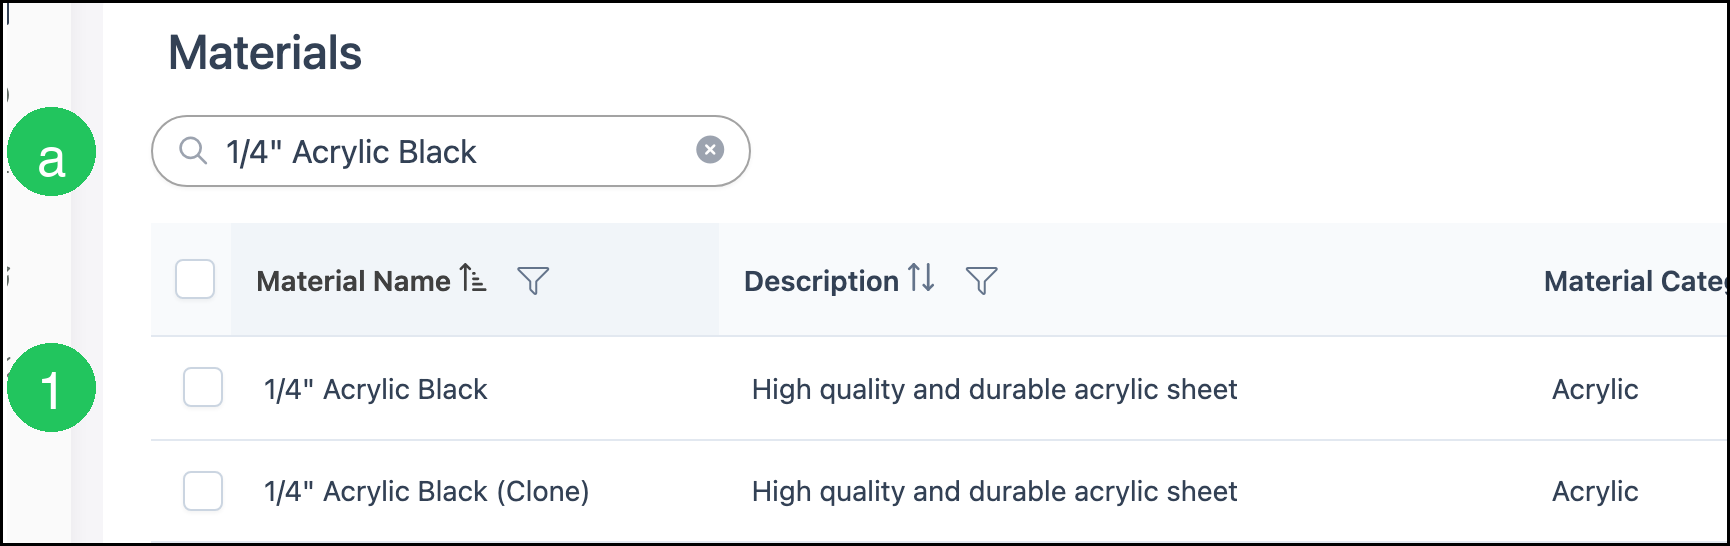
1. Select the Material you want to link. Clicking the Material name opens the Material screen.
a. Use Search to find a Material by name or other criteria.
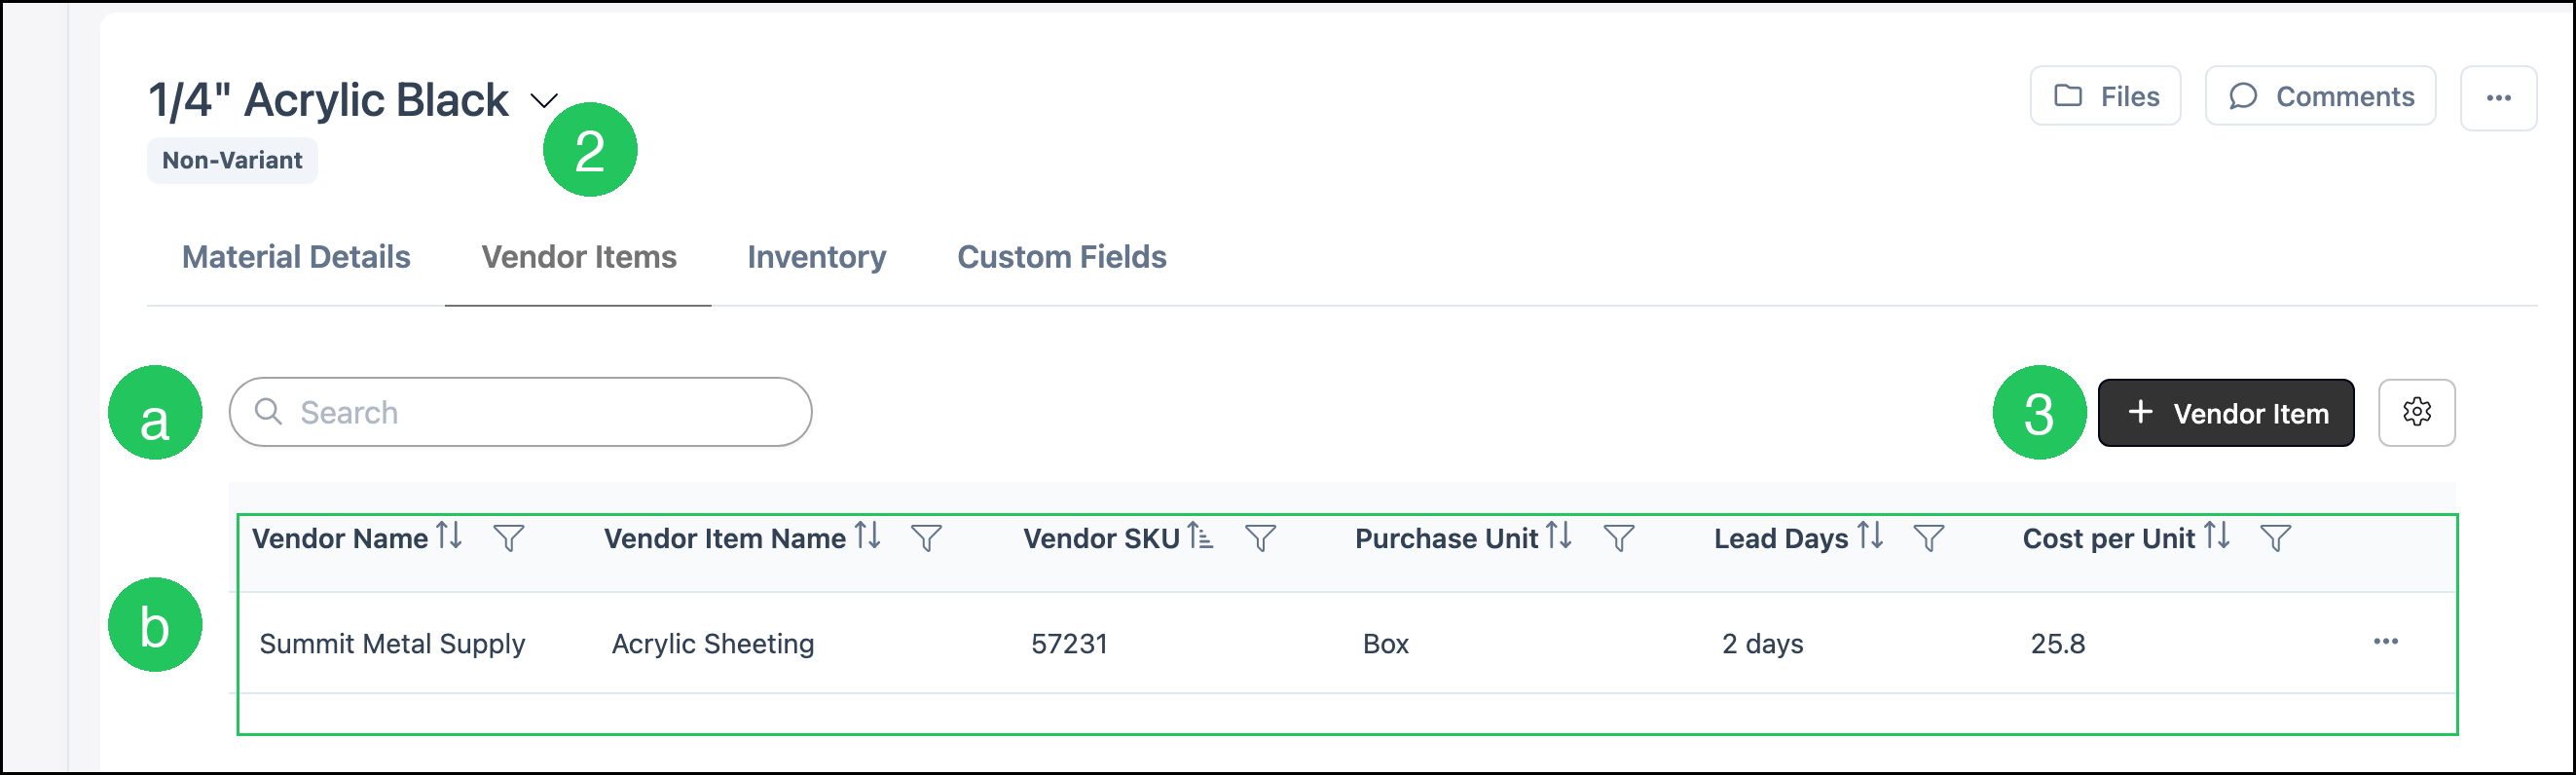
2. Select the Vendor Items tab.
3. Click Vendor Item to open the New Vendor Item dialog, or click an existing row to open Edit Vendor Item.
a. Use Search to find a Vendor Item on this Material.
b. The list shows Vendor Name, Vendor Item Name, Vendor SKU, Purchase Unit, Lead Days, and Cost per Unit.
Note: Row More Actions is available for additional options on an existing Vendor Item. Click Save on the Material after you finish adding or editing Vendor Items.
Note: Materials with Variants also include a Vendor Items tab on each Variant. For more information, see Materials with Variants Overview.
Vendor Item Details
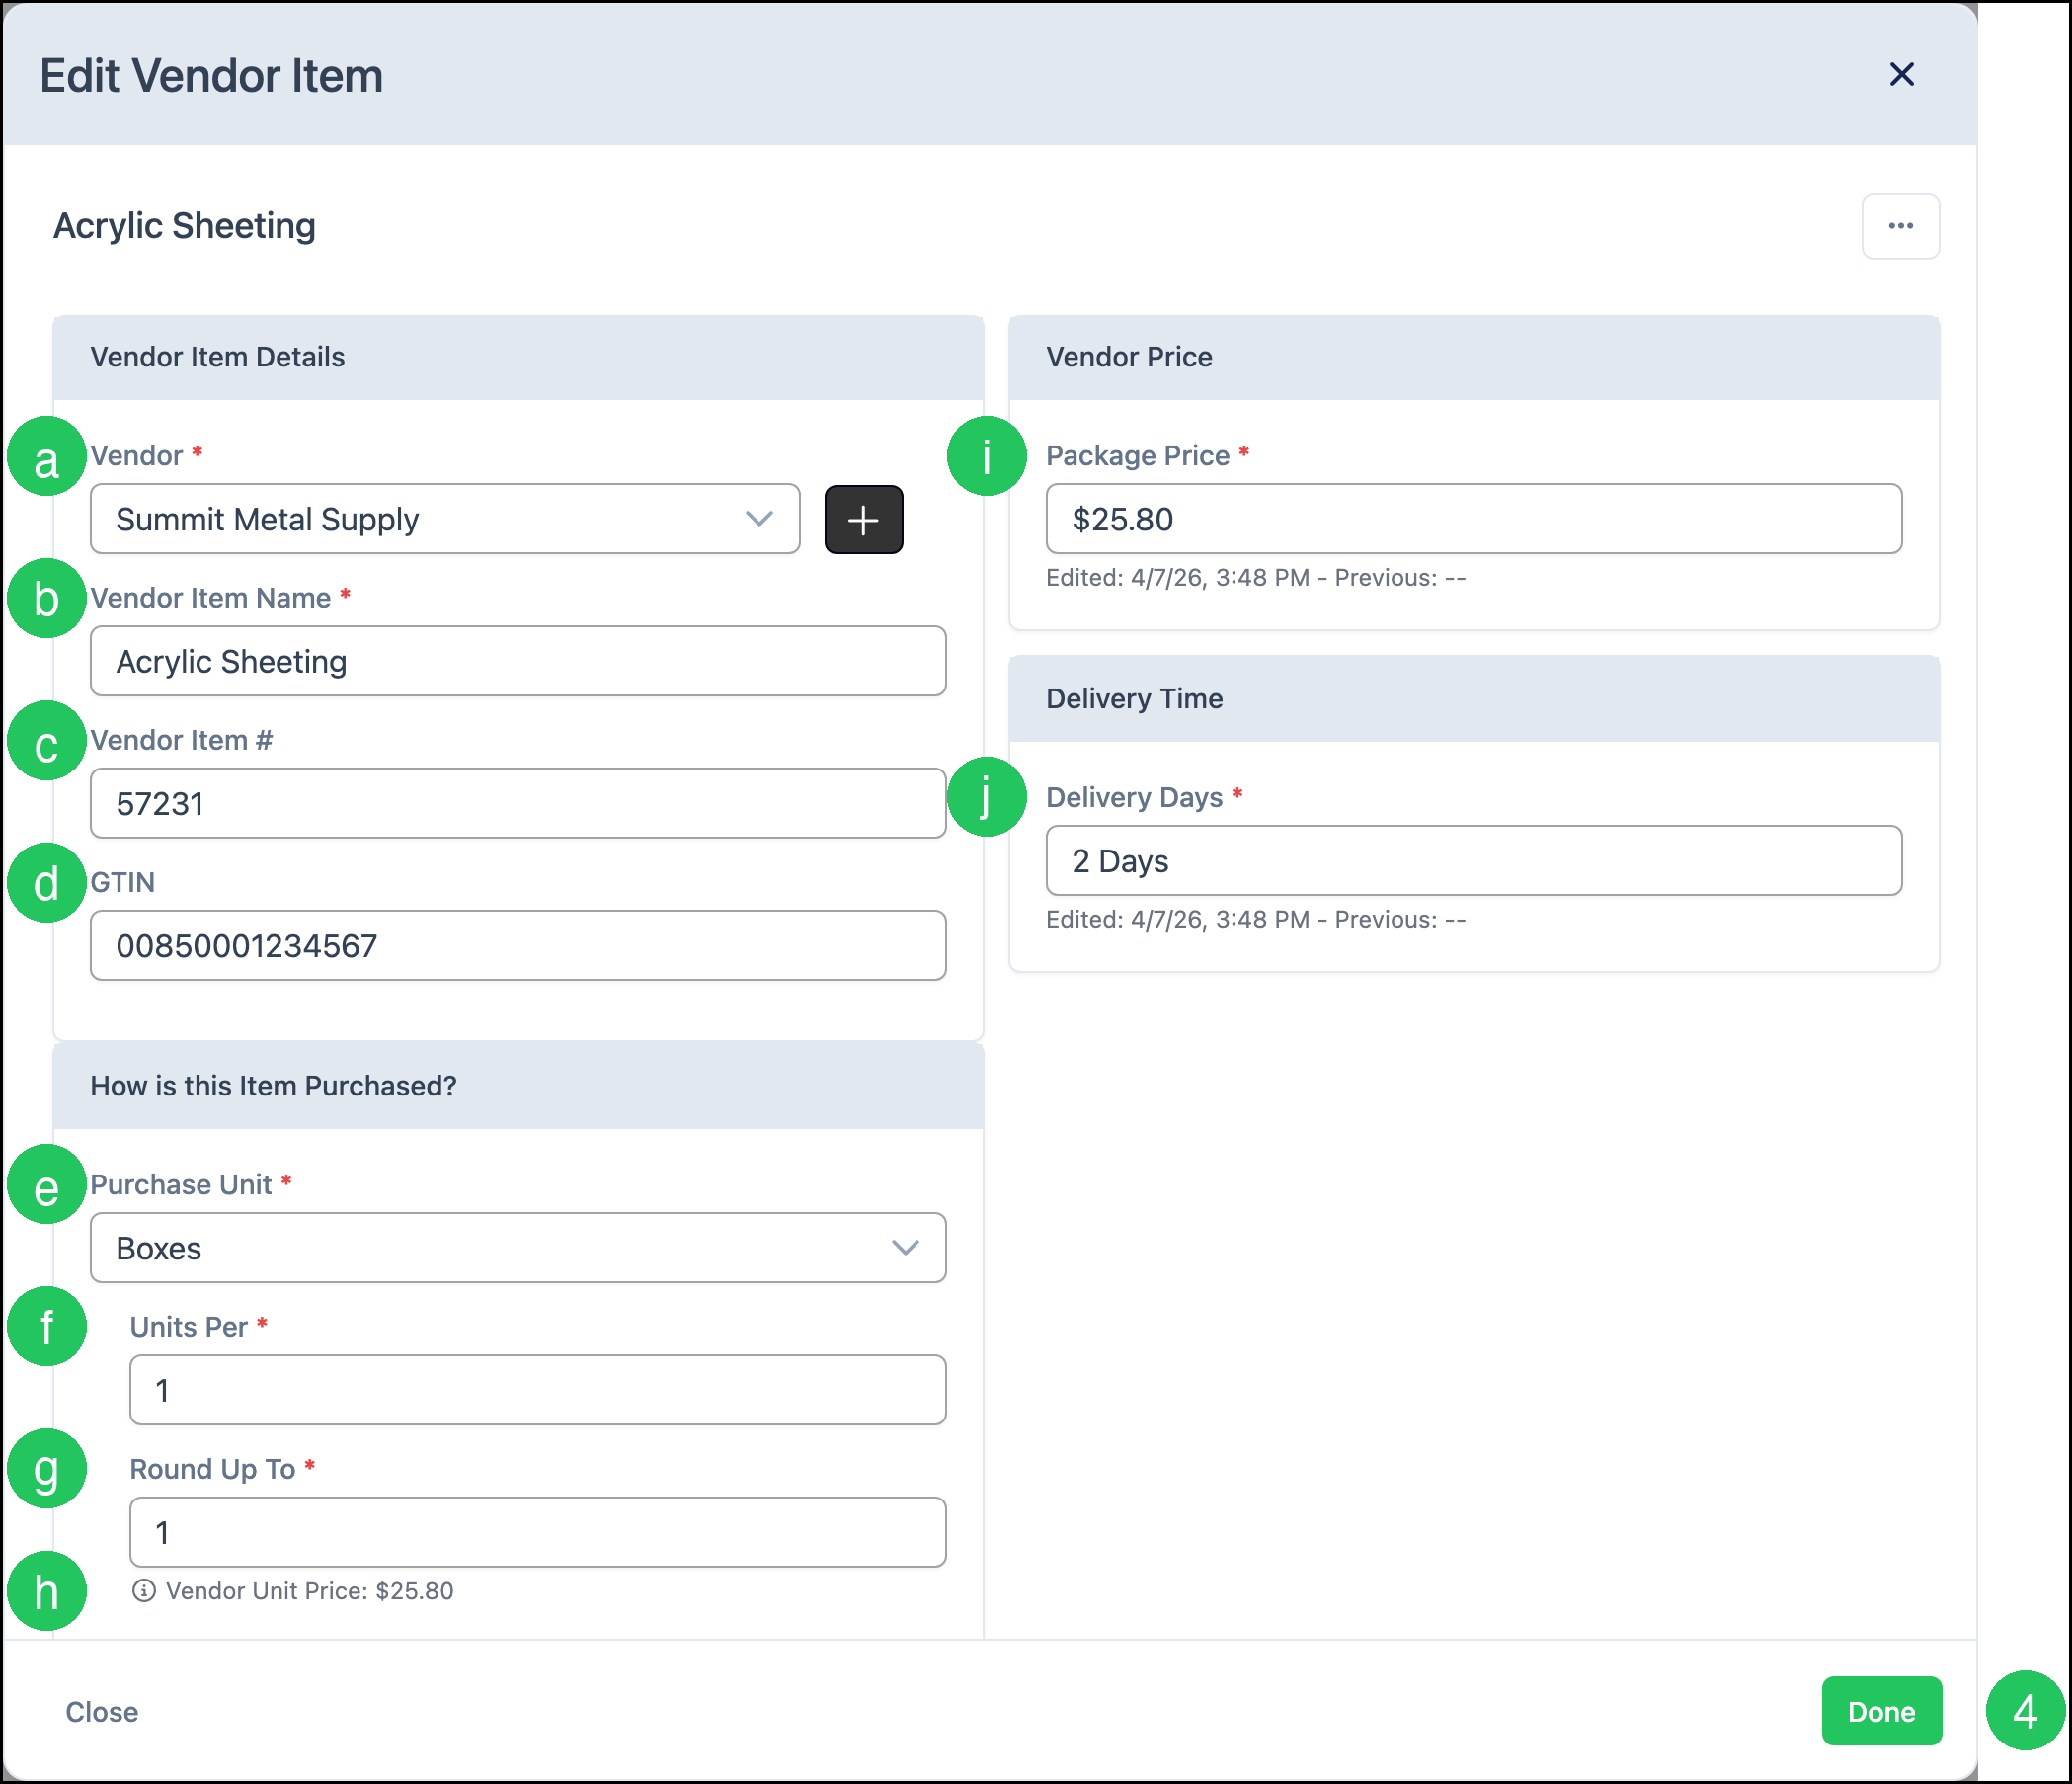
The New Vendor Item and Edit Vendor Item dialogs use the same fields. Complete the required fields, then click Done to apply the Vendor Item to the Material.
a. Vendor - The Vendor this catalog item is purchased from. This field is required.
b. Vendor Item Name - The name the Vendor uses for this item. This field is required.
c. Vendor Item # - The Vendor's item number or SKU.
d. GTIN - An optional Global Trade Item Number shared across Vendors.
How is this Item Purchased?
e. Purchase Unit - The package unit you buy from the Vendor (for example, Boxes). This field is required.
f. Units Per - How many units are in one purchase package. This field is required.
g. Round Up To - The increment used when rounding purchase quantities. This field is required.
h. Vendor Unit Price shows the calculated price per unit from the package price and units per package.
Vendor Price
i. Package Price - The price the Vendor charges for one purchase package. This field is required.
Delivery Time
j. Delivery Days - How many days the Vendor takes to deliver this item. This field is required.
4. Click Done to keep the Vendor Item, or Close to leave without applying it.
5. Click Save on the Material to keep your changes.

Viewing Vendor Items from a Vendor
Navigate to Purchasing / Vendors.
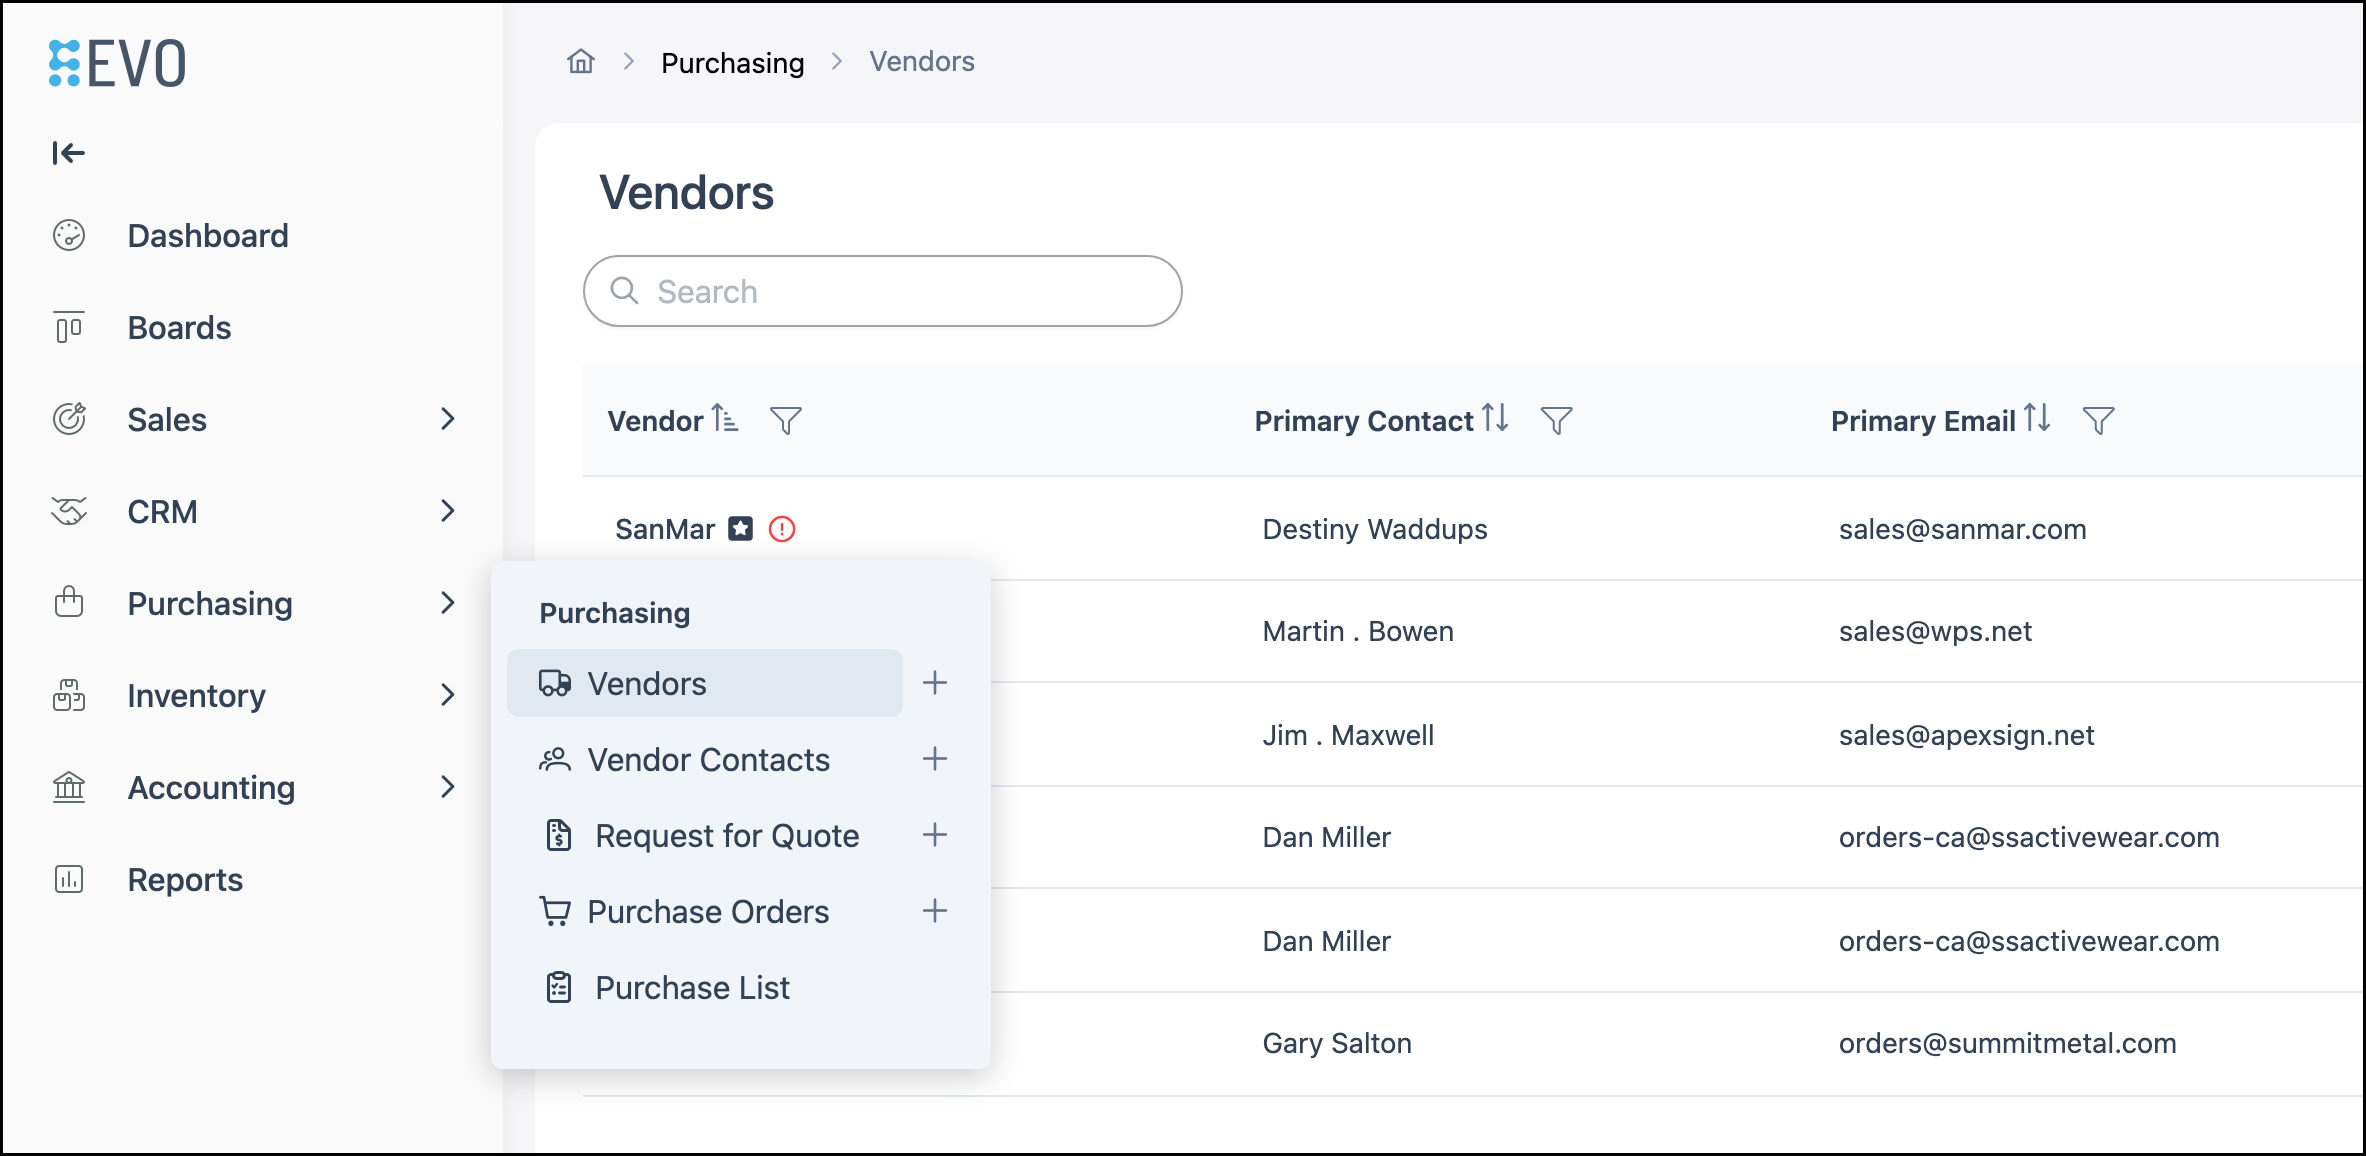
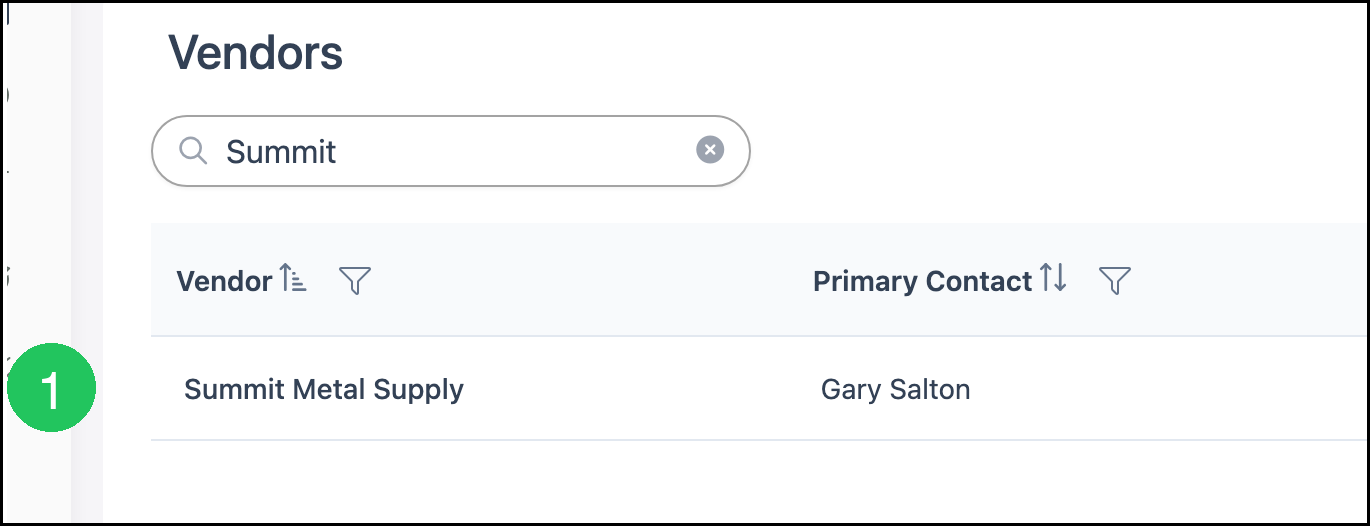
1. Select the Vendor you want to view. Clicking the Vendor name opens the Vendor screen.
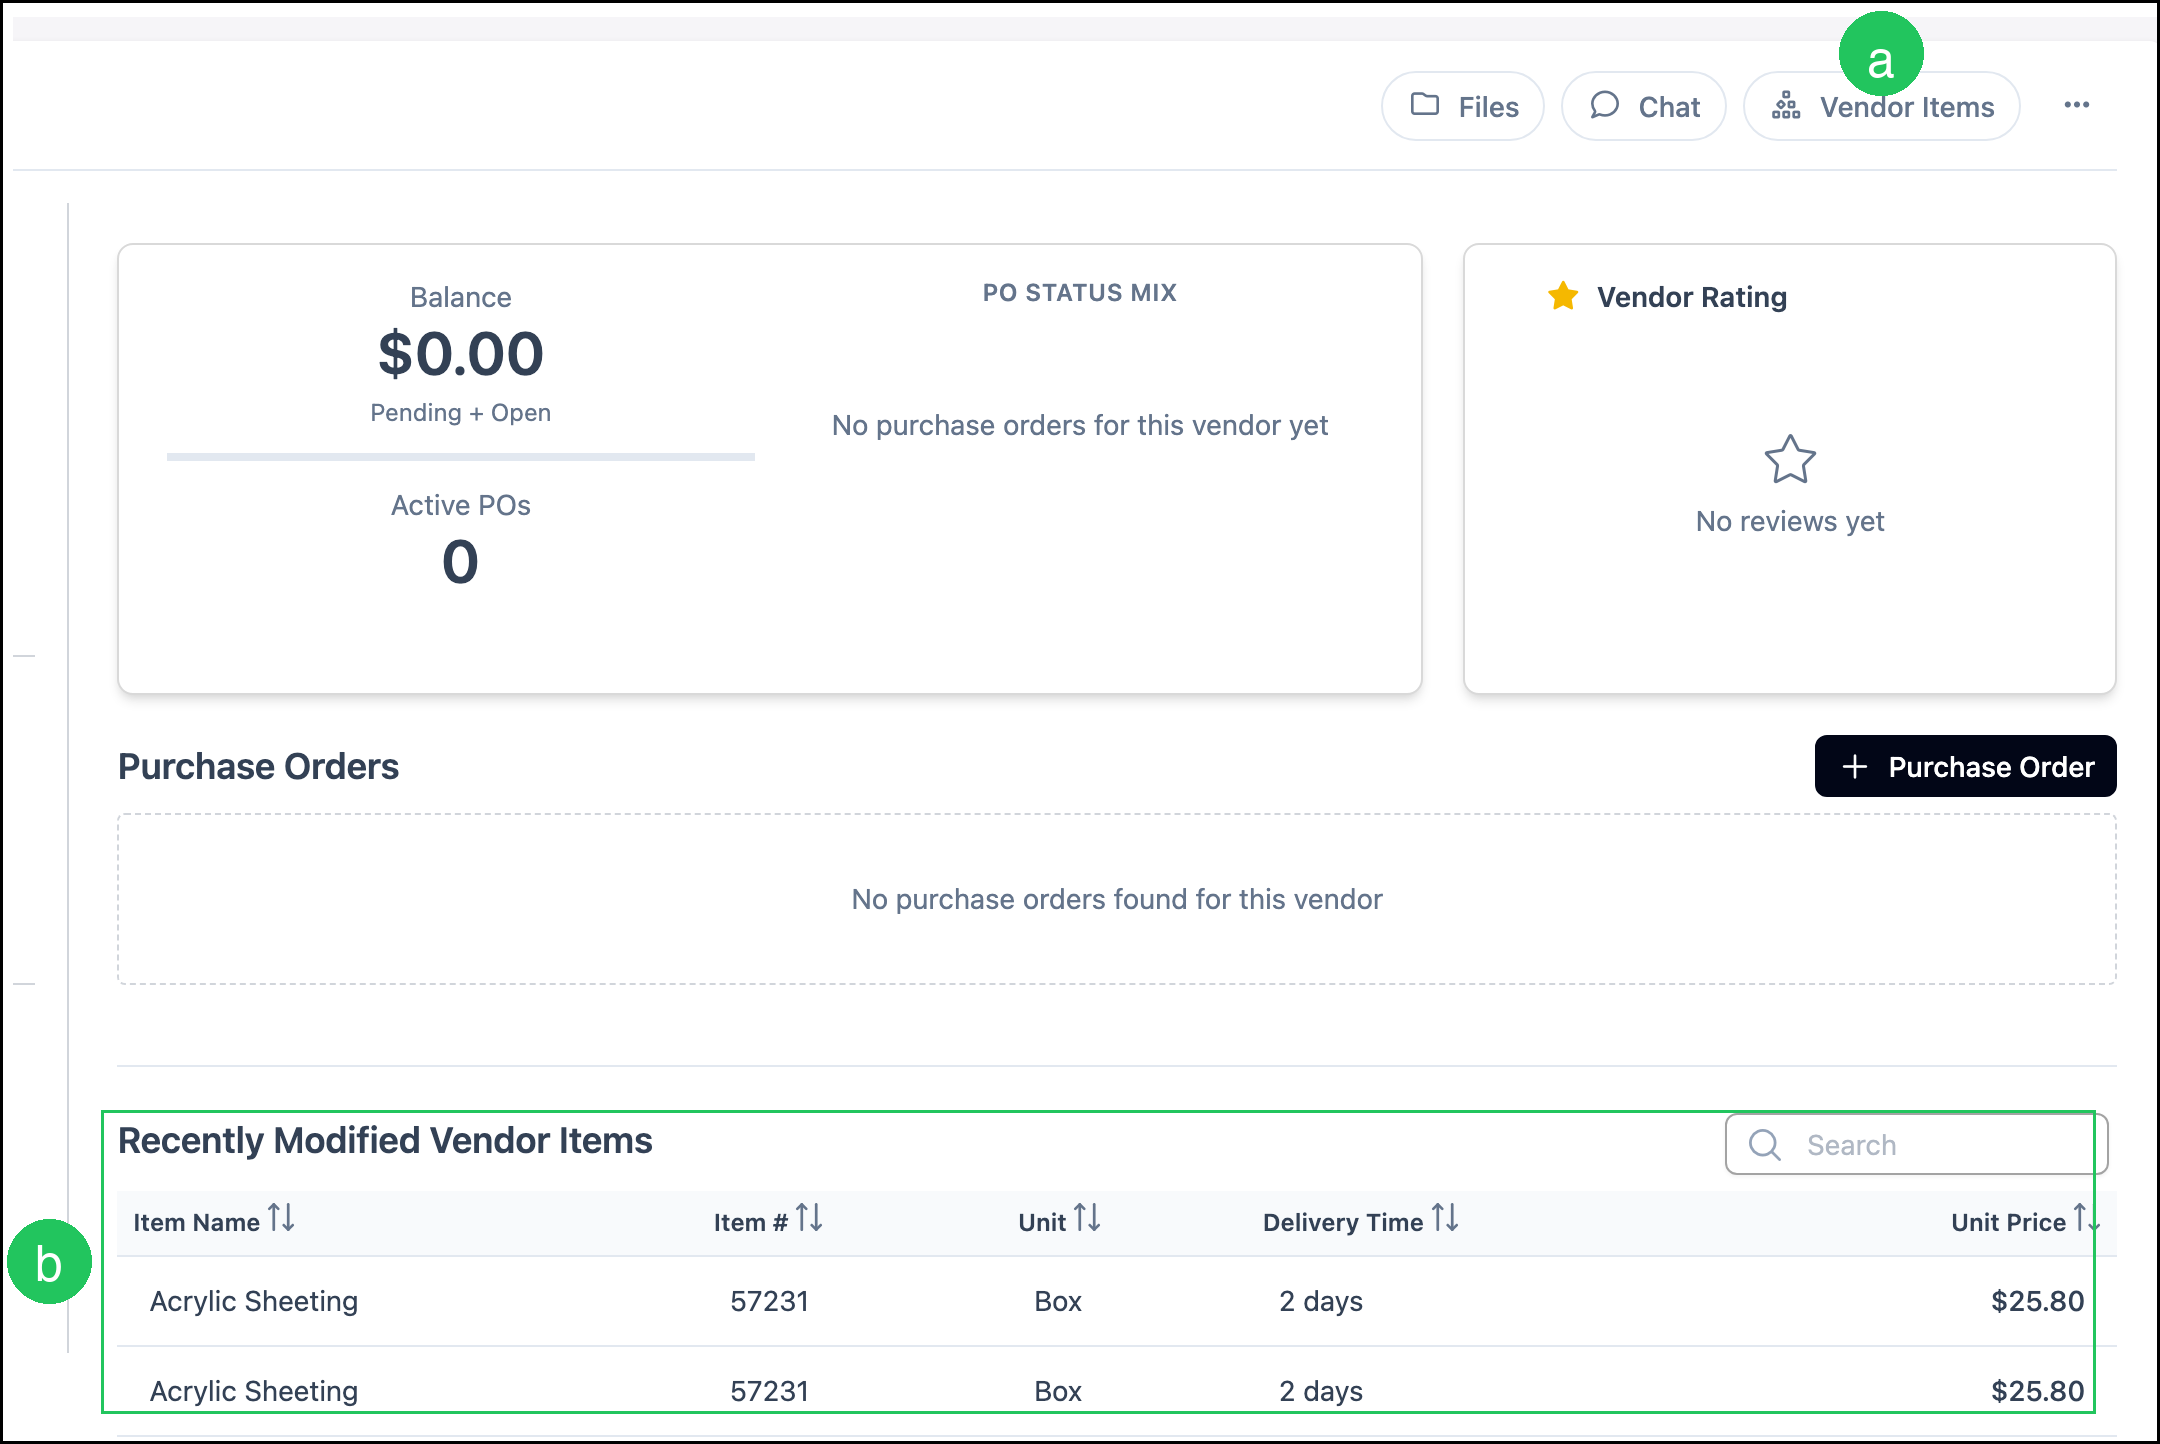
a. Vendor Items jumps to the Vendor Items associated with this Vendor.
b. Recently Modified Vendor Items shows Vendor Items for this Vendor that were changed most recently.
Note: For more information on the Vendor screen, see Additional Vendor Features.
Frequently Asked Questions
1. Where do I add a Vendor Item?
Answer: Open a Material (or a Variant), select the Vendor Items tab, then click Vendor Item.
2. Can one Material have more than one Vendor Item?
Answer: Yes. Add a Vendor Item for each Vendor (or catalog item) you purchase from. Choose the correct Vendor Item when you purchase that Material.
3. What is the difference between Vendor Item # and GTIN?
Answer: Vendor Item # is the number that Vendor uses. GTIN is a global identifier that stays the same across Vendors.
Related Articles
Adding Materials
Additional Vendor Features
Creating Vendors
Managing Vendors
Materials with Variants Overview
Materials Overview