
The Vendor Portal is how your vendors review purchase orders, upload required documents, share files, and respond to Requests for Quote. You send a portal link from the vendor record or from a Request for Quote. Vendors open that link to complete those tasks.
Table of Contents
- Before You Begin
- Important Information
- Sending a Vendor Portal Link
- Required Documents and Portal Visibility
- Sharing Files with Vendors
- Requests for Quote
- Frequently Asked Questions
- Related Articles
Before You Begin
Complete these items before you send a Vendor Portal link:
- Create an active Vendor email template with Message Template Type Compliance Documents Portal Link. On the Template tab, include the Portal Link merge field in the body. For more information, see Creating and Editing Email Templates.
- The vendor needs a contact with an email address. For more information, see Creating Vendors.
- If you send Requests for Quote through the portal, create an active Request for Quote email template with Message Template Type Request For Quote Portal Link, and include the Request For Quote Link merge field.
Important Information
Keep these points in mind when you use the Vendor Portal:
- Vendors open the portal from the link you send. Treat that link like a credential.
- Documents marked Internal stay in CoreBridge. Vendors do not see them in the portal.
- On a Purchase Order, files in the Customer Shared folder are the files vendors can see.
- Vendors can review Purchase Order details as read-only, including number, status, description, dates, ship from and ship to, line items, and totals.
- When a compliance document requires an expiration date, the vendor enters that date in the portal at upload time.
Sending a Vendor Portal Link
Use Send Upload Link to email a Vendor Portal link so the recipient can upload compliance documents.
Navigate to Purchasing / Vendors and open the vendor.
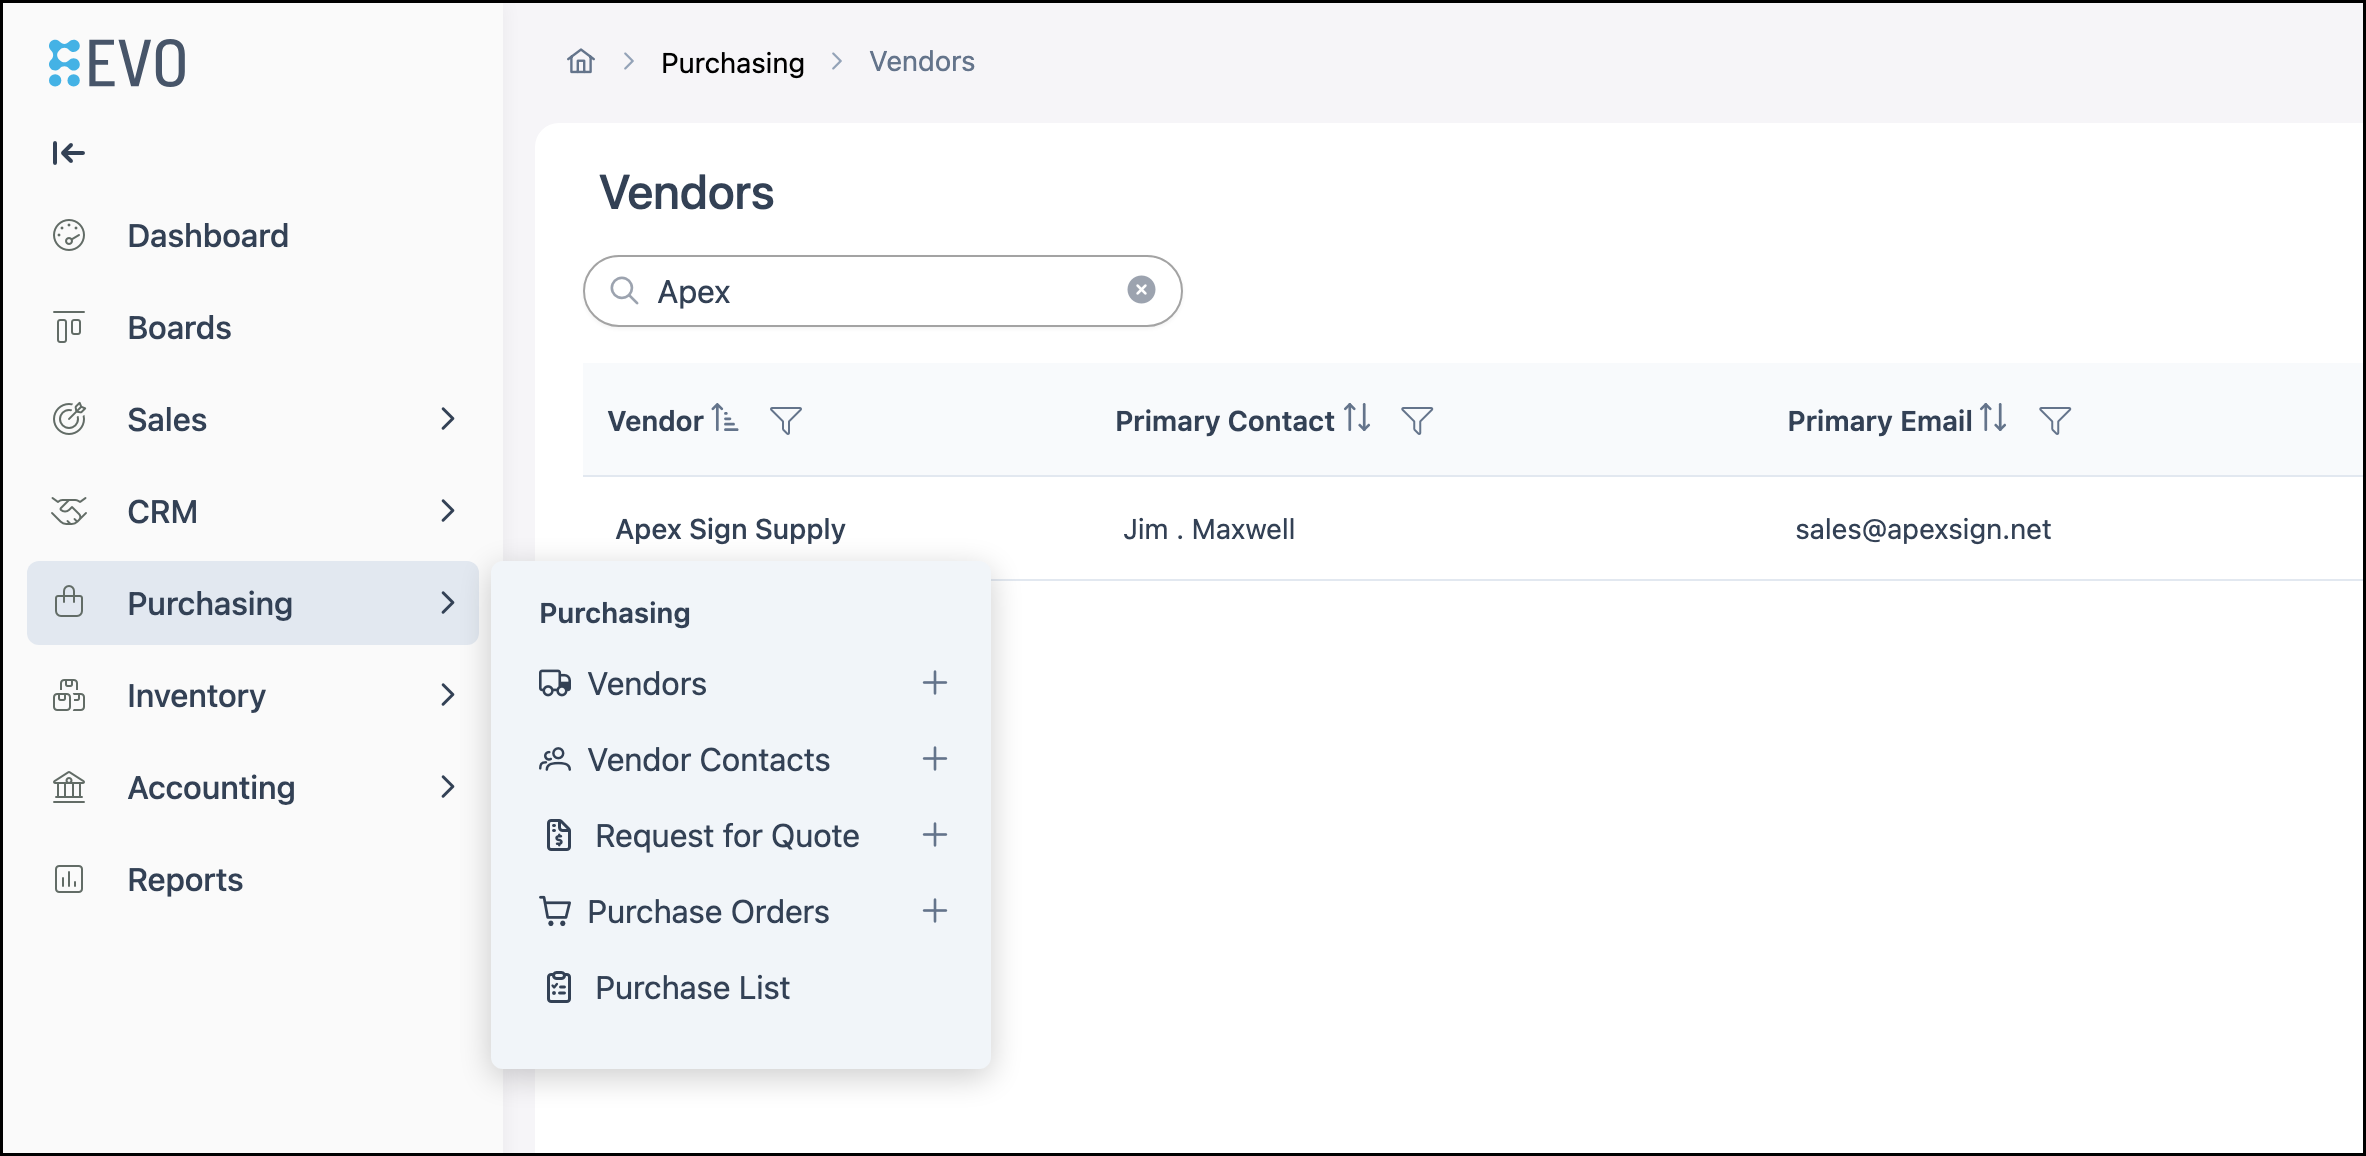
1. Click More Actions.
2. Select Send Upload Link.
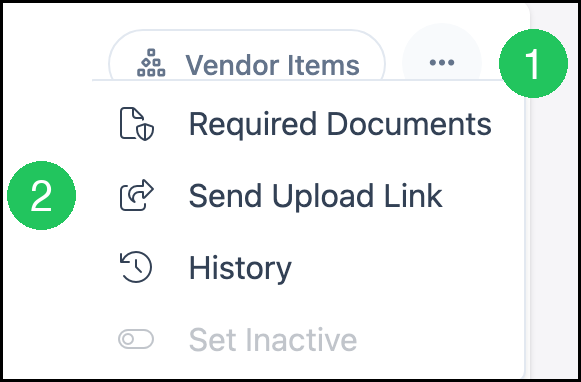
The Send Upload Link dialog opens. Subject and body preview the selected template. The server renders the final email from the template.
a. Email Template - The active Compliance Documents Portal Link template used for the message.
b. From - The email account the message is sent from.
c. To - The recipient. This is usually a vendor contact email.
d. Subject - The subject line from the selected template.
e. Body - The message from the template, including the Portal Link merge field.
3. Click Send.
Note: Click Cancel to close the dialog without sending.
Required Documents and Portal Visibility
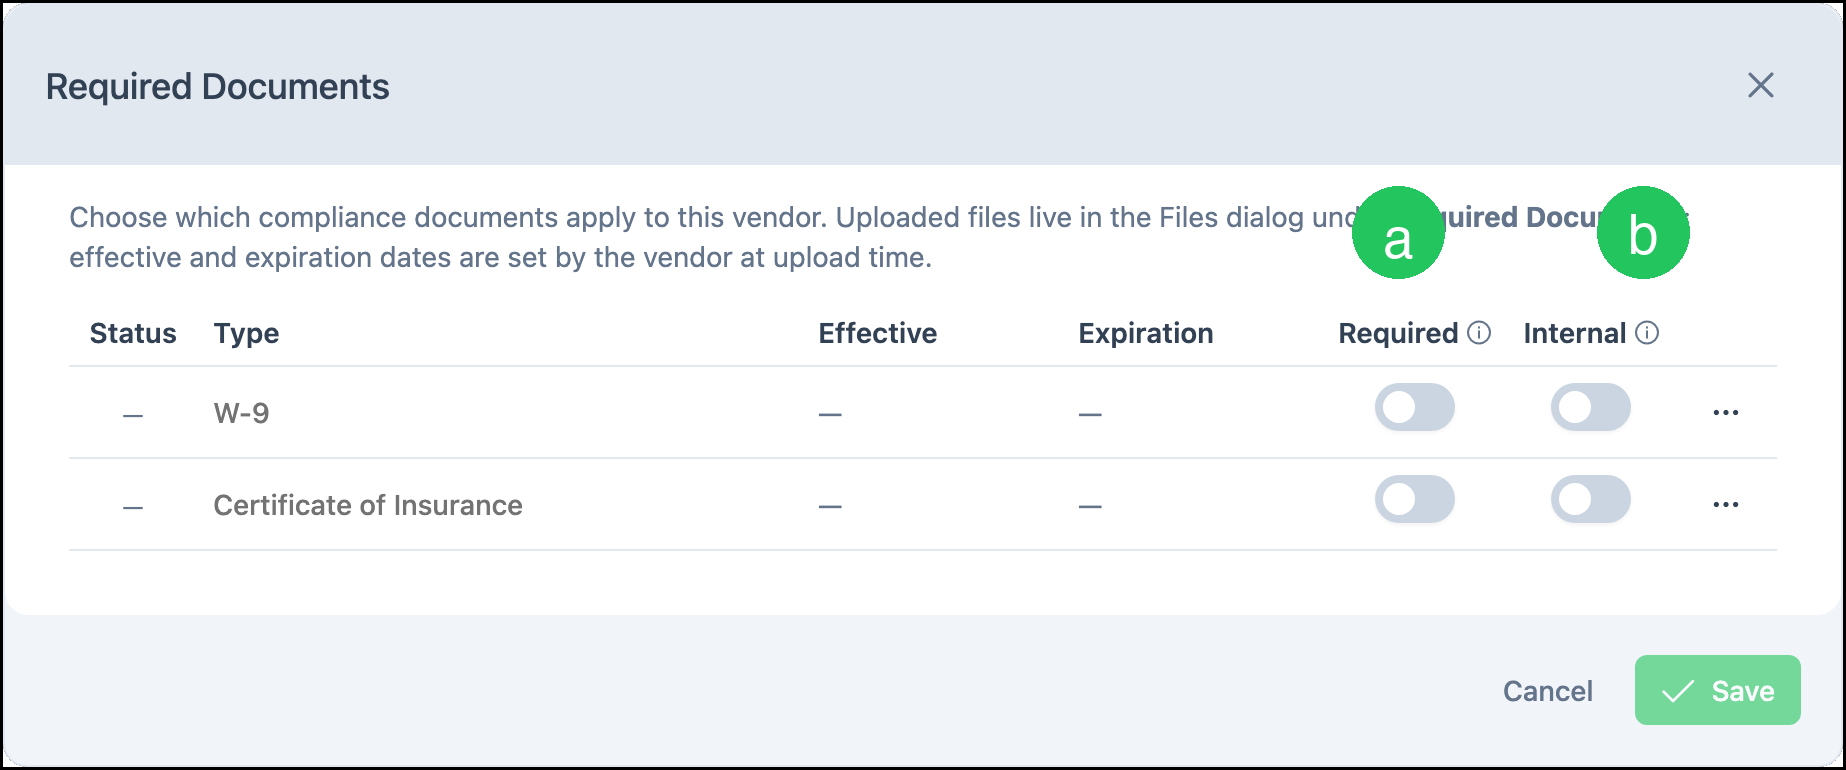
Use Required Documents to choose which compliance documents apply to the vendor and whether vendors can see them. Uploaded files live in the Vendor Files dialog under Required Documents. Effective and expiration dates are set by the vendor at upload time.
For configuring document types in Settings, see Managing Vendors.
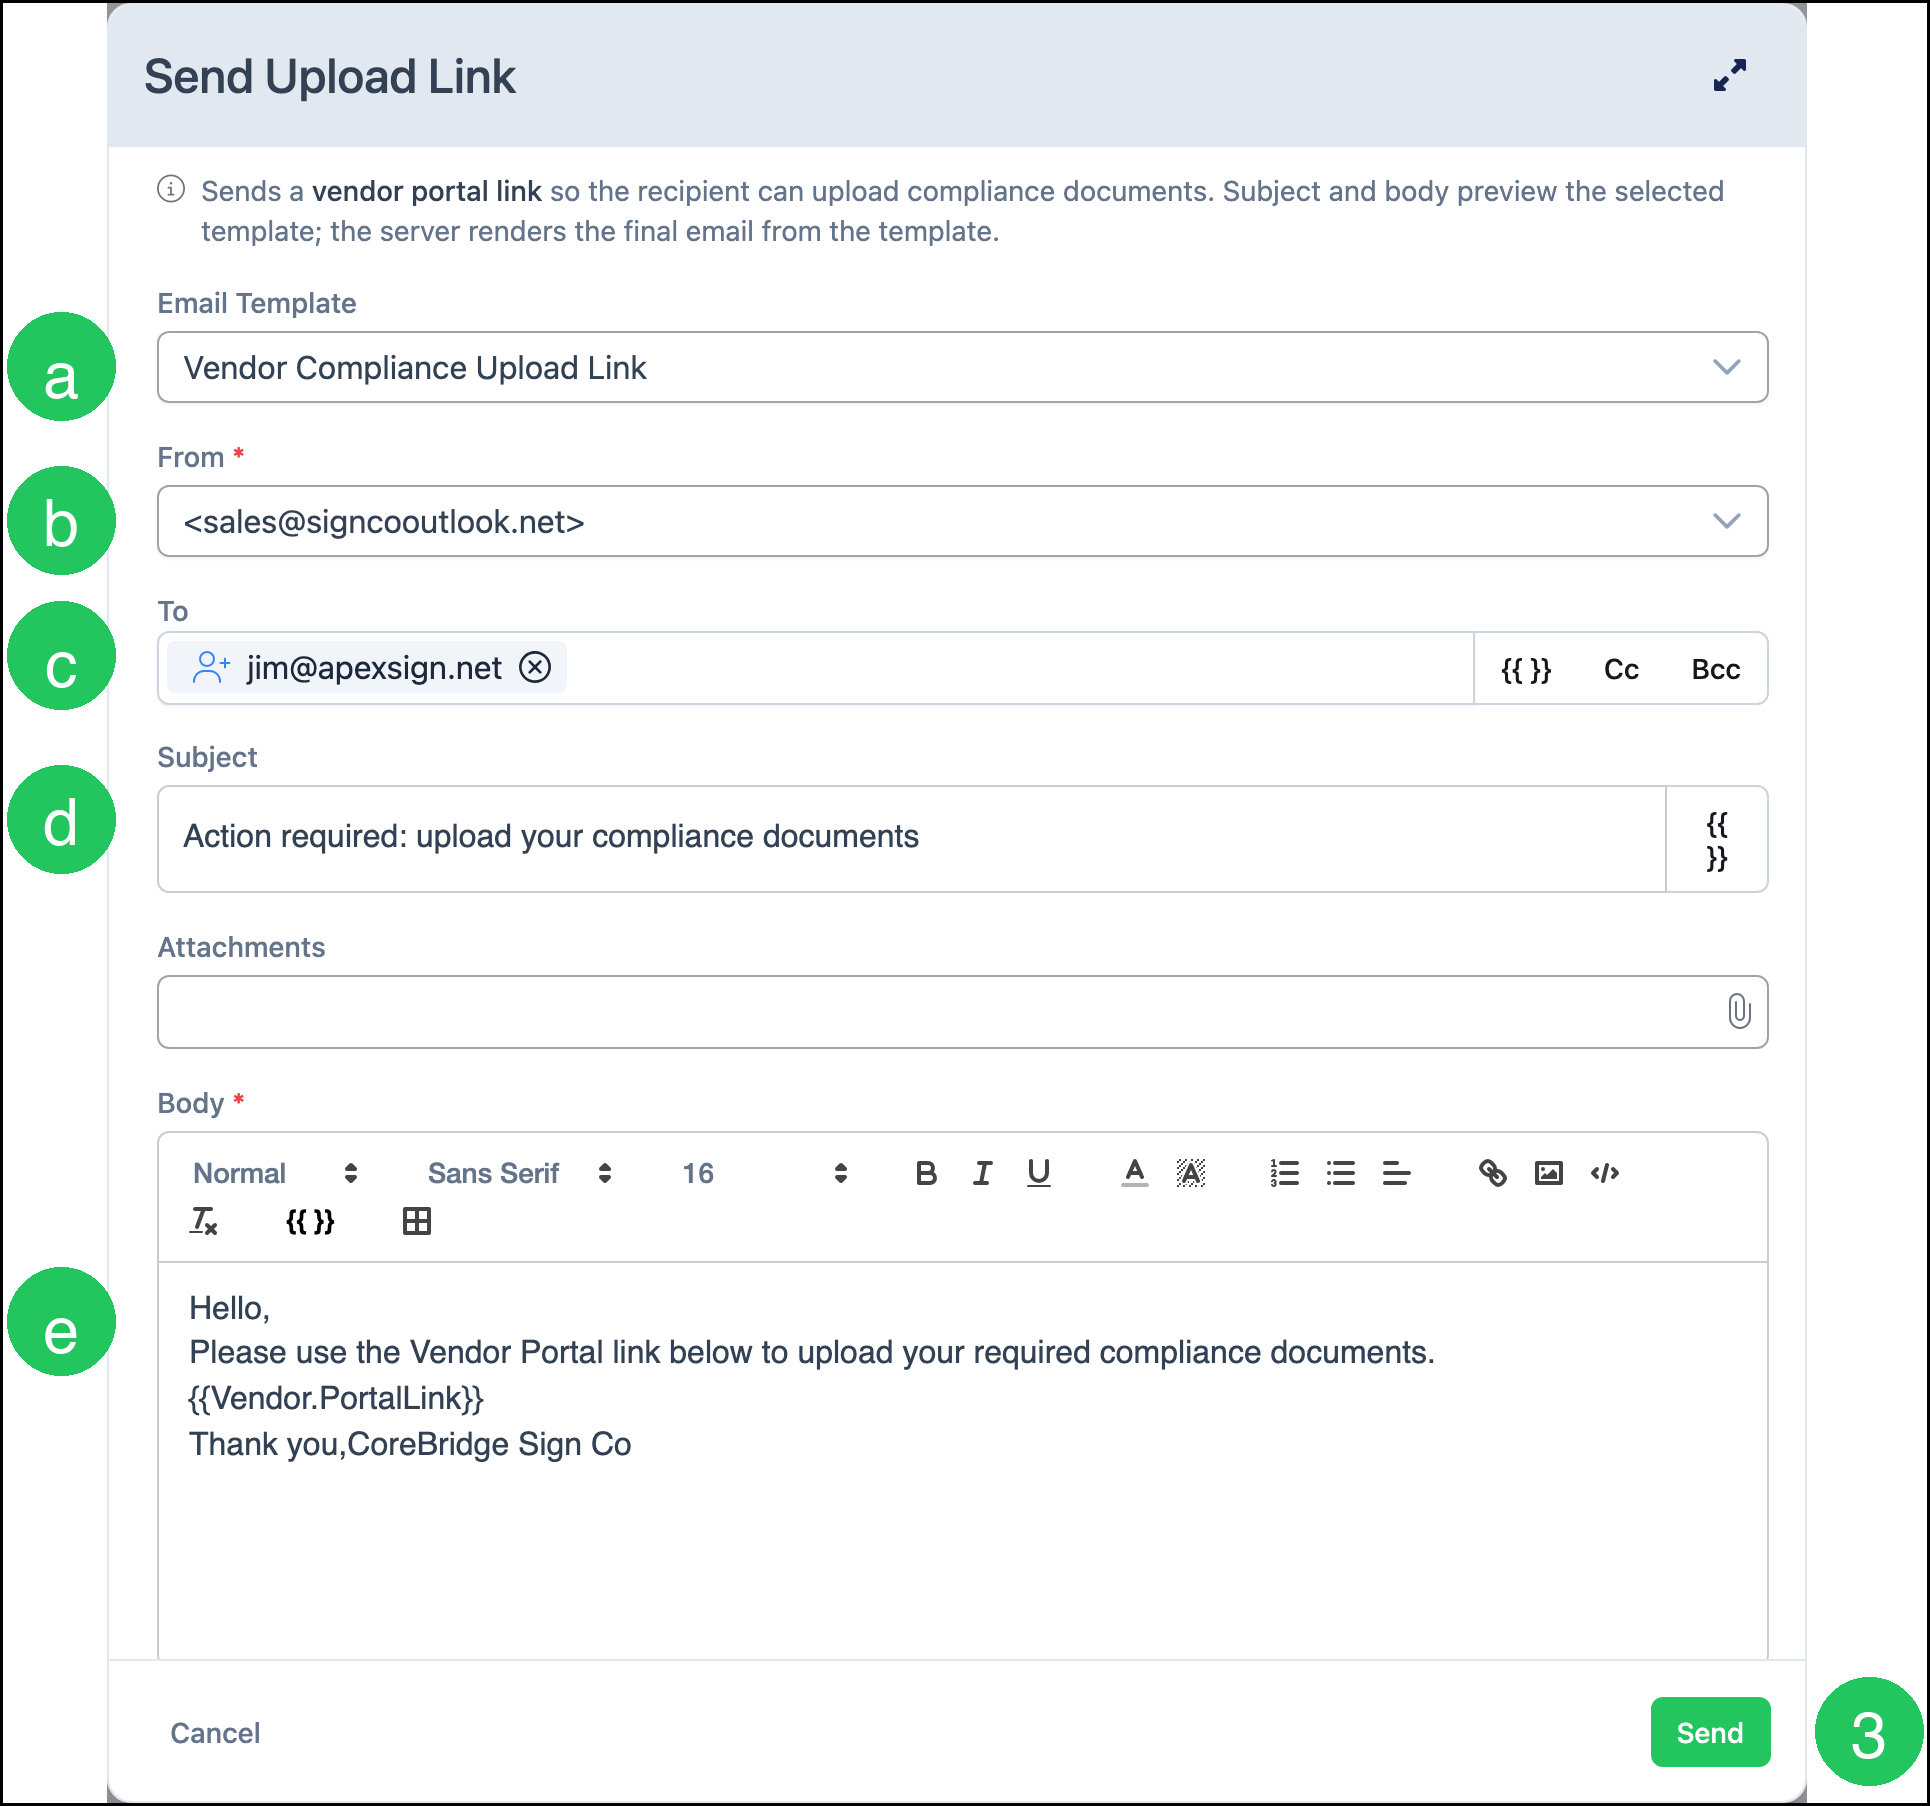
On the vendor record:
1. Click More Actions.
2. Select Required Documents.
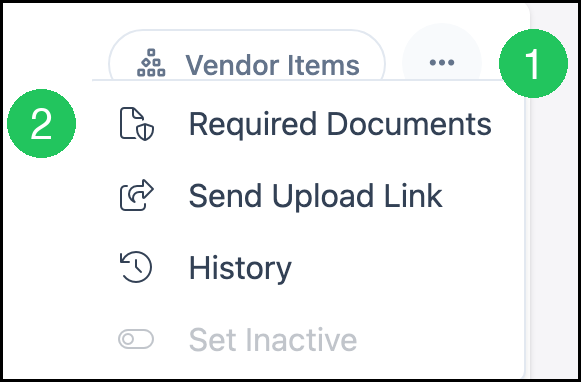
a. Required - Determines whether the document must be uploaded before Purchase Orders can be created for the vendor.
b. Internal - Determines whether the document is visible in the Vendor Portal. Internal documents are only visible within CoreBridge.
Note: Click Save to apply your changes, or Cancel to close without saving.
Sharing Files with Vendors
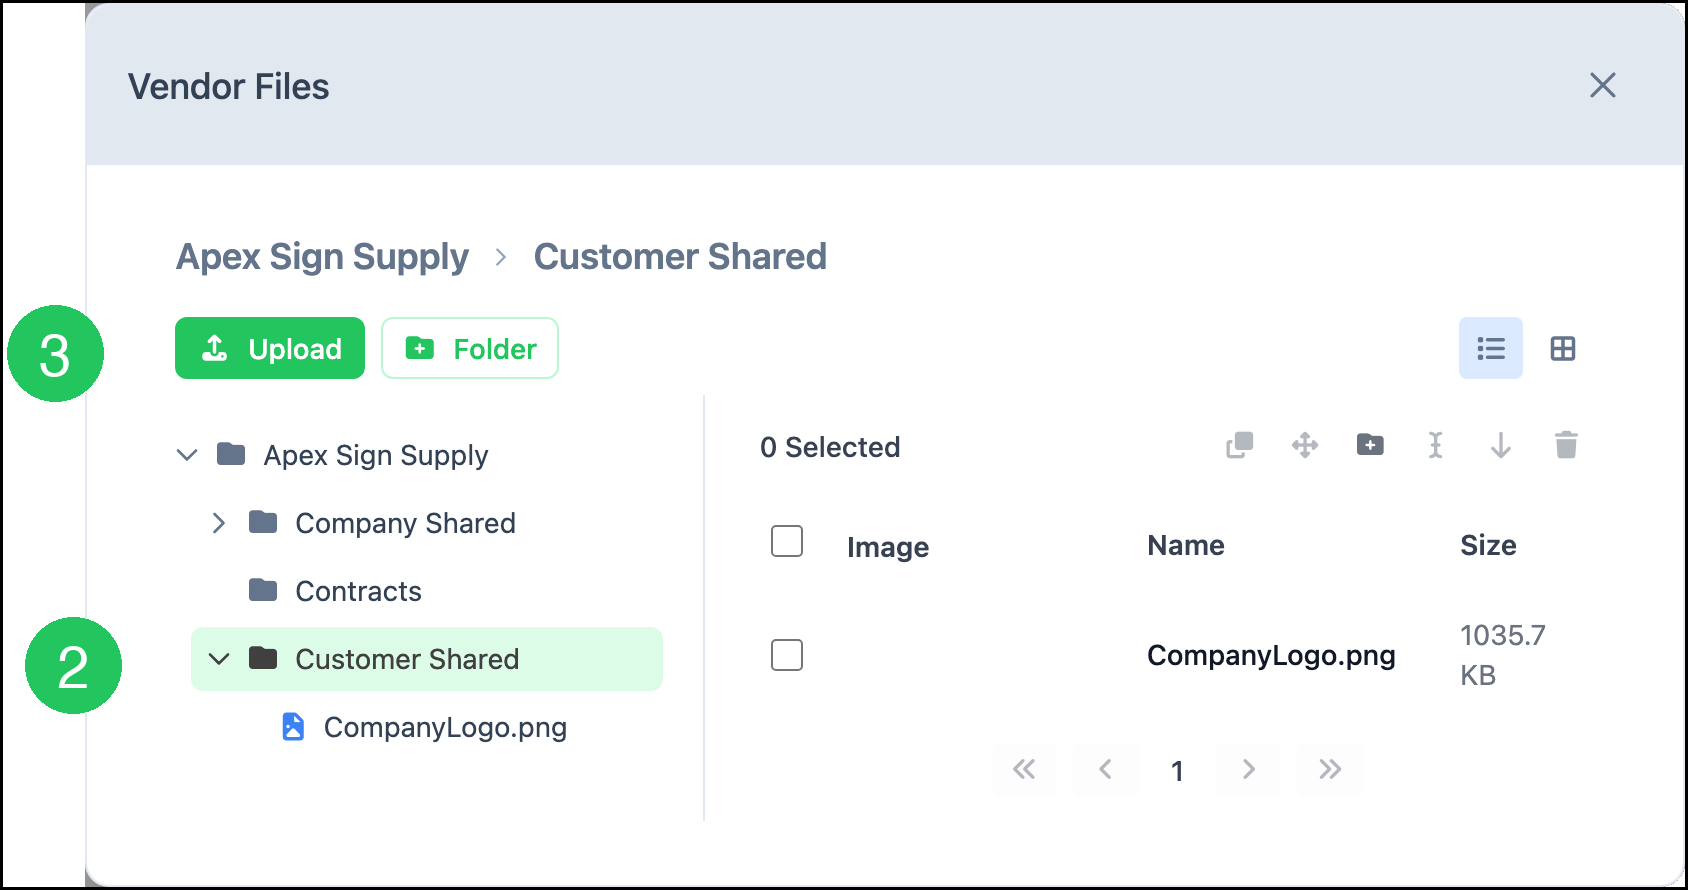
Use the Customer Shared folder when you want vendors to see files on a Purchase Order or vendor record. For general file tools, see File Management.
On the vendor record:
1. Click Files.

The Vendor Files dialog opens.
2. Select Customer Shared.
3. Click Upload to add files vendors can see.
Note: Company Shared and Contracts stay in CoreBridge. Vendors see Customer Shared.
Requests for Quote
Vendors can view a Request for Quote, submit a bid, or decline from the Vendor Portal. You copy the portal link from the RFQ, or you email it using a Request For Quote Portal Link template. For more information, see Request for Quote Overview.
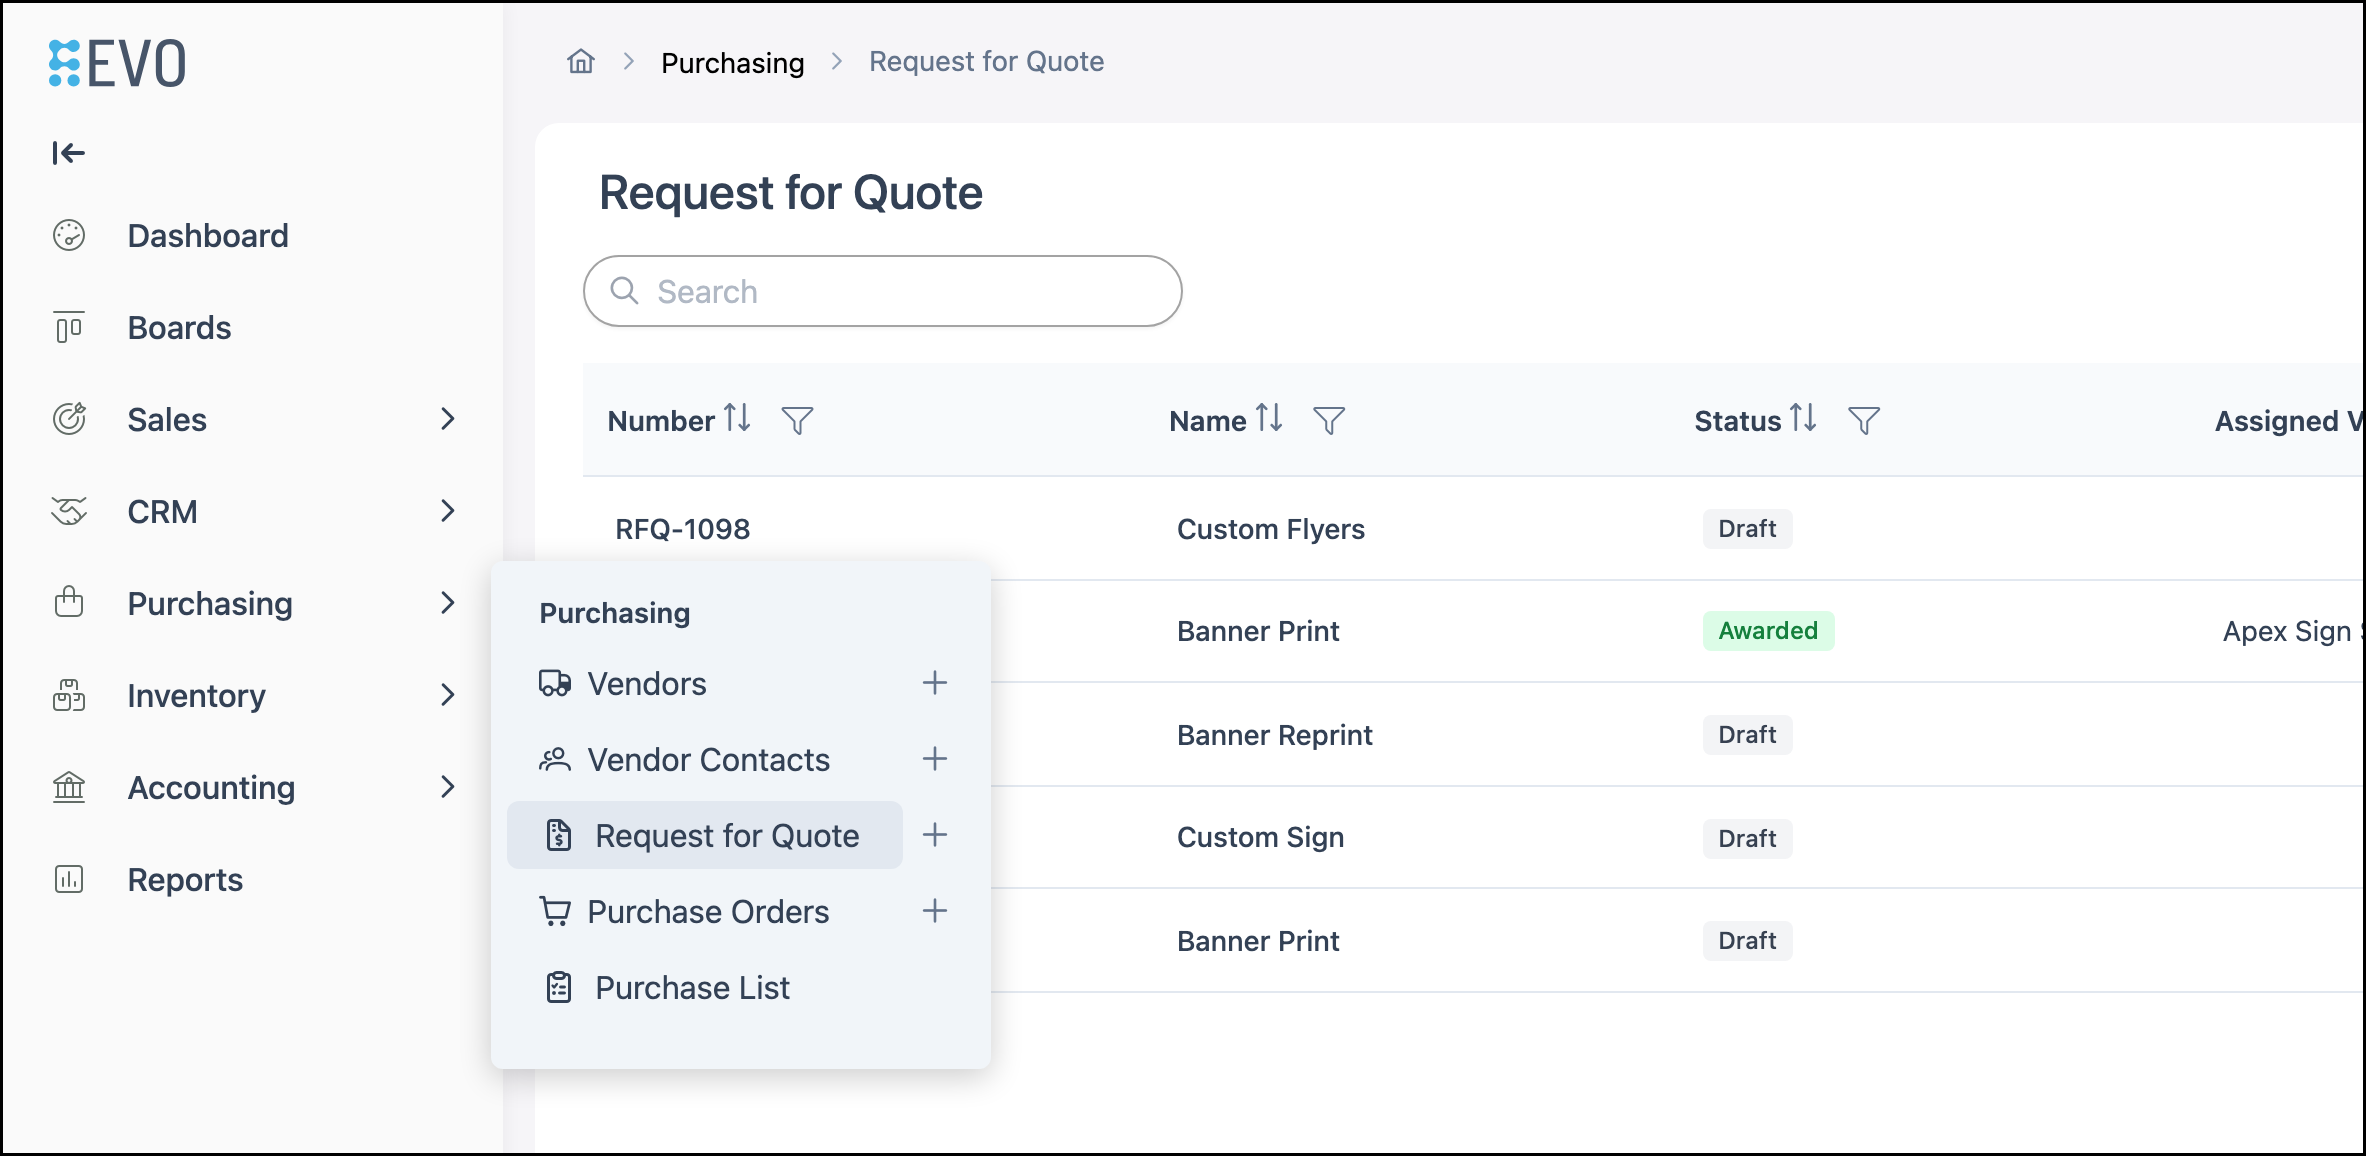
Navigate to Purchasing / Request for Quote and open the RFQ.
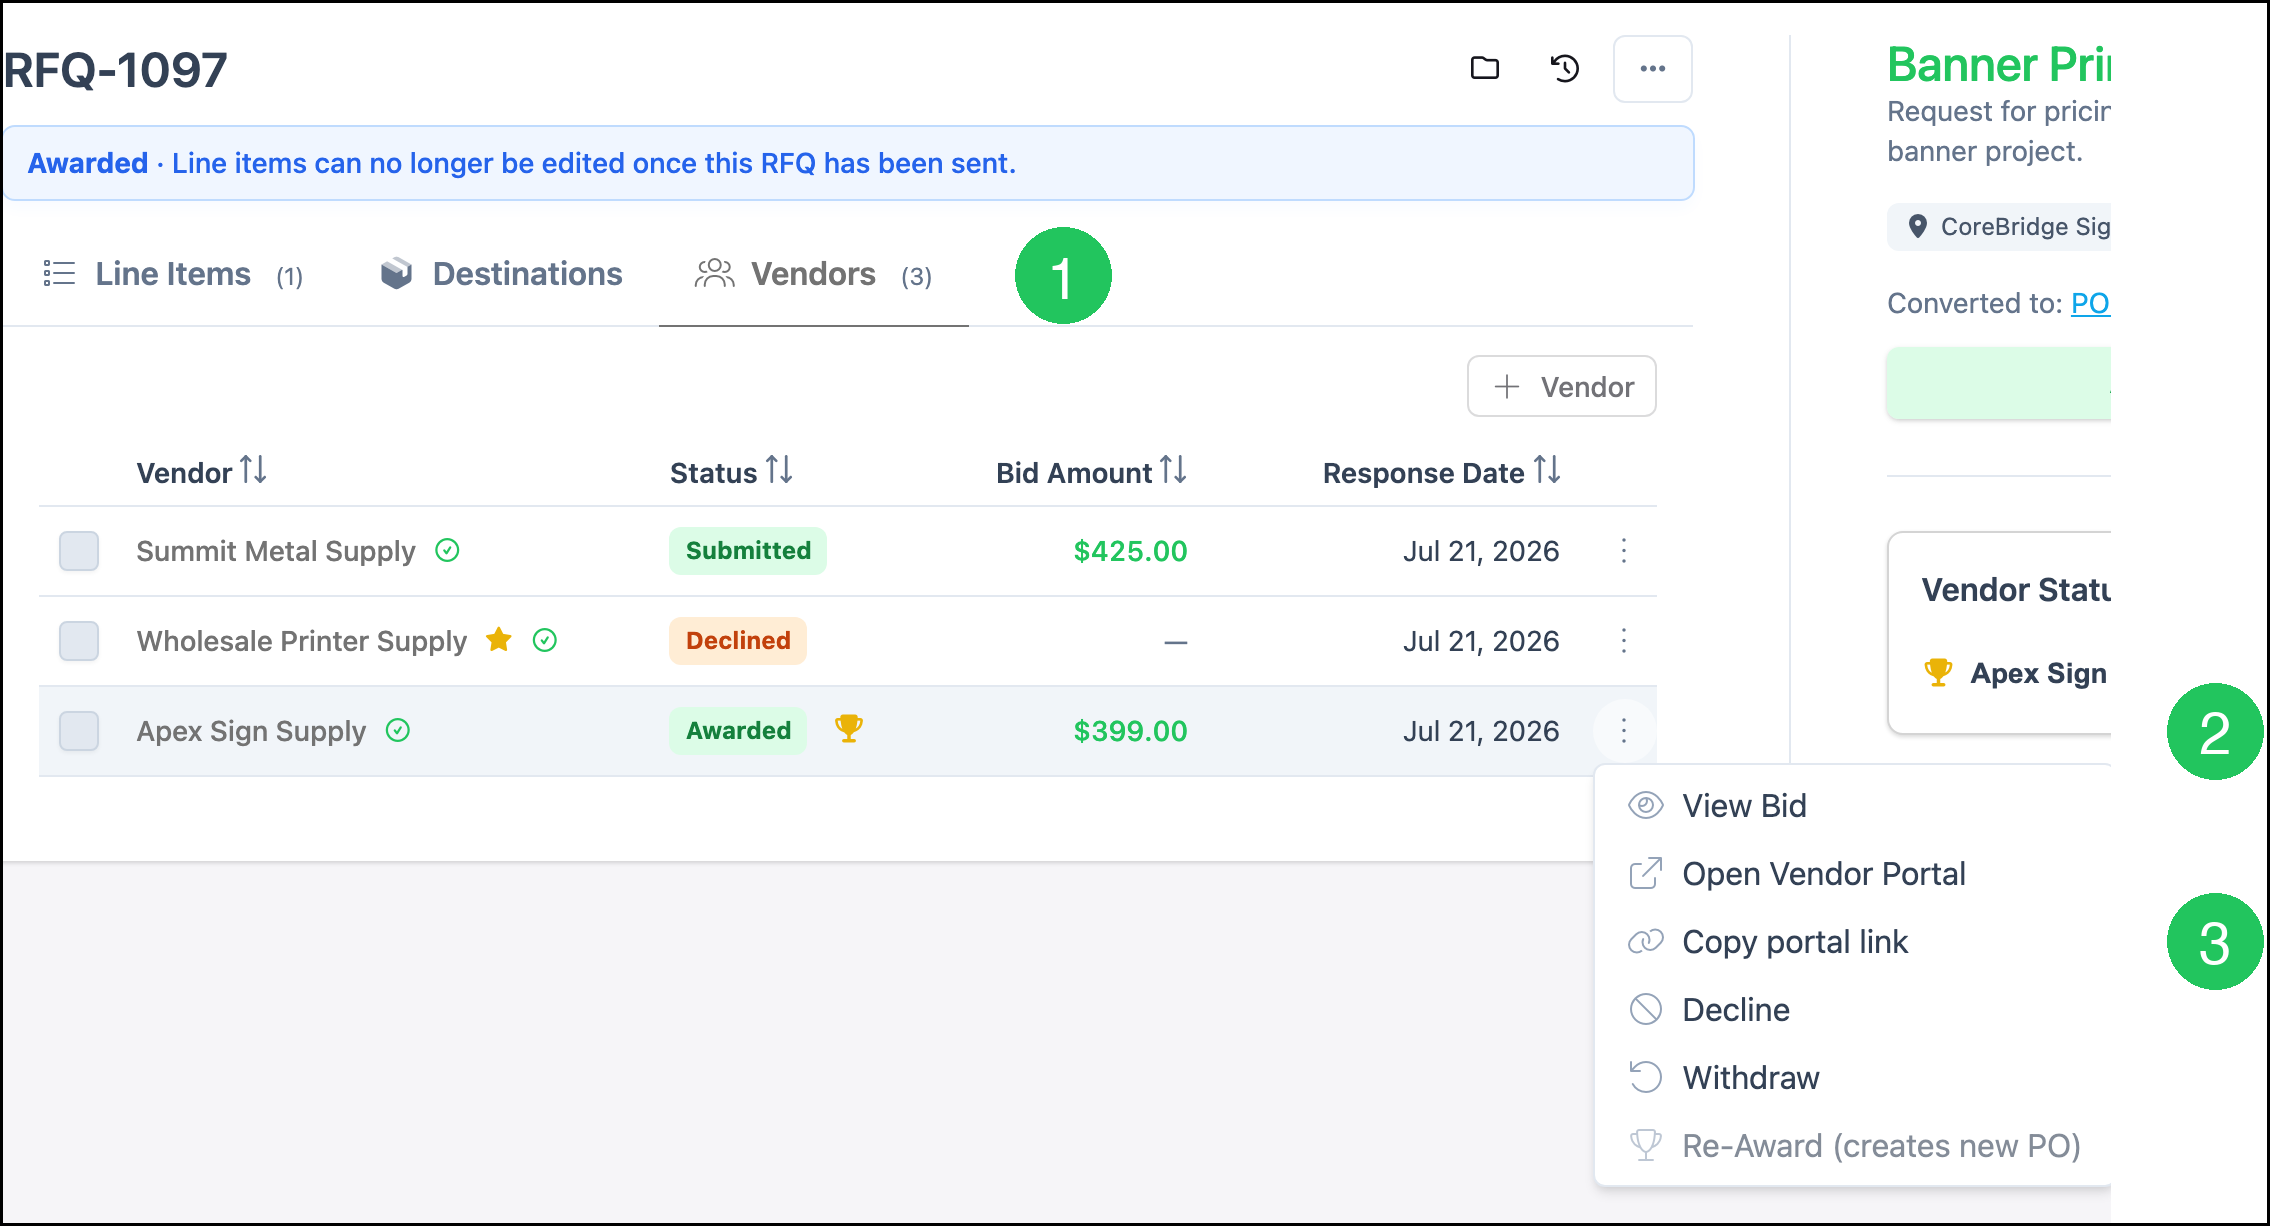
1. Click the Vendors tab.
2. Click More Actions for the vendor.
3. Select Copy portal link.
Note: Select Open Vendor Portal when you want to open the vendor's portal view from CoreBridge.
Frequently Asked Questions
1. Why is Send Upload Link unavailable or missing templates?
Answer: Send Upload Link uses active Vendor templates with Message Template Type Compliance Documents Portal Link. Create that template on the Vendor tab in Email Templates before you send. For more information, see Creating and Editing Email Templates.
2. Can vendors see Internal documents?
Answer: No. Documents marked Internal are only visible within CoreBridge.
3. Which files can vendors see?
Answer: Vendors can see files in the Customer Shared folder. Use that folder when you want to share artwork, specs, or other files on a Purchase Order.
4. How do vendors receive a Request for Quote portal link?
Answer: Copy the link from More Actions on the RFQ Vendors tab, or email it with a Request For Quote Portal Link template that includes the Request For Quote Link merge field.
5. Do vendors need a password to use the portal link?
Answer: No. Vendors open the link you send. They do not sign in with a CoreBridge password for that link.
Related Articles
Creating and Editing Email Templates
Creating Vendors
File Management
Managing Vendors
Purchase Orders
Request for Quote Overview
Using Email Templates