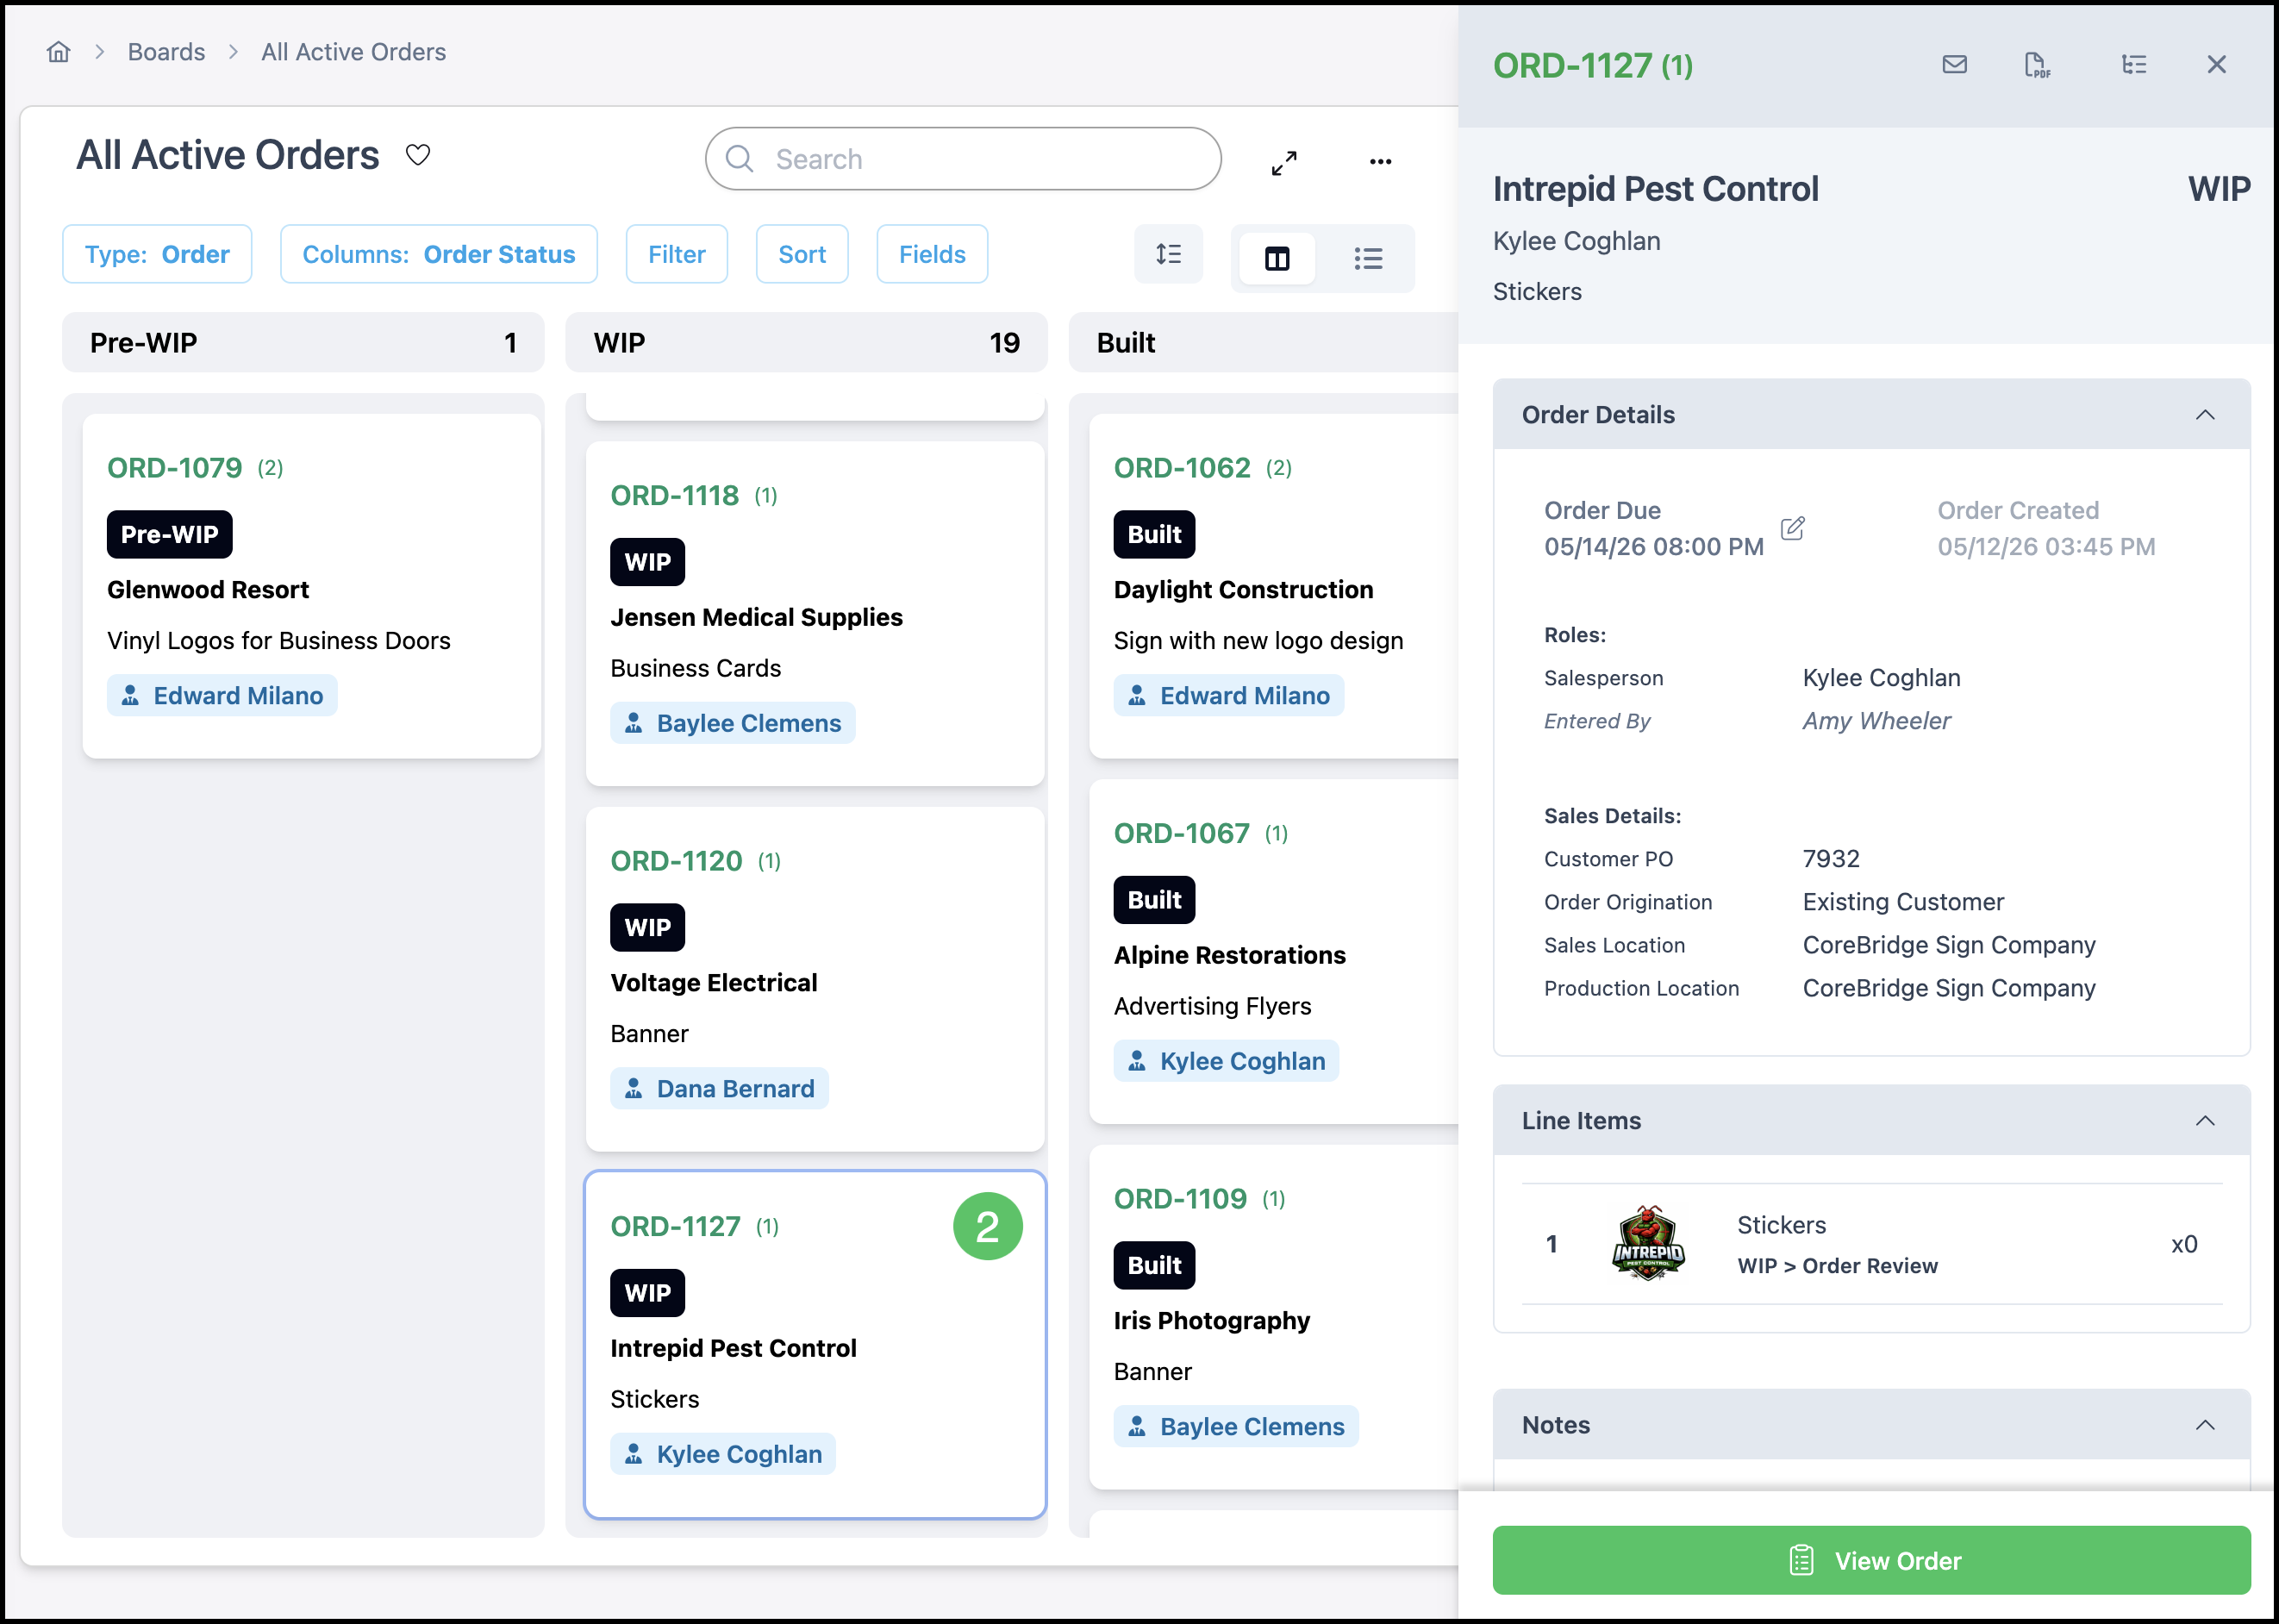
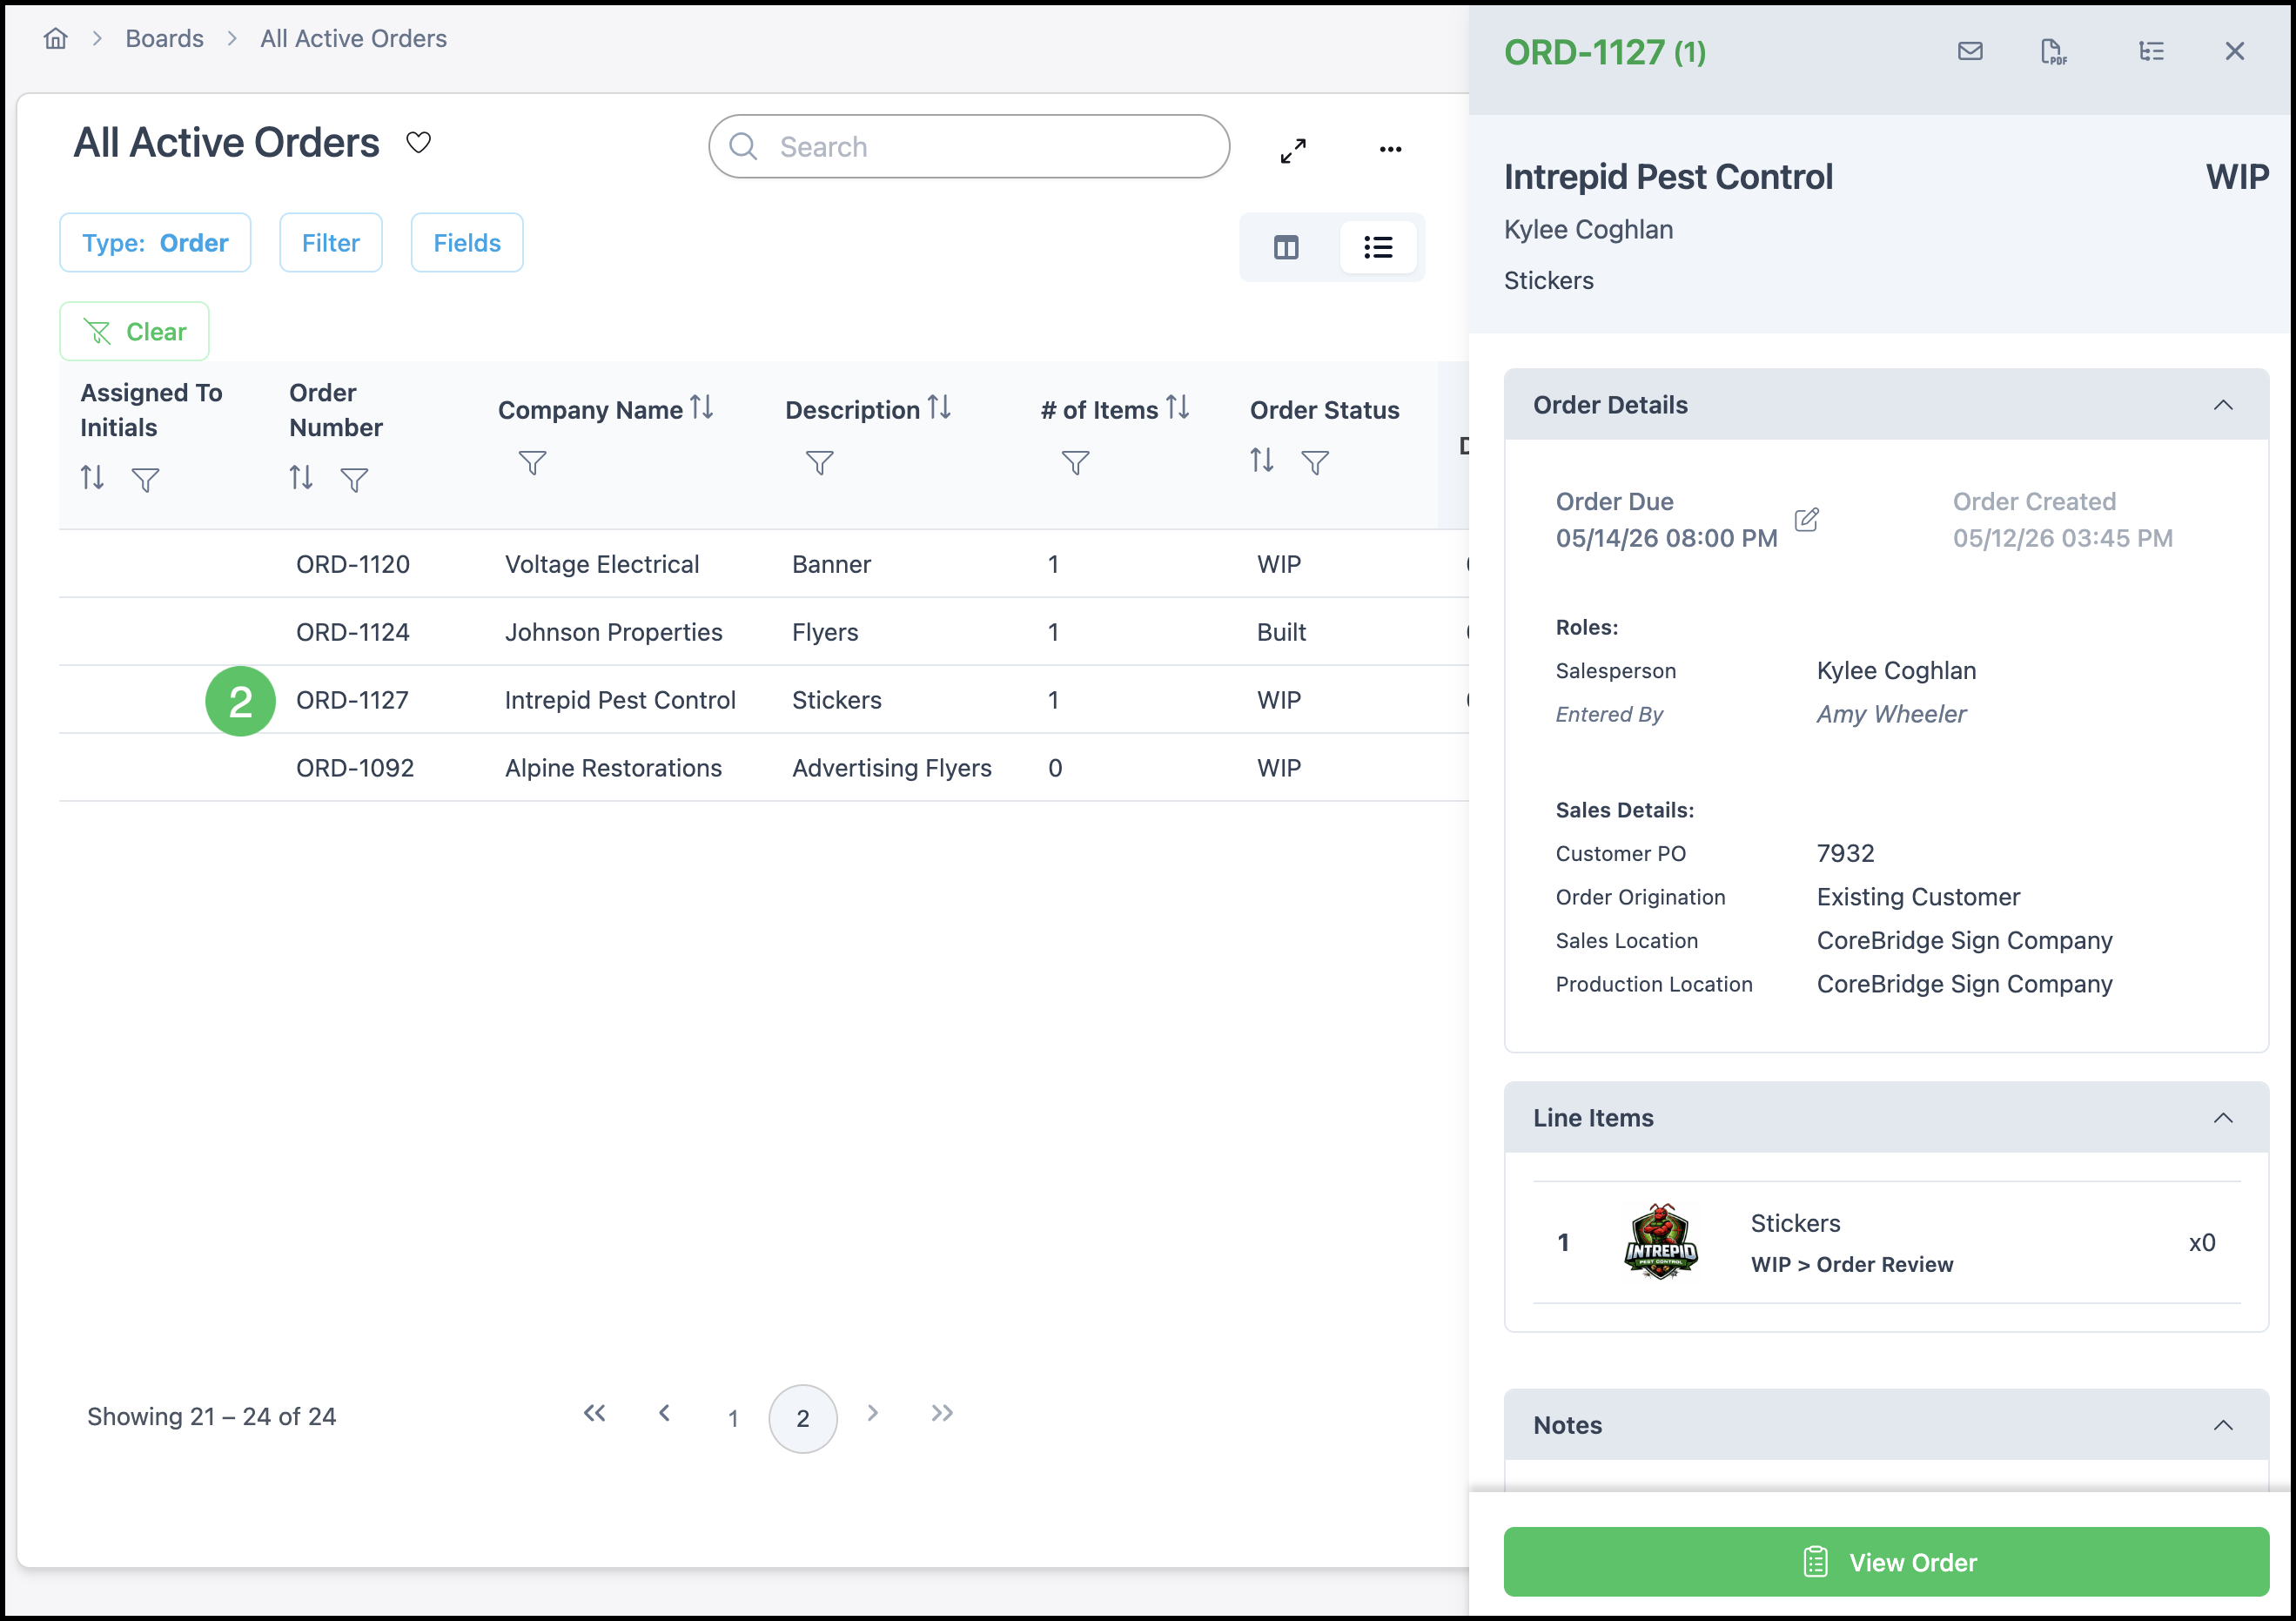
The Board Side Panel shows the estimate, order, or line item selected on a Board. The panel stays on the right side of the workspace and includes the record details and the dialogs used to update them.
For more information on Boards, please see Boards Overview.
Table of Contents
- Opening the Board Side Panel
- Understanding Estimate and Order Board Side Panels
- Understanding Item Level Board Side Panels
- Related Articles
Opening the Board Side Panel
Navigate to the Boards module.
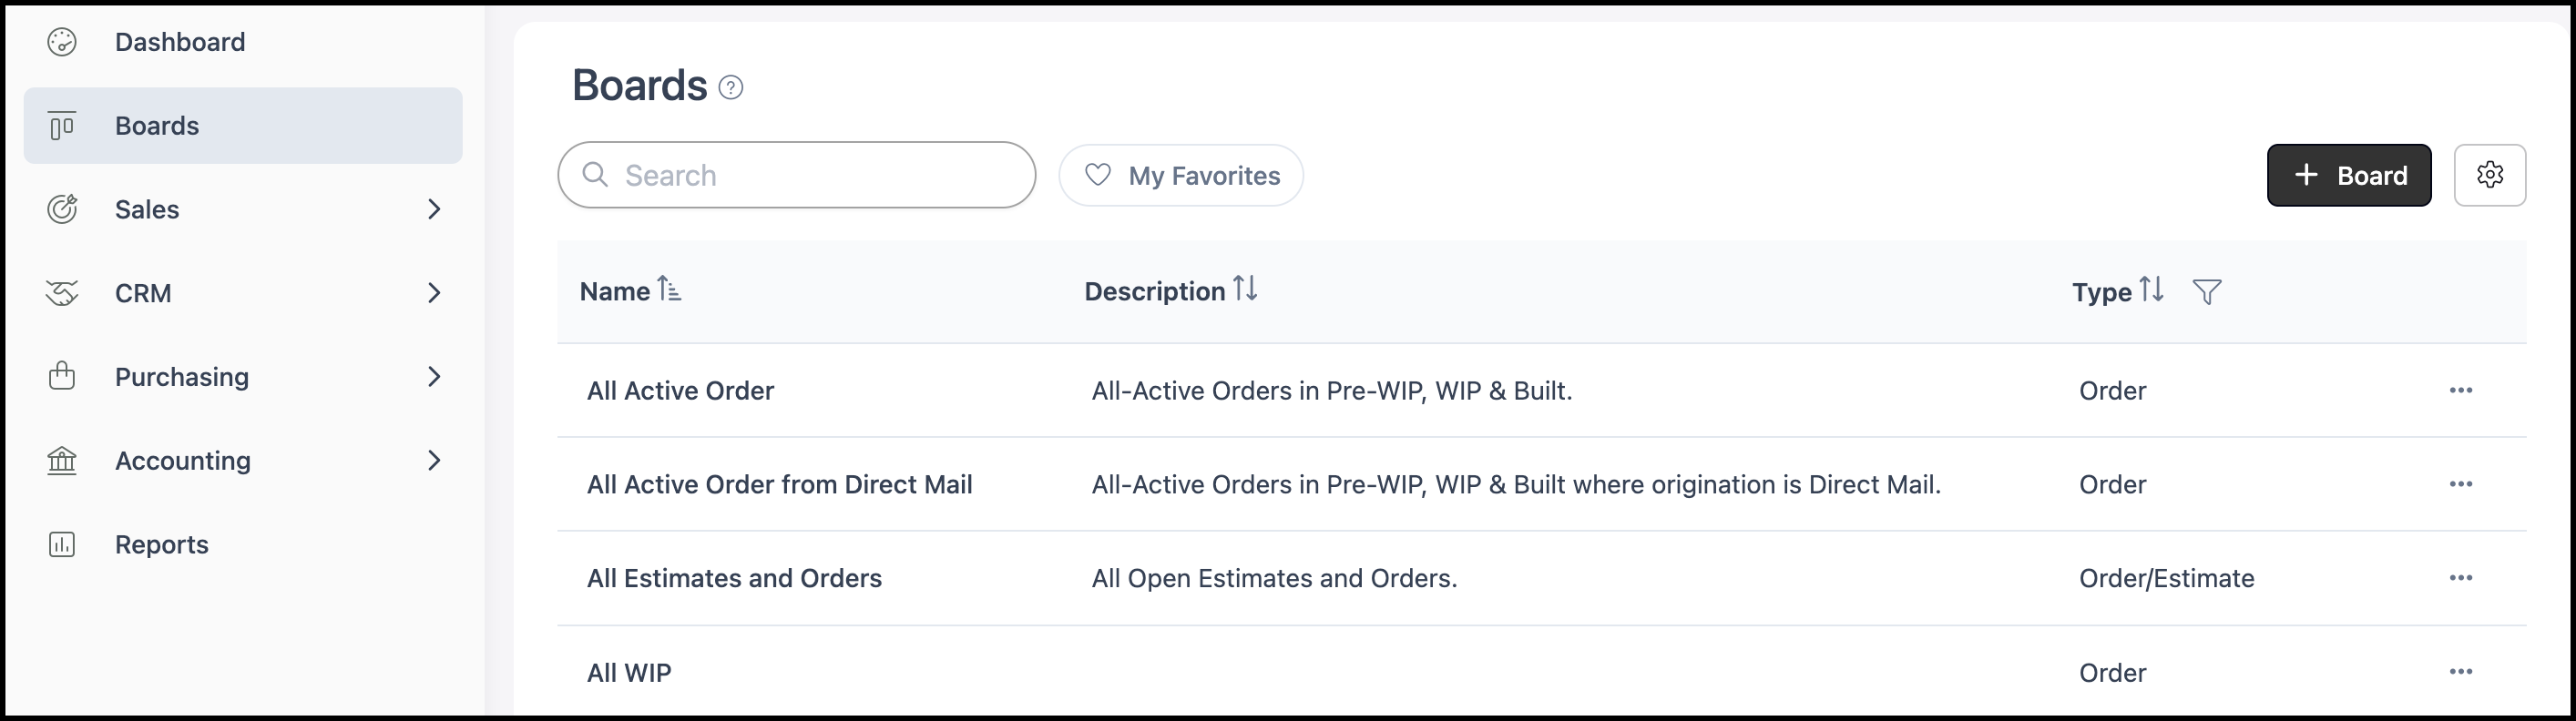
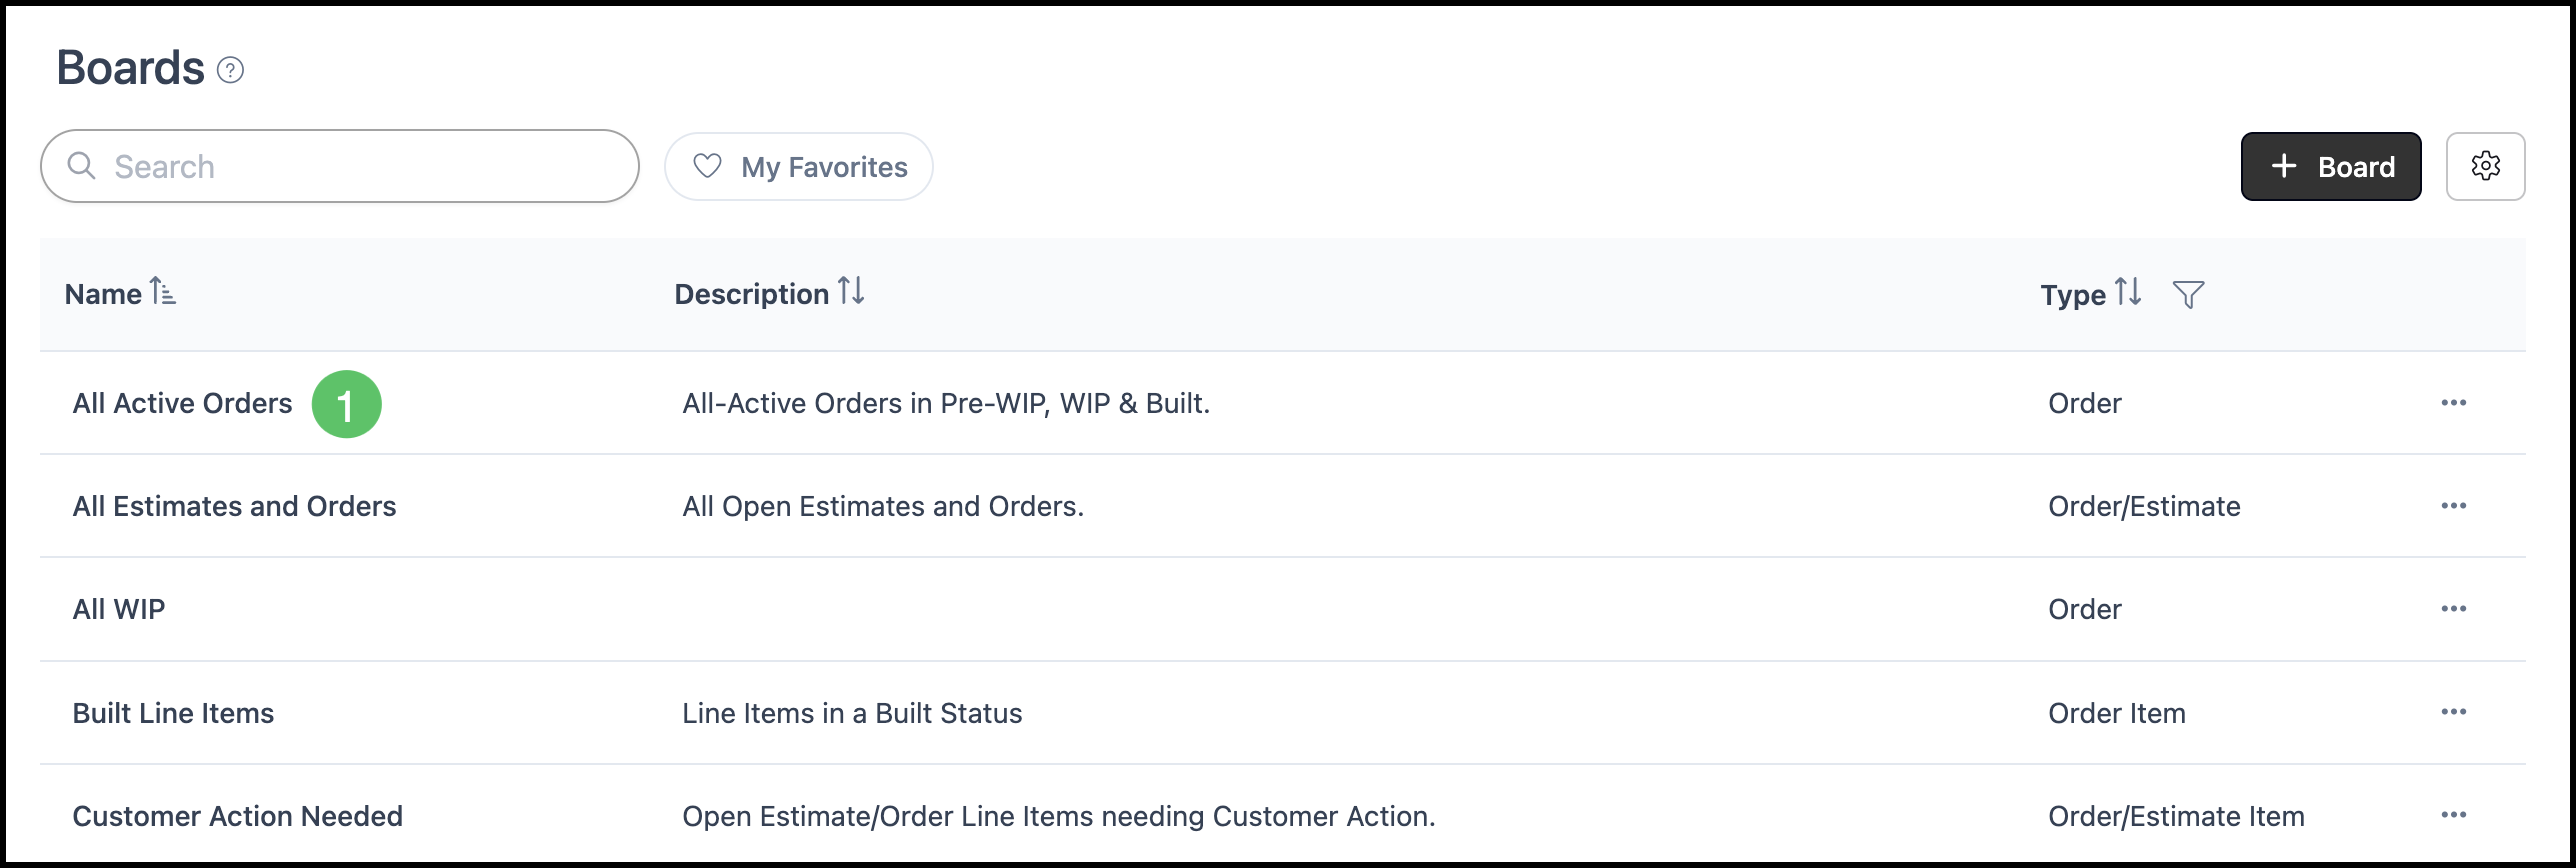
1. Select the Board you would like to work within.
2. Select an item from either the Card or List views.
Note: The details panel opens on the right side of the workspace.
Card view:
List view:
Understanding Estimate and Order Board Side Panels
When the board type is Estimate or Order, the panel summarizes the record you selected. What you see can vary by board configuration and permissions, but typically includes the following. The sections below use an Order as the example.
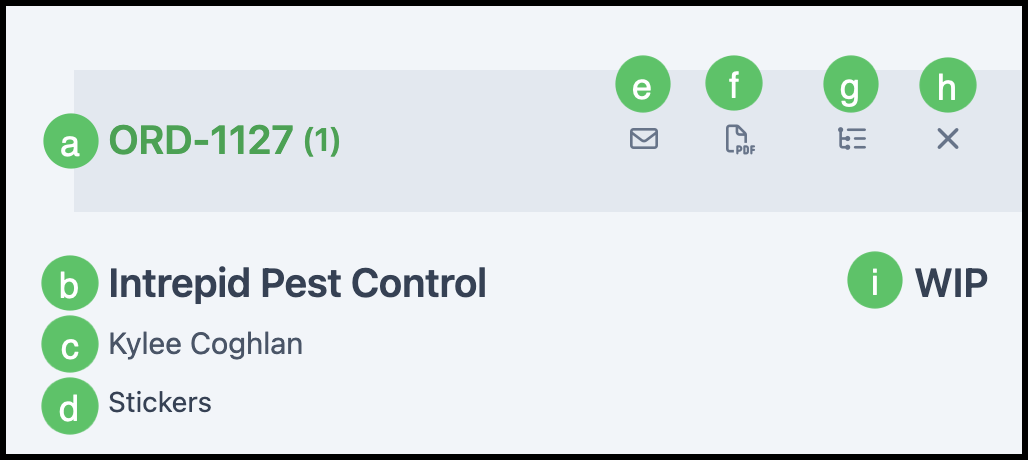
Order Heading
a. The record number links directly to the Order.
Note: Opening the link displays the full Order in a new tab.
b. Displays the Customer name.
c. Displays the Contact name.
d. Displays the primary job name.
e. The Email icon opens a dialog for sending an email.
f. The PDF icon opens a menu for documents.
g. The Bill of Materials icon opens a dialog for viewing the Bill of Materials.
h. The X closes the Board Side Panel.
i. Displays the current Order Status.
Order Details
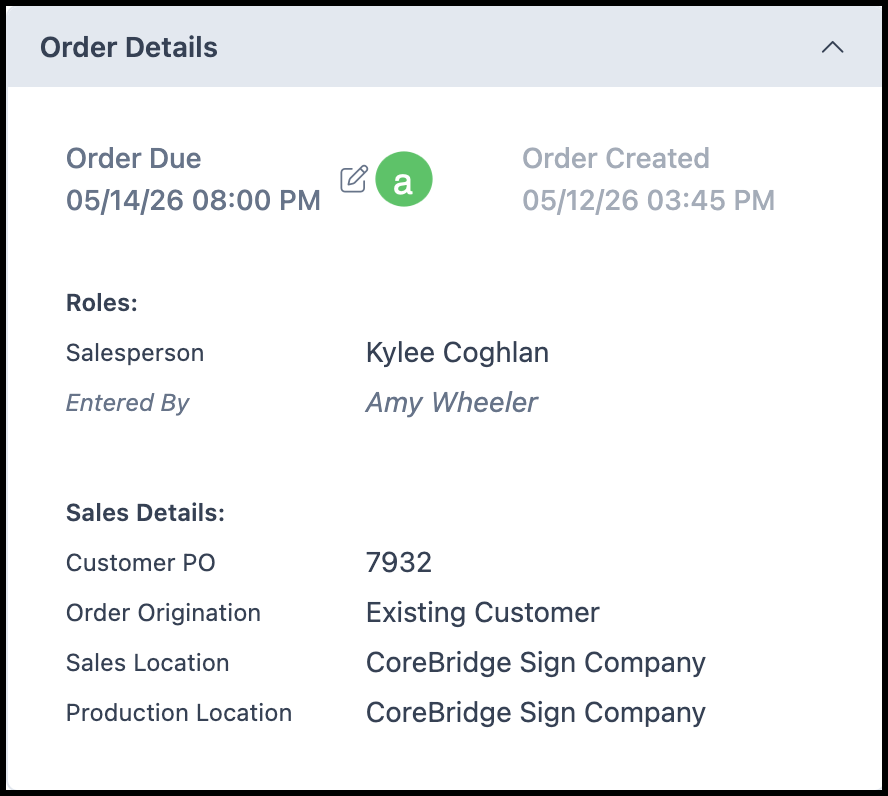
Order Details displays information about the Order including Order Due and Order Created dates, Roles, and Sales Details. The items displayed here are dependent on the information entered during Order creation.
a. The Edit icon opens a dialog for editing the Line Item and Destination Due dates.
Note: Roles and Sales Details have edit icons that appear on hover.
Line Items
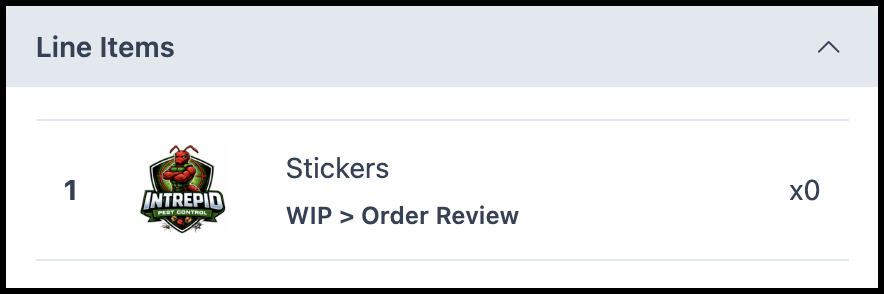
View all Line Items in an Order and their respective Item Status.
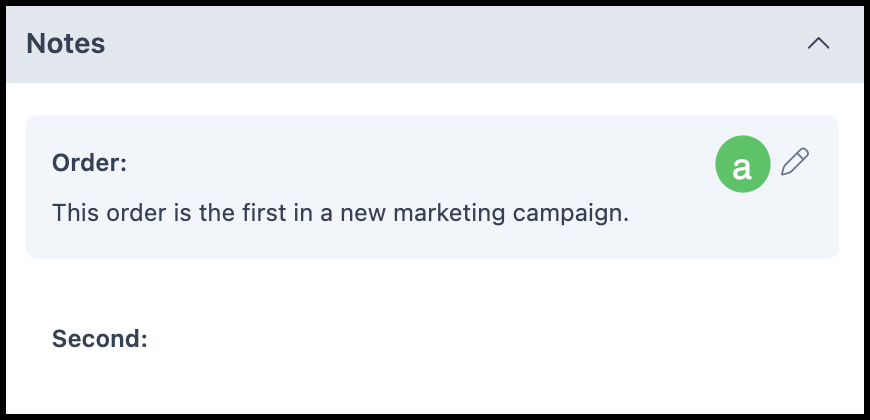
Notes
Notes can be added to the Order directly from the Board Side Panel.
a. The Edit icon appears on hover and allows you to add or edit Notes.
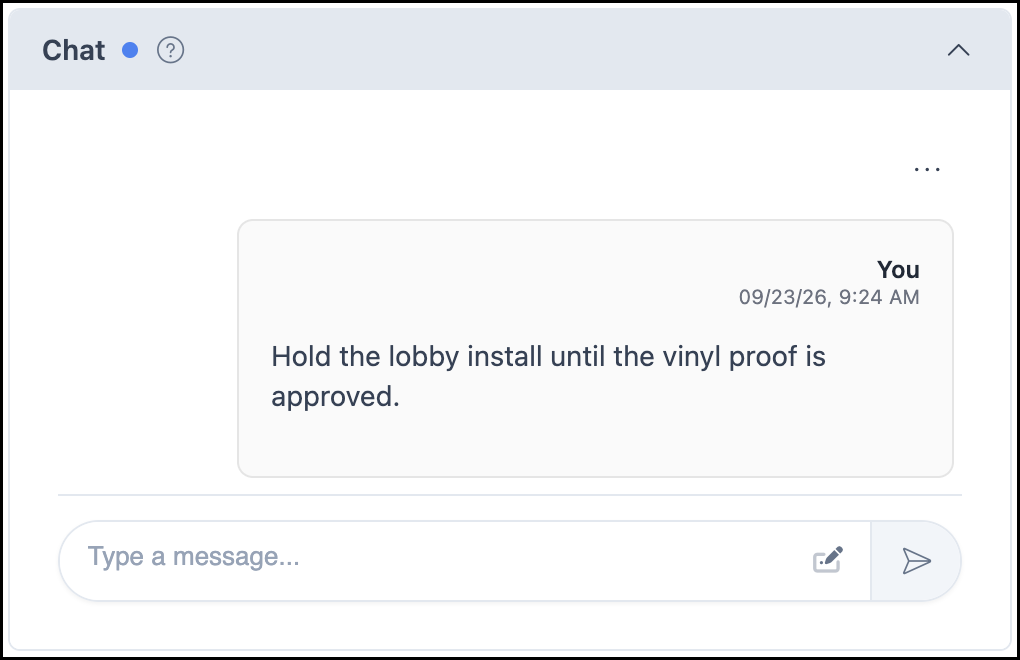
Chat
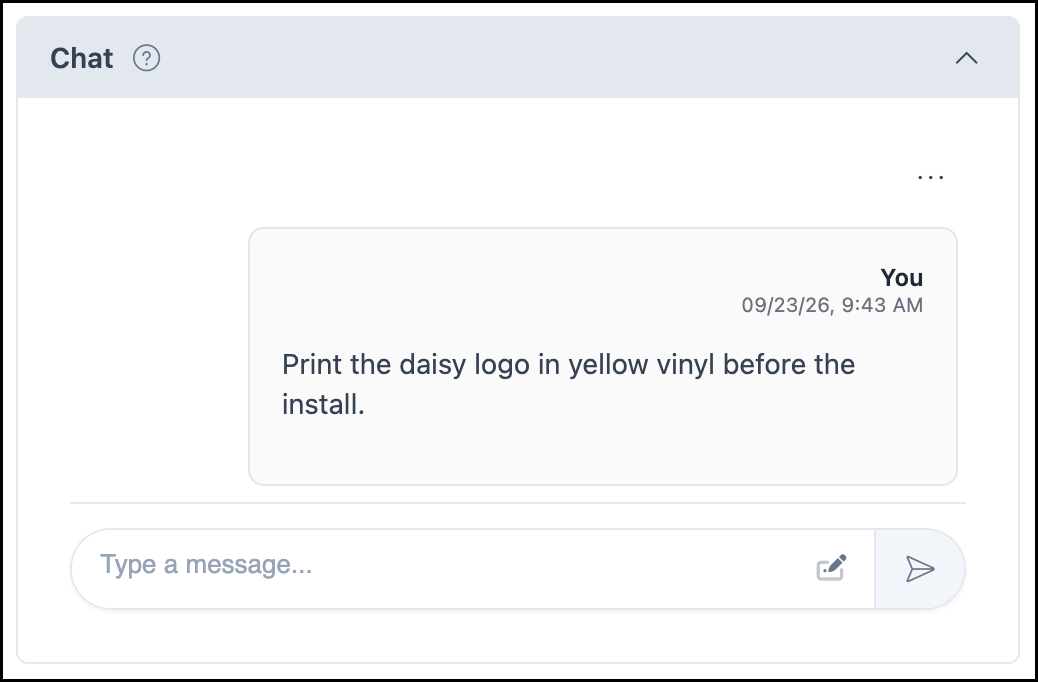
Chat messages added in the Board Side Panel and on the Order stay in sync with each other and are viewed internally.
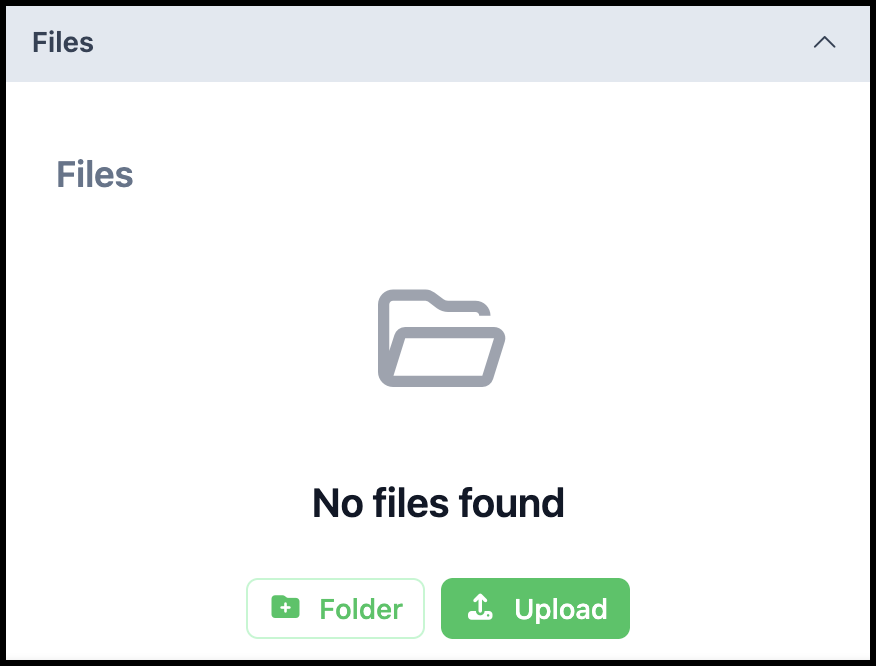
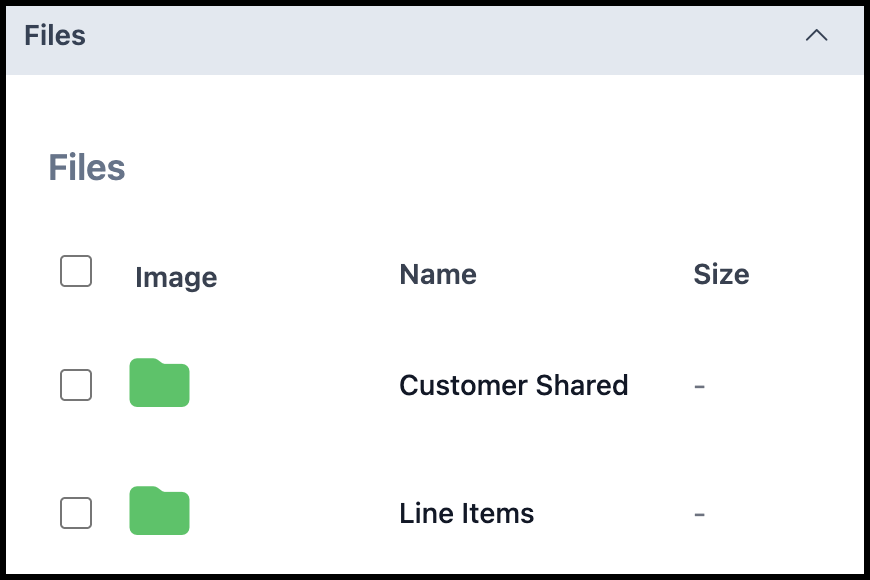
Files
Any Files uploaded to the Order will be displayed here.
View Order
At the bottom of the Side Panel is a View Order icon that takes you to the full Order opened in a new tab.

Understanding Item Level Board Side Panels
In an Item Level Board, the Side Panel displays details specific to the selected Line Item. Selecting certain fields opens a dialog where you can make edits.
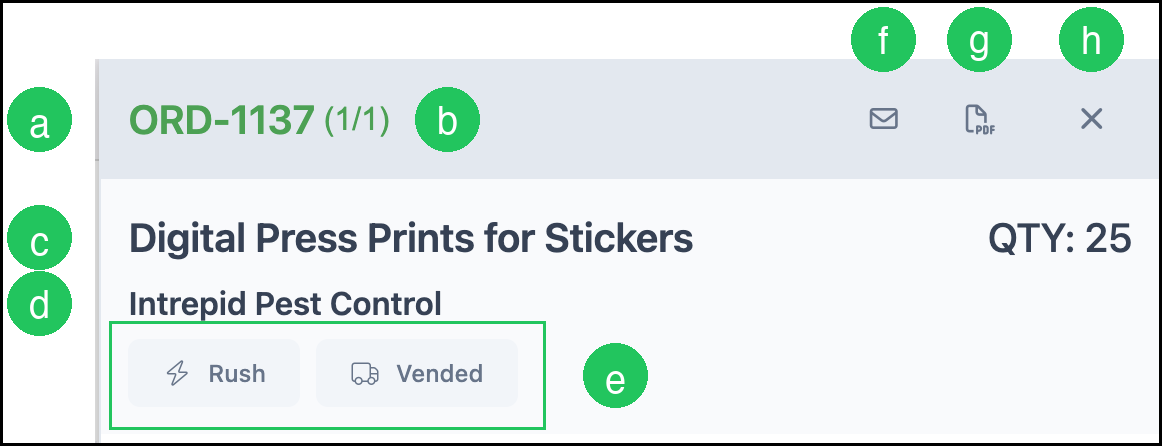
Line Item Heading
a. The record number links directly to the Order.
Note: Opening the link displays the full Order in a new tab.
b. The count, such as (1/1), opens Digital Work Order.
c. Displays the line item name and quantity.
d. Displays the Customer name.
e. Rush and Vended flag the line item.
f. The Email icon opens a dialog for sending an email.
g. The PDF icon opens a menu for documents.
h. The X closes the Board Side Panel.
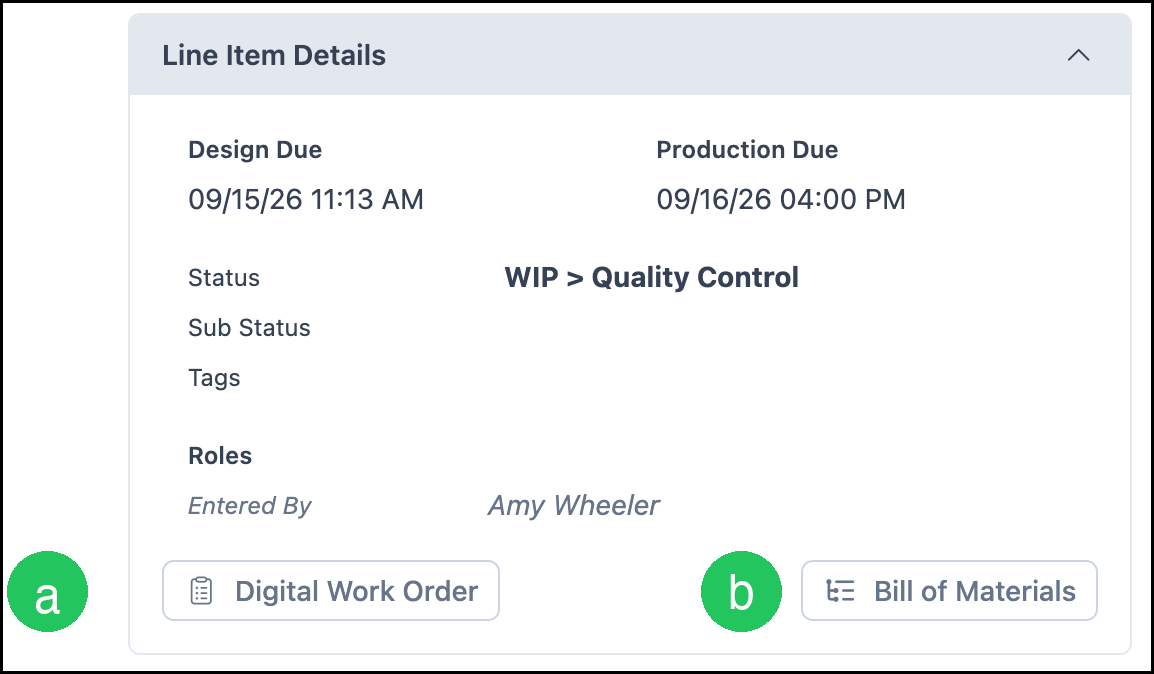
Line Item Details
Line Item Details shows due dates, Status, Sub Status, Tags, and Roles. The information displayed is based on the details entered during Estimate or Order creation. Changes made here must be saved within the dialog before closing.
Note: Edit icons for Status, Tags, and Roles appear when hovering over the field.
a. Digital Work Order opens the component dialog.
b. Bill of Materials opens the Bill of Materials dialog.
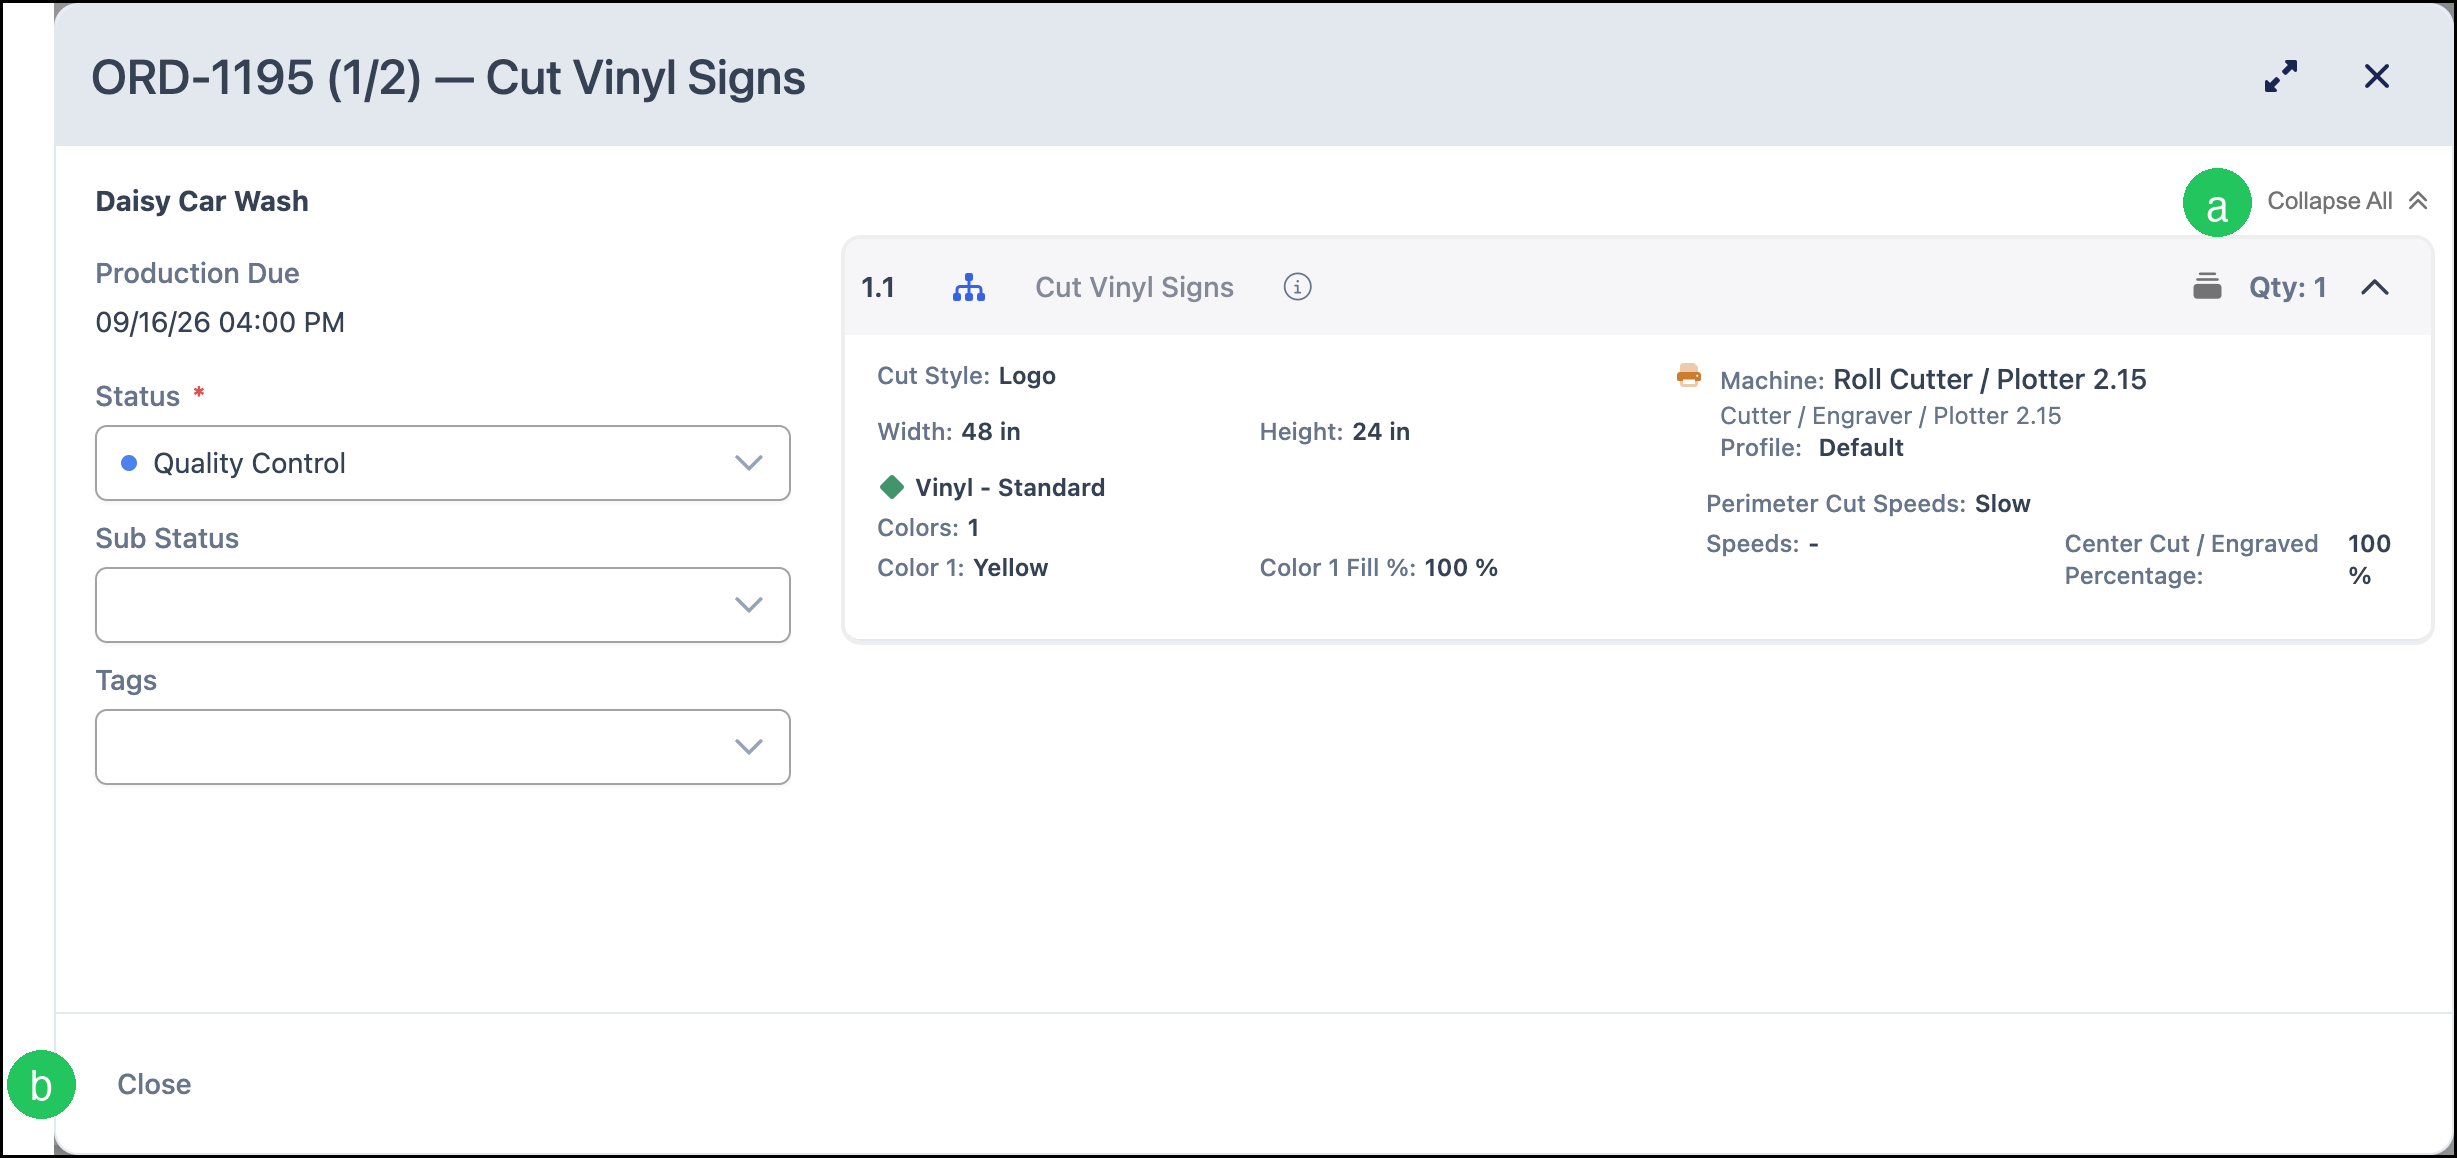
Digital Work Order
Digital Work Order shows the components on the line item, including quantity, size, material, and color when those values are part of the item, plus machine or cut settings when the item has them. Open it from the count in the Line Item Heading or from Digital Work Order in Line Item Details.
a. Collapse All closes every component section.
b. Close closes the dialog.
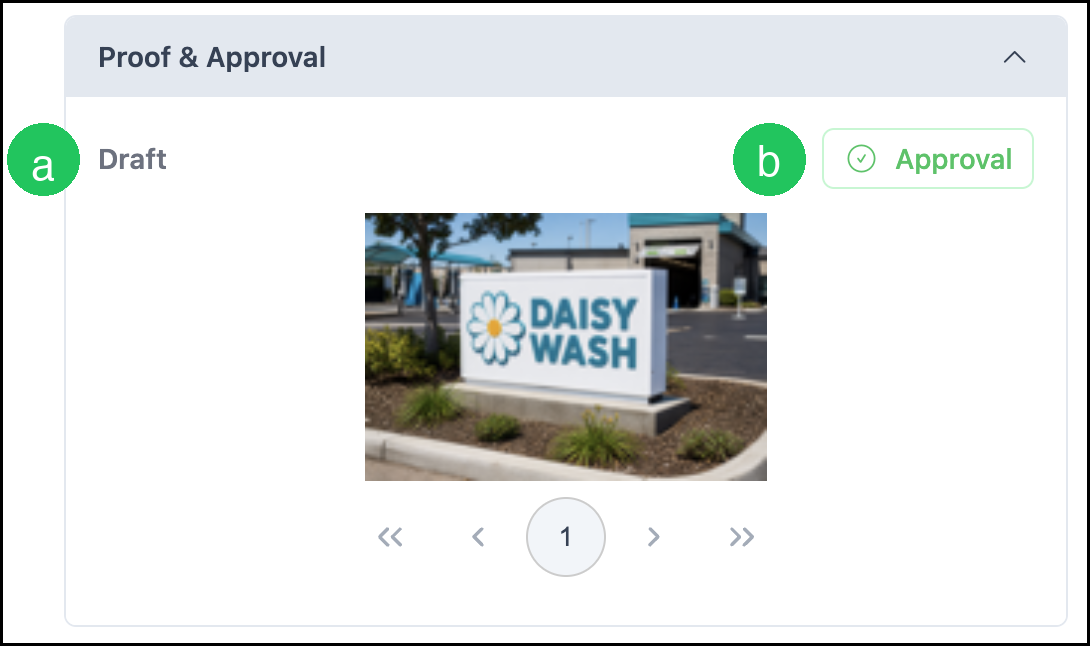
Proof & Approval
Proof & Approval shows the proofs for this line item.
a. The status, such as Draft, shows the current proof status.
b. Approval opens approval for the proof shown.
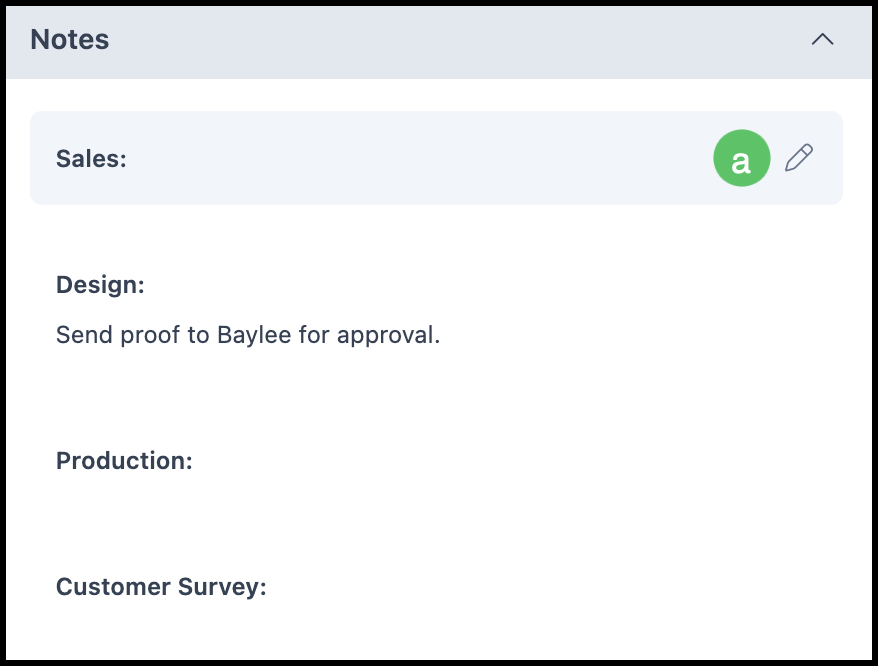
Notes
Notes added here and within the Line Item notes on the Estimate or Order stay in sync with each other.
a. The Edit icon appears on hover and allows you to add or edit notes for each note subheading.
Chat
Chat messages added in the Board Side Panel and on the line item stay in sync with each other and are viewed internally.
Files
Any Files pertinent to the Line Item can be uploaded and displayed here.