
Custom Fields let you capture information that is unique to your business. This article walks through two examples: a Toggle named Rewards Member on a Company, and a Dropdown named Best Time to Call on a Contact. For each example you will add the field in System Settings, then see how it appears in Preview Mode.
Table of Contents
- Before You Begin
- Important Information
- Rewards Member on a Company
- Best Time to Call on a Contact
- Frequently Asked Questions
- Related Articles
Before You Begin
Custom Fields must be included in your plan. If you do not see Custom Fields under System Settings / Components, contact Support to have it added.
For other record types and layout tools, see Custom Fields.
Note: Designing layouts requires access to System Settings. For more information, see Employee Roles and Permissions in Settings.
Important Information
Keep these rules in mind as you add the examples:
- Each Field Name must be unique for that record type.
- After you save a field, you cannot change its data type or Field Name.
- Preview Mode shows how the field appears when you complete the matching record.
- If your system already includes Rewards Member or Best Time to Call, open those fields instead of creating duplicates.
Rewards Member on a Company
A Toggle is a good fit when the value is yes or no. Rewards Member tracks whether a Company is in your rewards program.
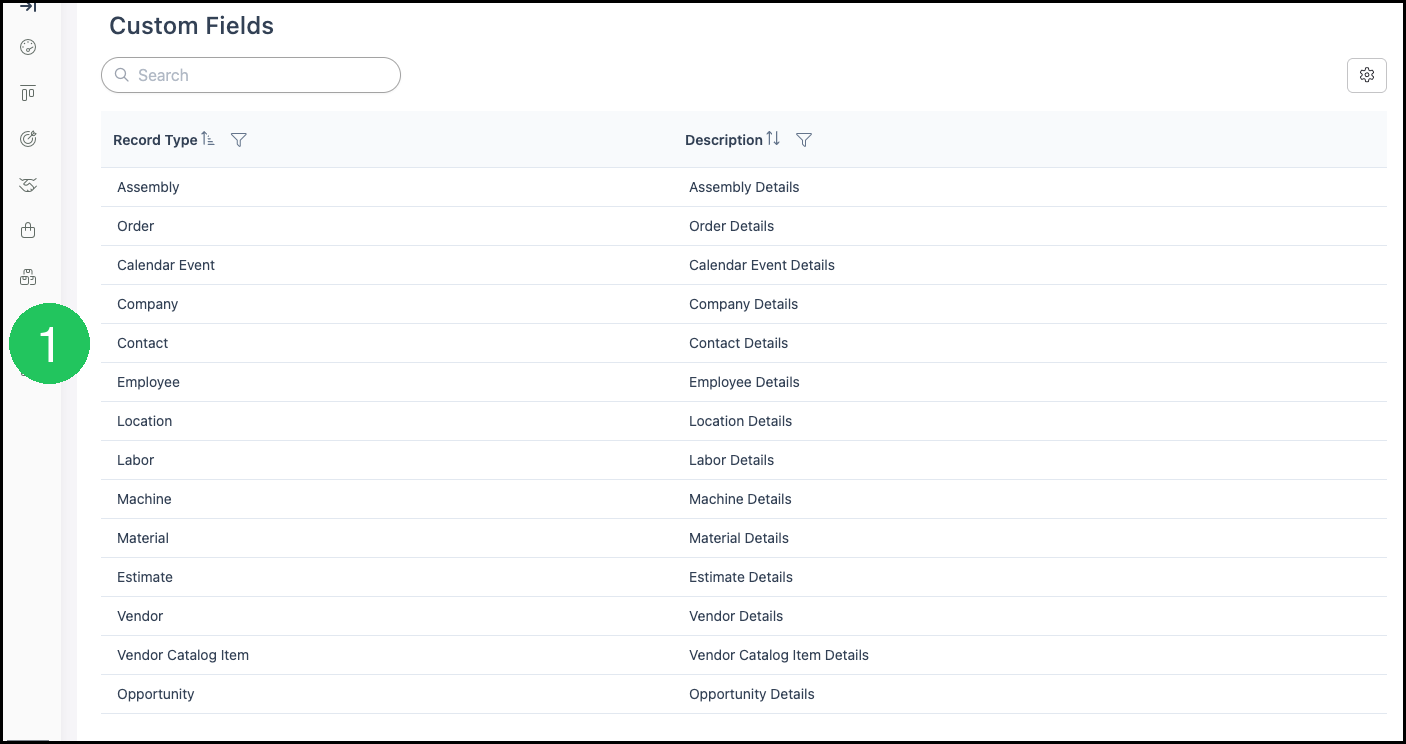
Navigate to System Settings / Components / Custom Fields.
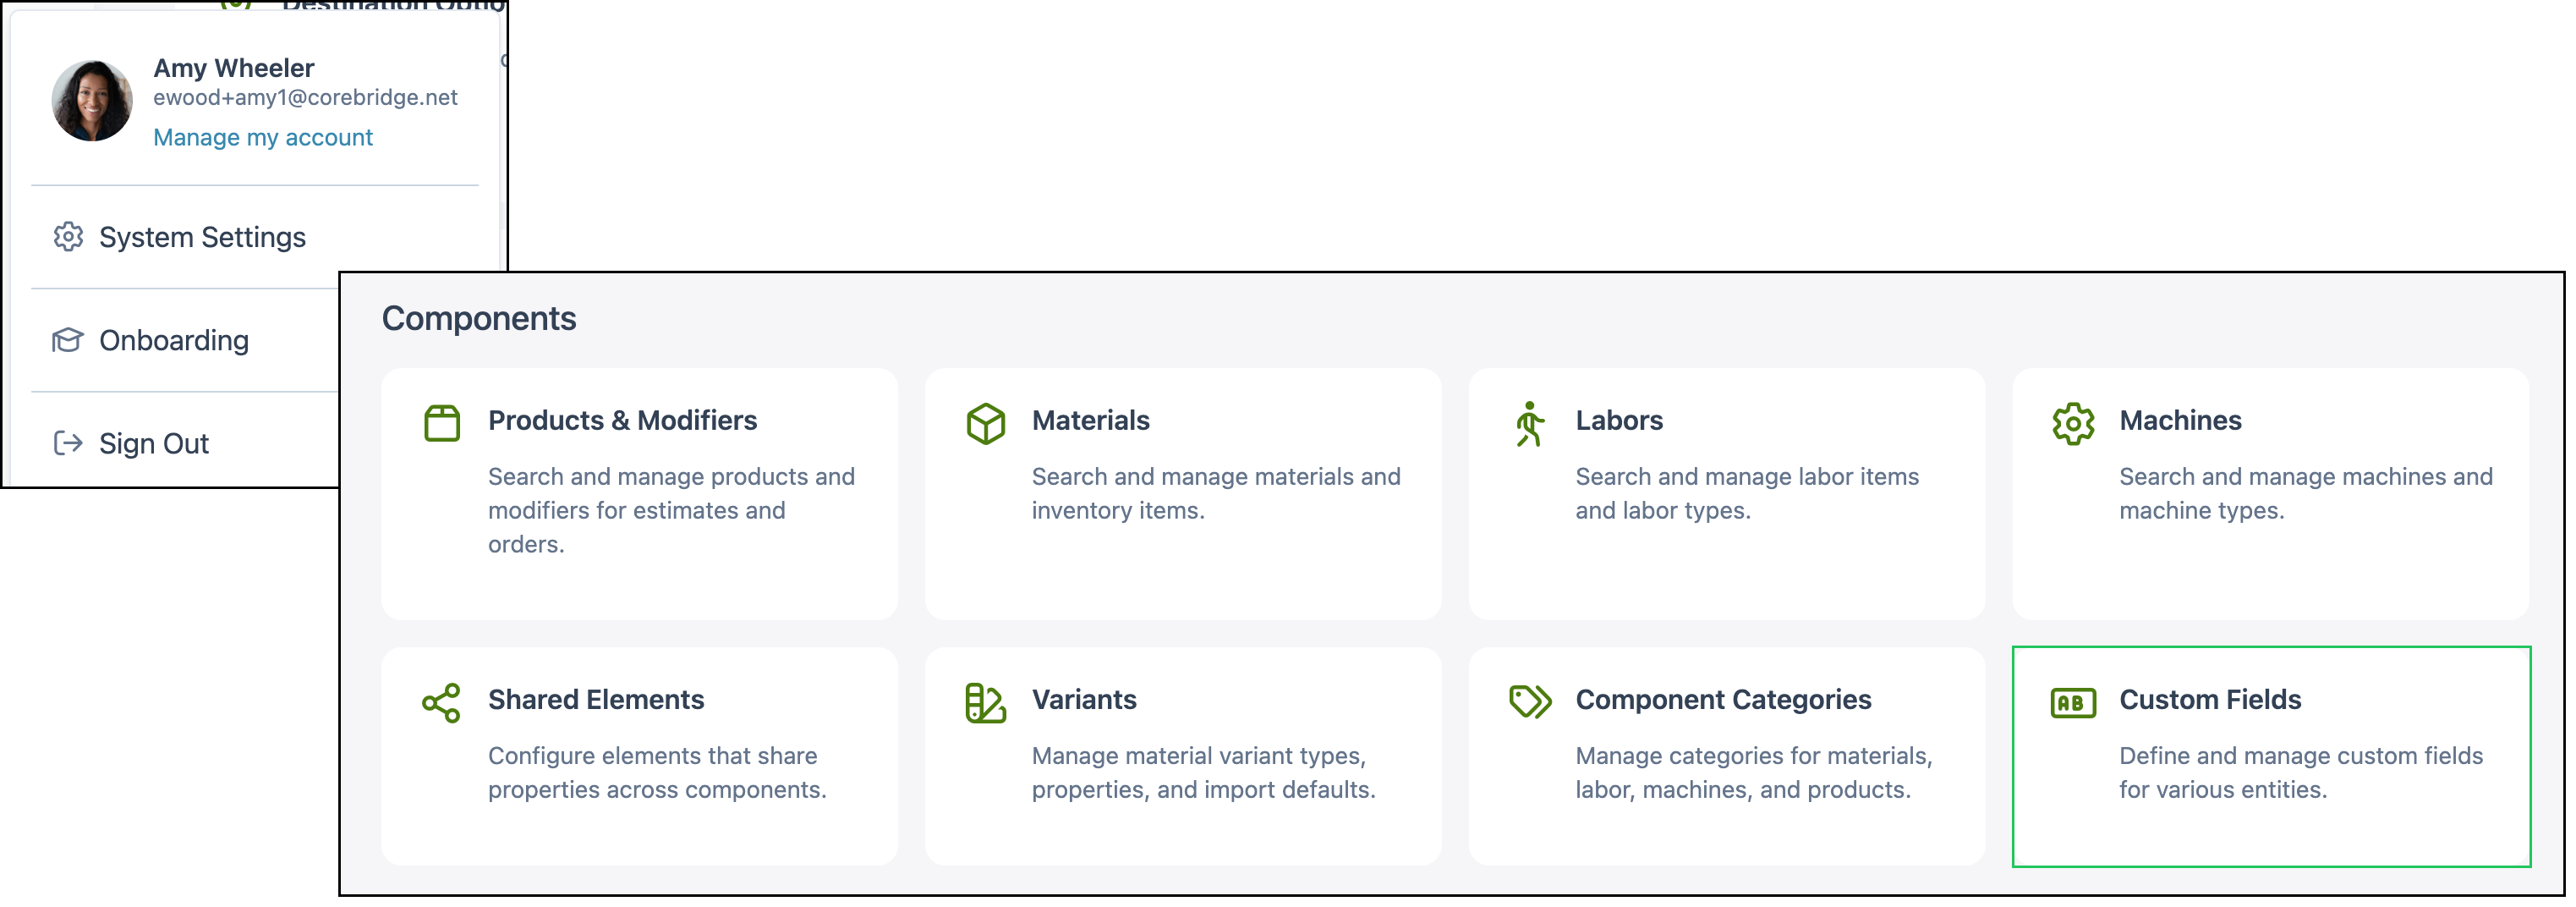
1. Click Company.
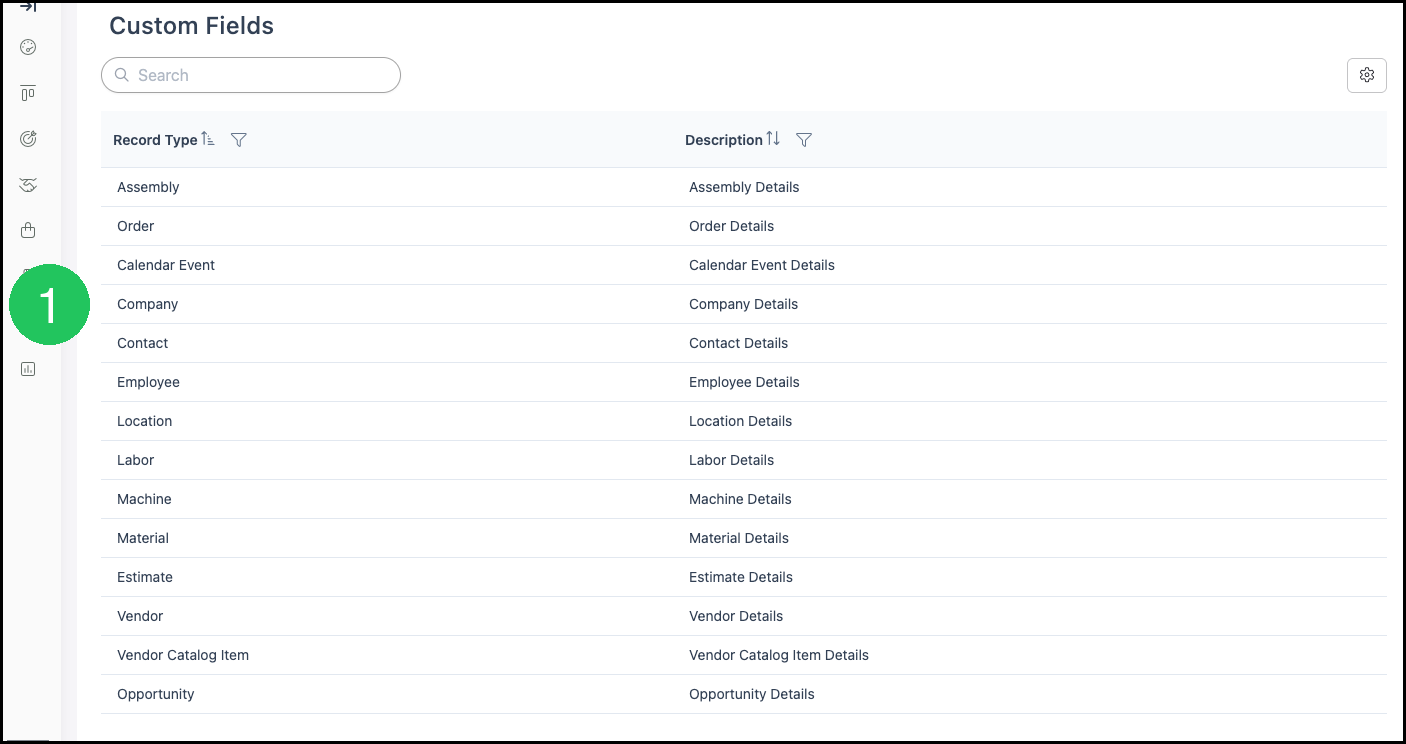
2. Drag Toggle from Fields onto the layout.
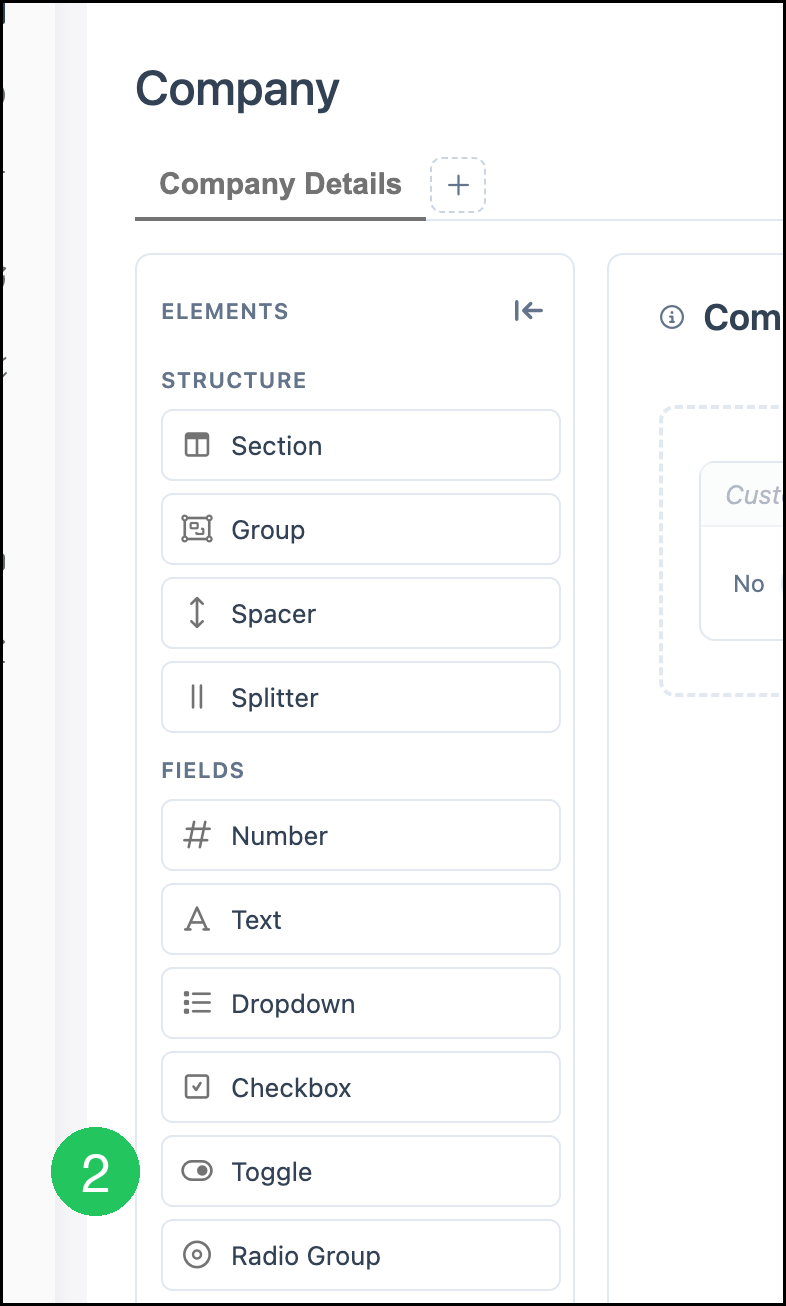
3. Complete Element Properties.
a. The field type is Toggle.
b. Label is Rewards Member. This is the name shown on the record.
c. Field Name is RewardsMember. After the field is saved, Field Name cannot be edited.
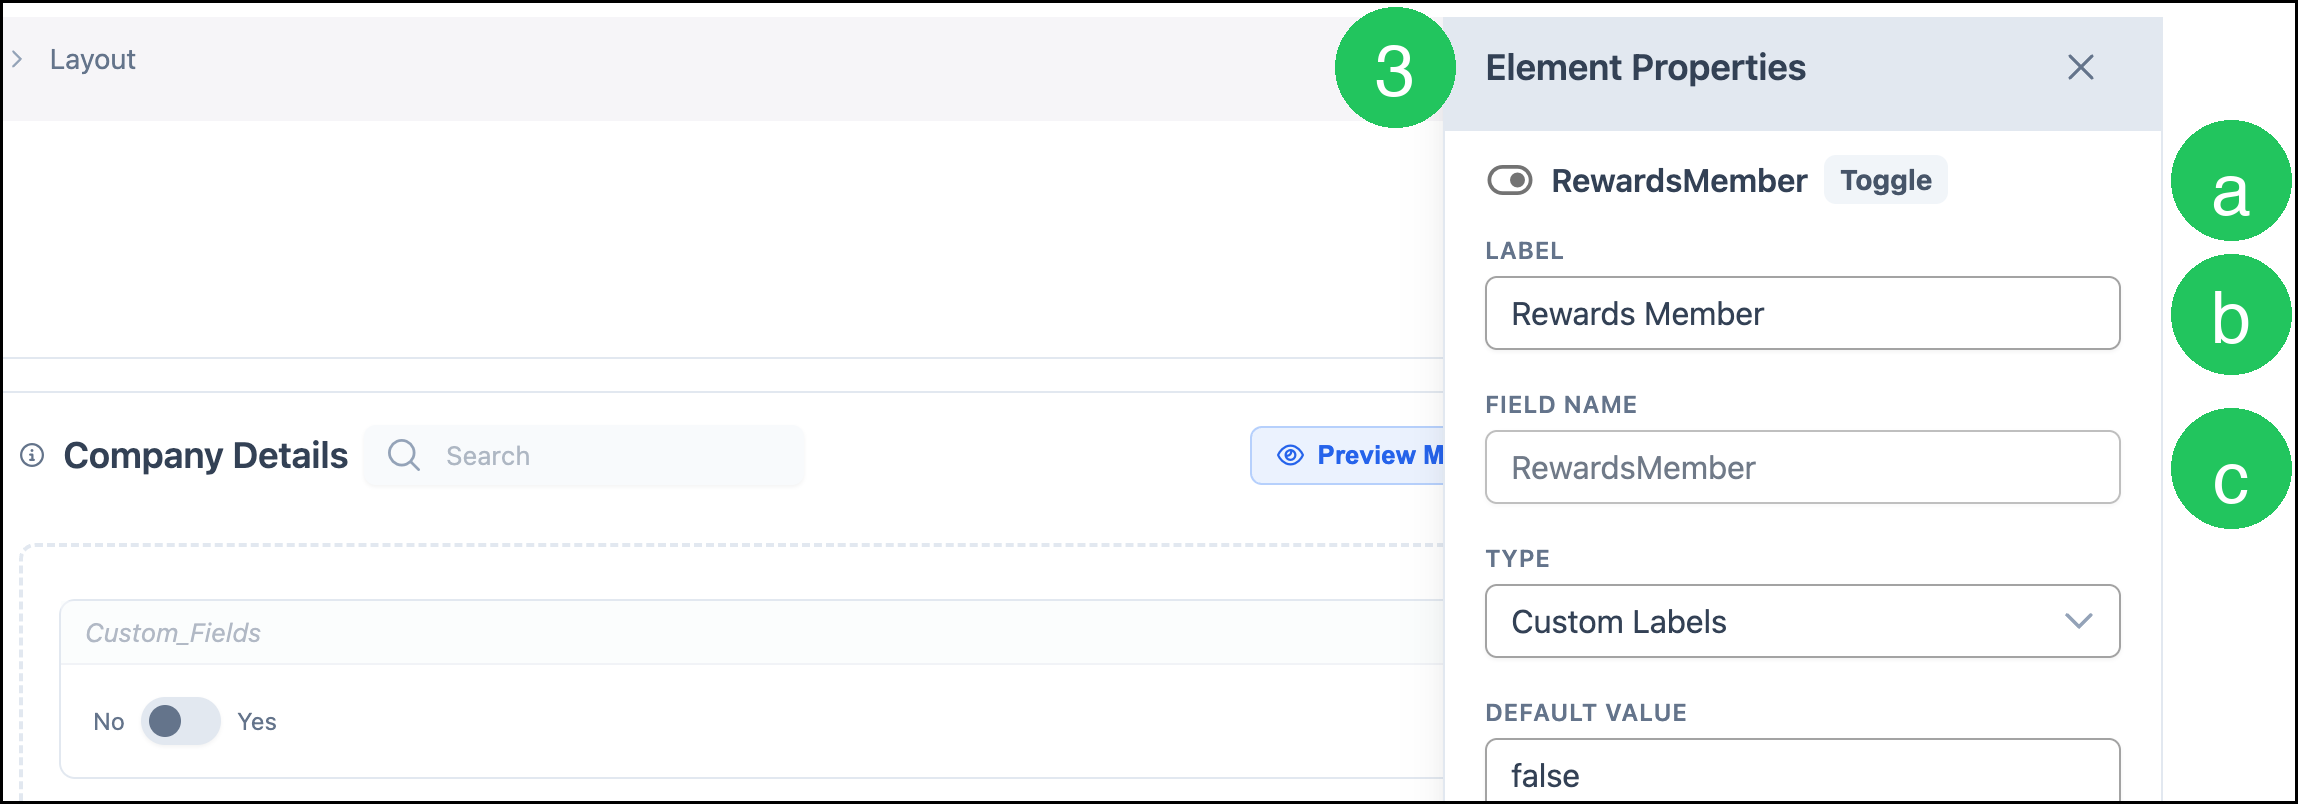
4. Click Save.
Note: Click Discard to cancel unsaved layout changes.
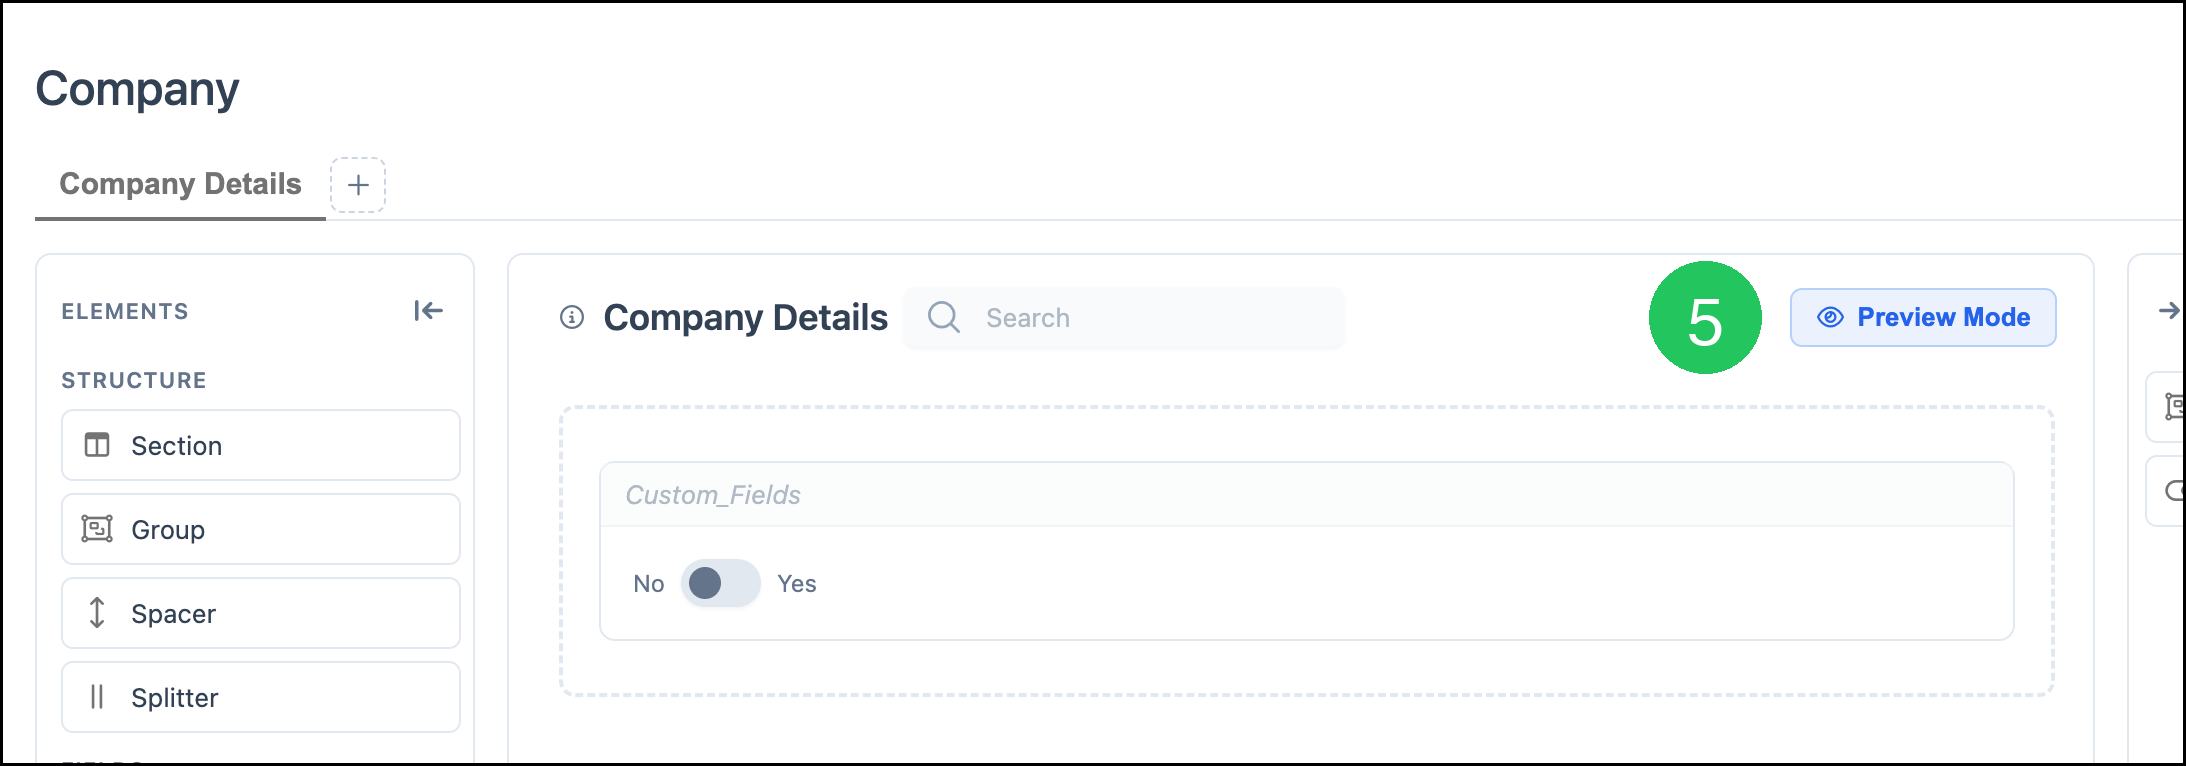
5. Click Preview Mode.
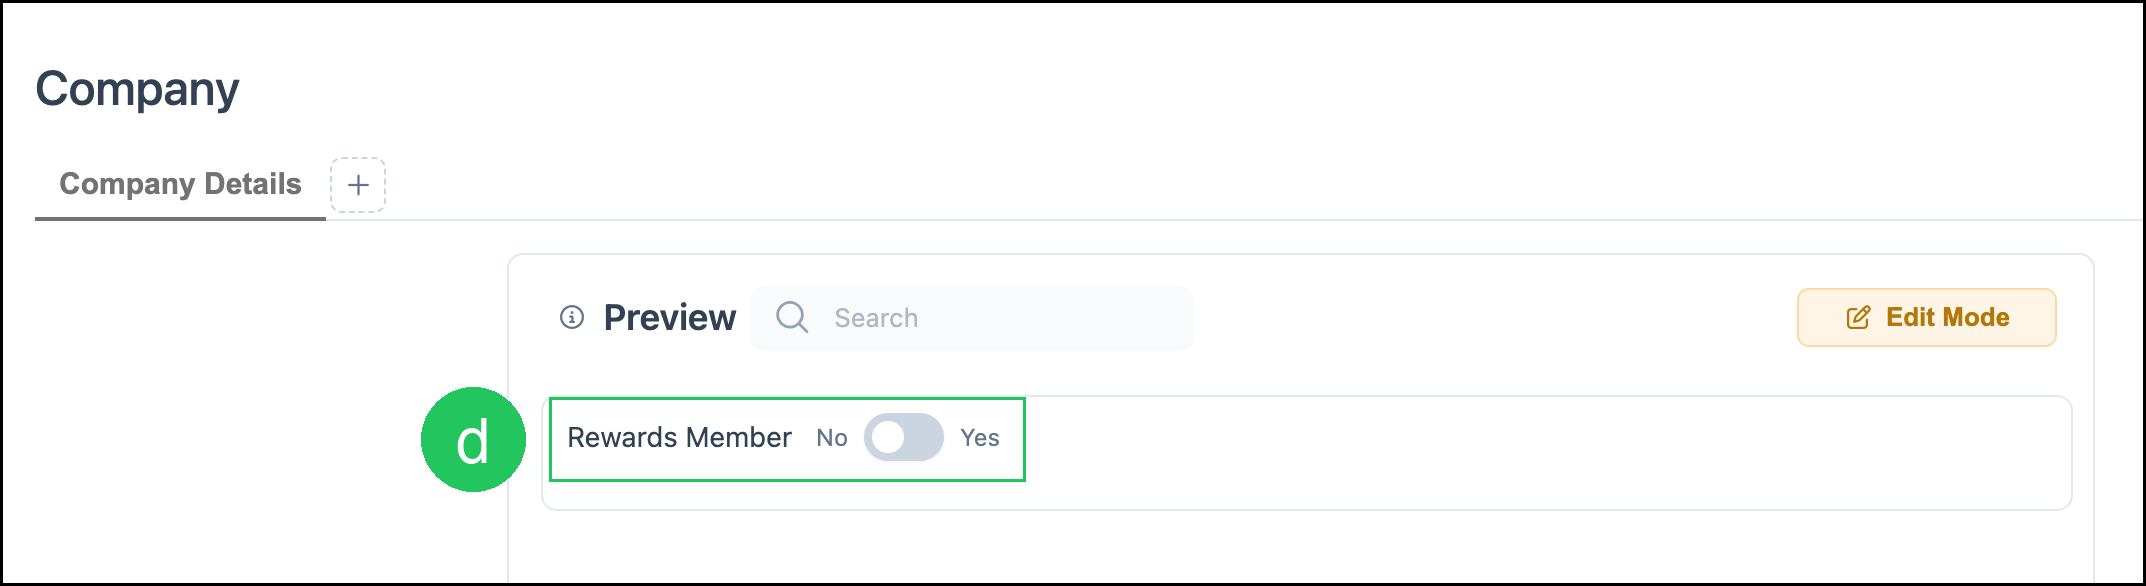
d. Rewards Member appears as a Toggle with No and Yes, the same way it appears when you complete a Company.
Note: Click Custom Fields in the breadcrumb to return to the list.
Best Time to Call on a Contact
A Dropdown is a good fit when you want a set list of choices. Best Time to Call stores when a Contact prefers to be reached.
On the Custom Fields screen:
1. Click Contact.
2. Drag Dropdown from Fields onto the layout.
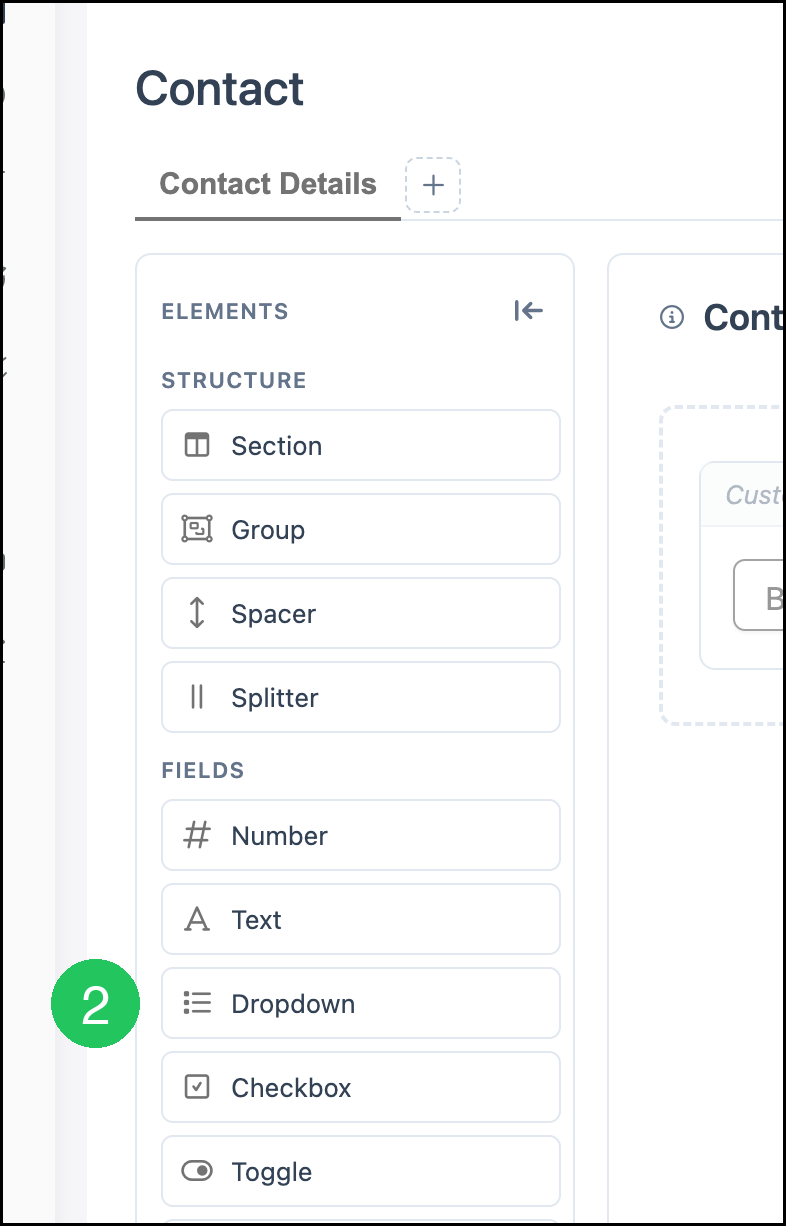
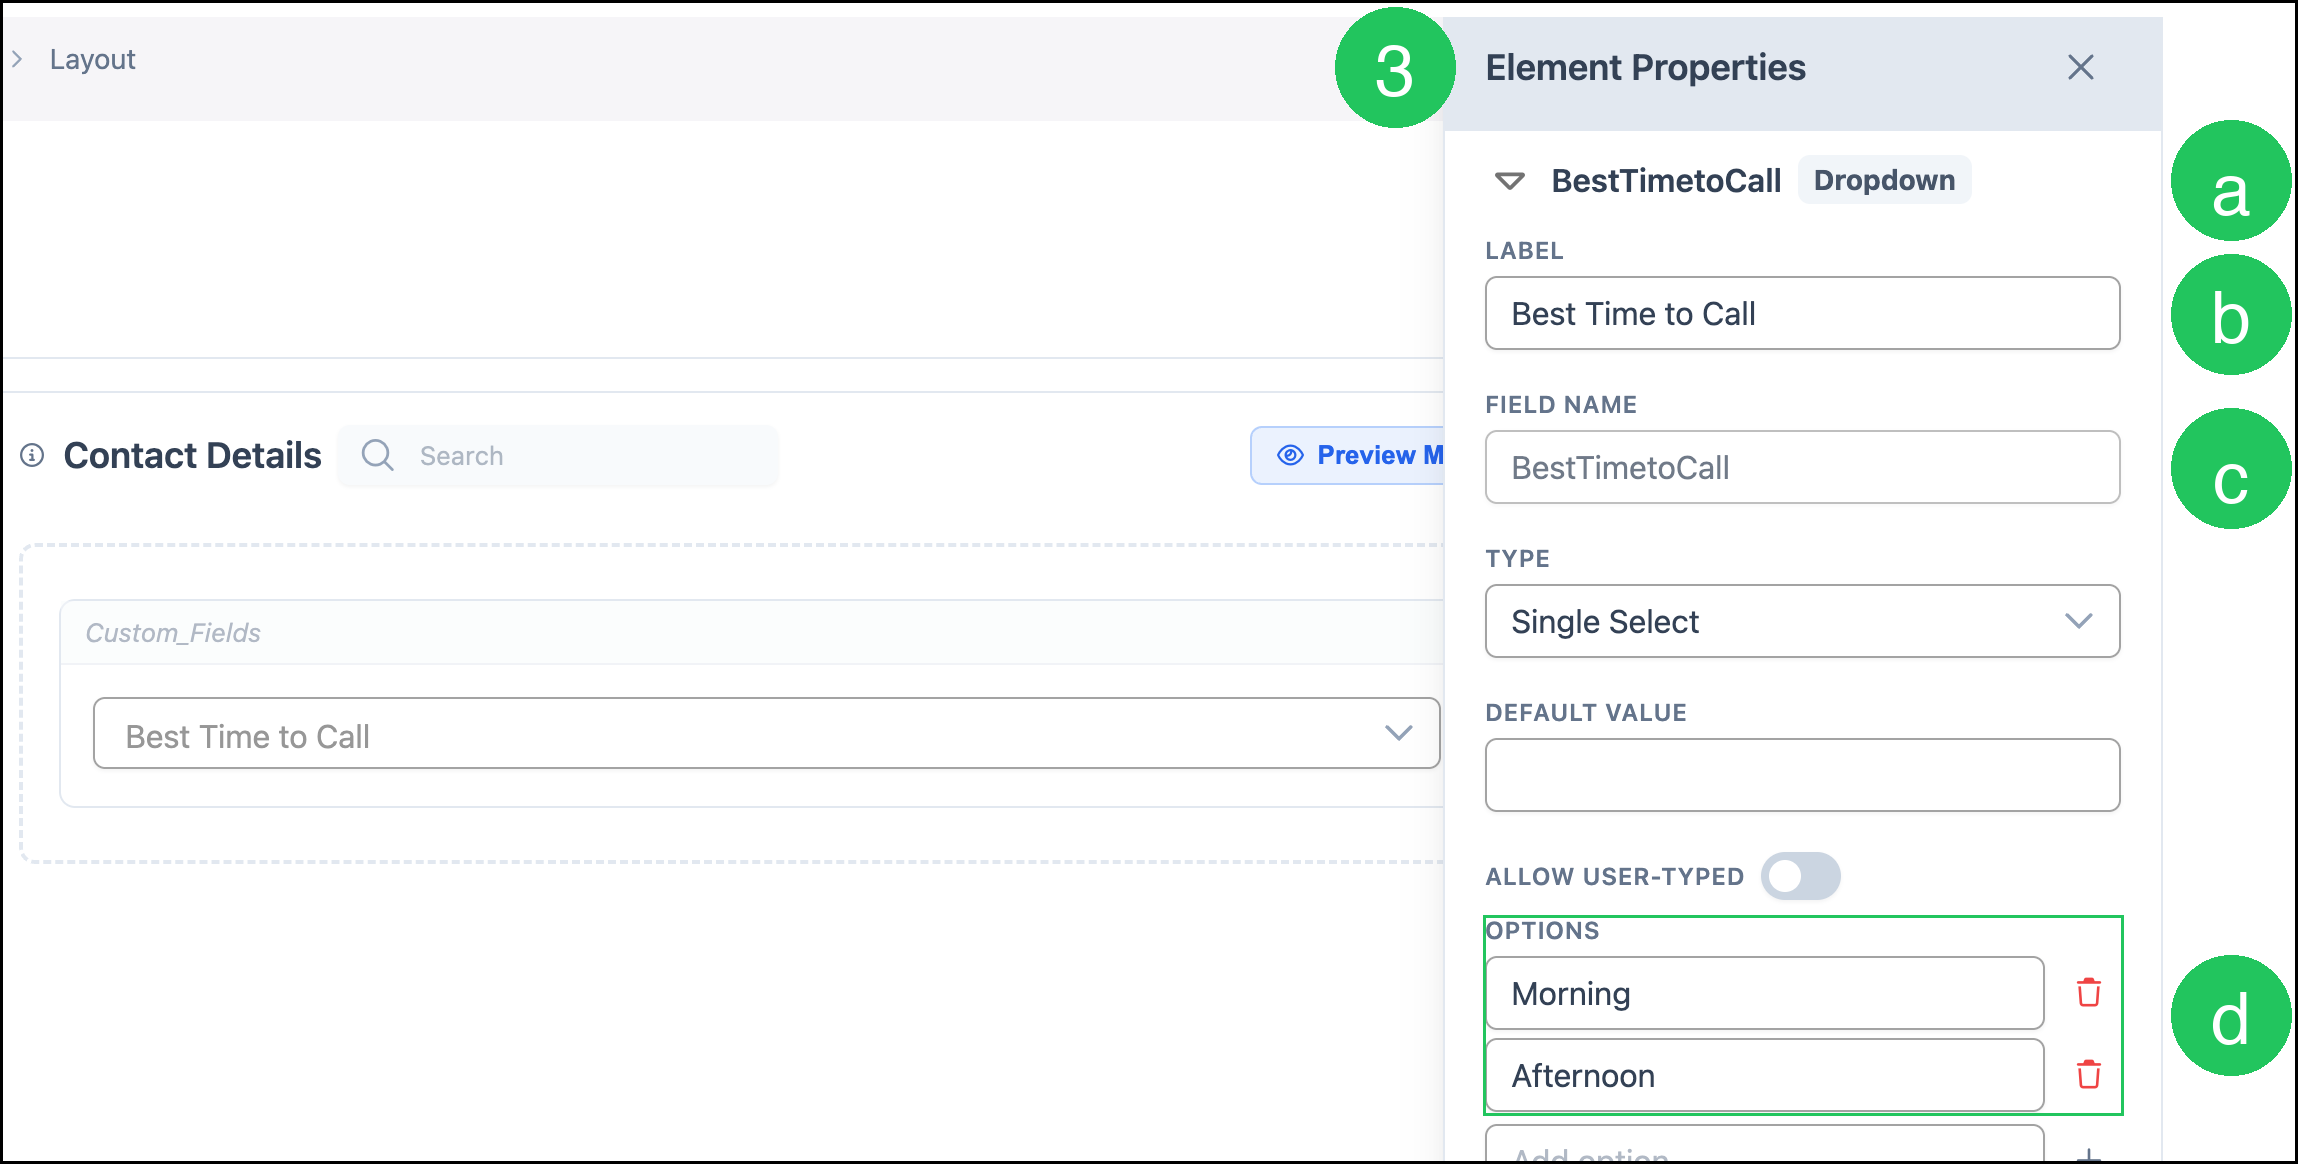
3. Complete Element Properties.
a. The field type is Dropdown.
b. Label is Best Time to Call. This is the name shown on the record.
c. Field Name is BestTimetoCall. After the field is saved, Field Name cannot be edited.
d. Options lists the choices, such as Morning and Afternoon.
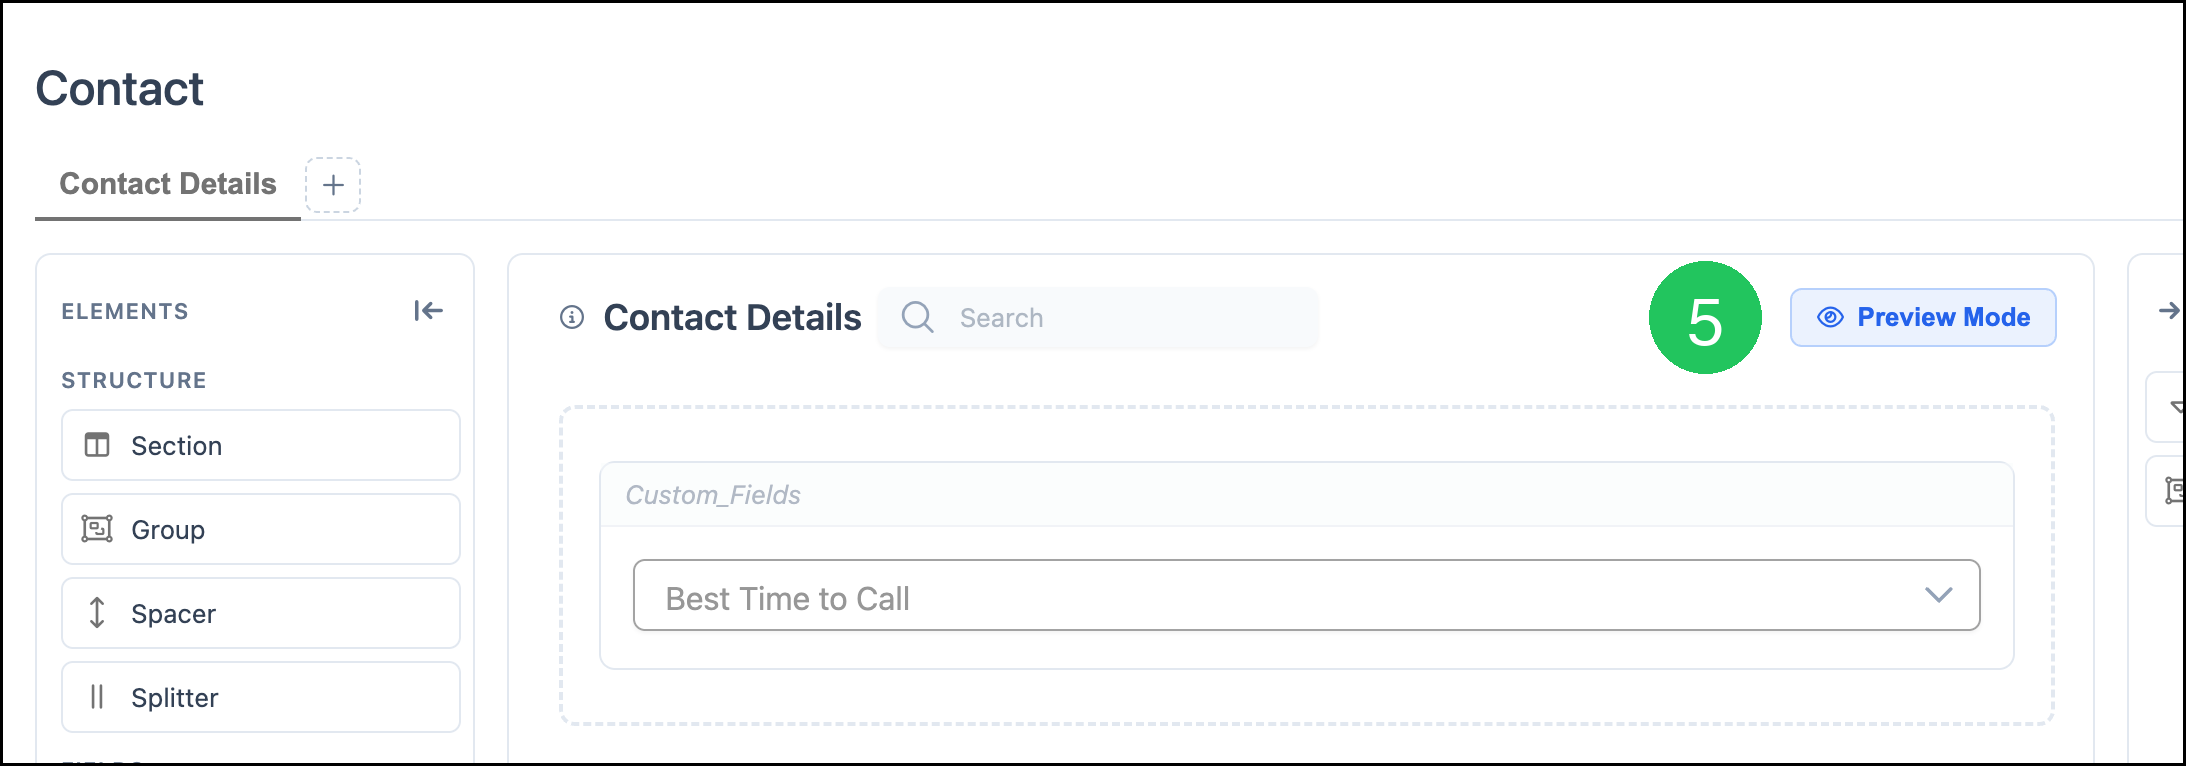
4. Click Save.
Note: Click Discard to cancel unsaved layout changes.
5. Click Preview Mode.
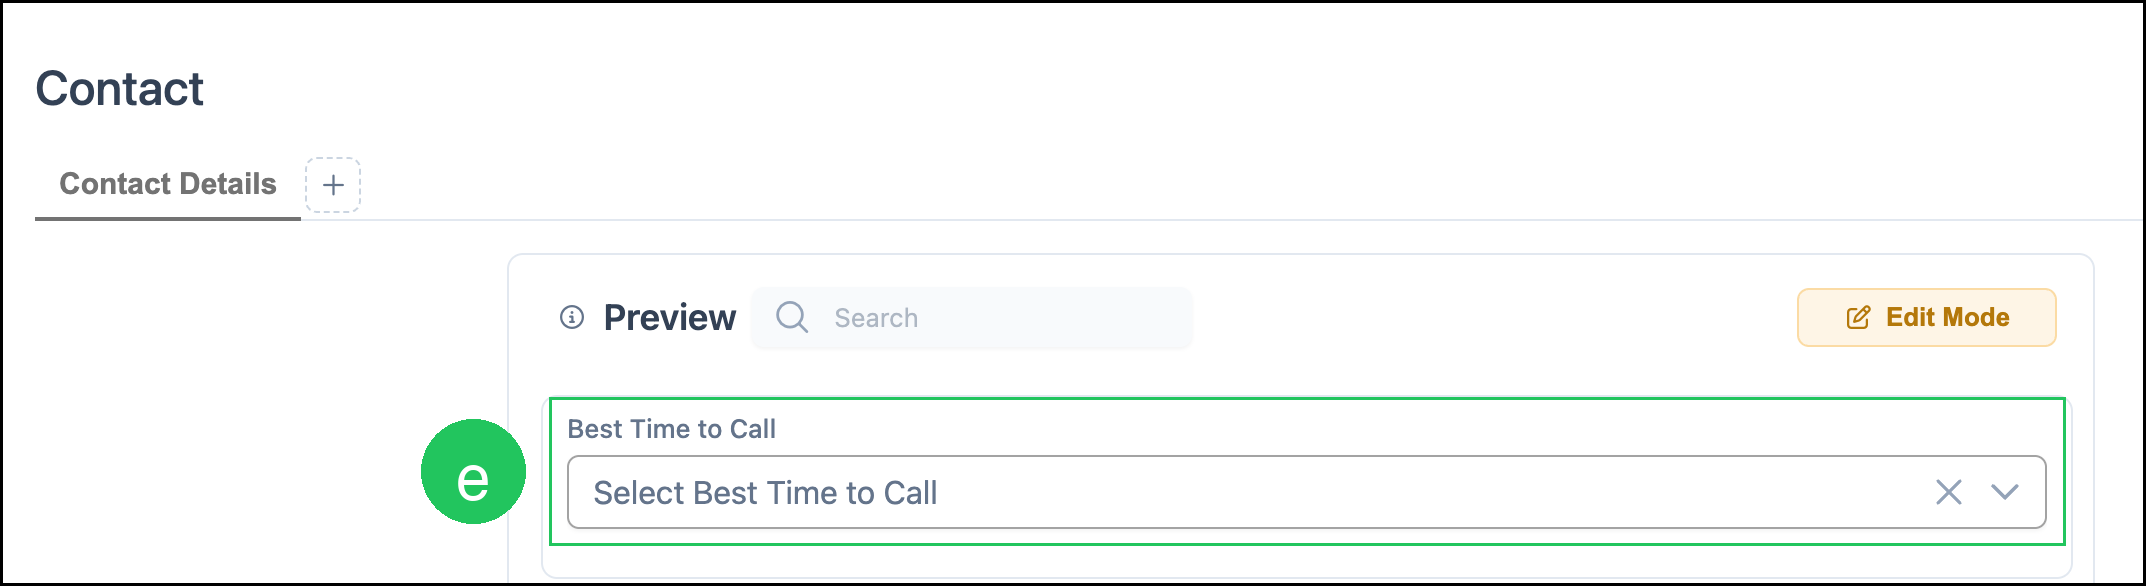
e. Best Time to Call appears as a Dropdown, the same way it appears when you complete a Contact.
Frequently Asked Questions
1. What is Preview Mode?
Answer: Preview Mode shows how the layout looks when you complete the record. Use it to confirm labels, field types, and options after you save.
2. Can I use a Toggle or Dropdown on other record types?
Answer: Yes. Open the layout for that record type, drag the field from Fields, complete Element Properties, then click Save. The same field types are available for Company, Contact, Order, and other record types on the Custom Fields screen.
3. What if Rewards Member or Best Time to Call already exists?
Answer: Open the existing field and review Element Properties instead of adding a duplicate. Each Field Name must be unique for that record type.
Related Articles
Components Overview
Creating Companies
Creating Contacts
Custom Fields
Employee Roles and Permissions in Settings